Shaders completely overhaul Minecraft's appearance by adding realistic sun rays, swaying leaves, smooth dynamic shadows, and lifelike water. Installing them takes only a few minutes once you know which method matches your version of the game.
Never unzip shader pack .zip files for Java Edition. Minecraft requires the archive file to remain intact inside the shaderpacks folder.
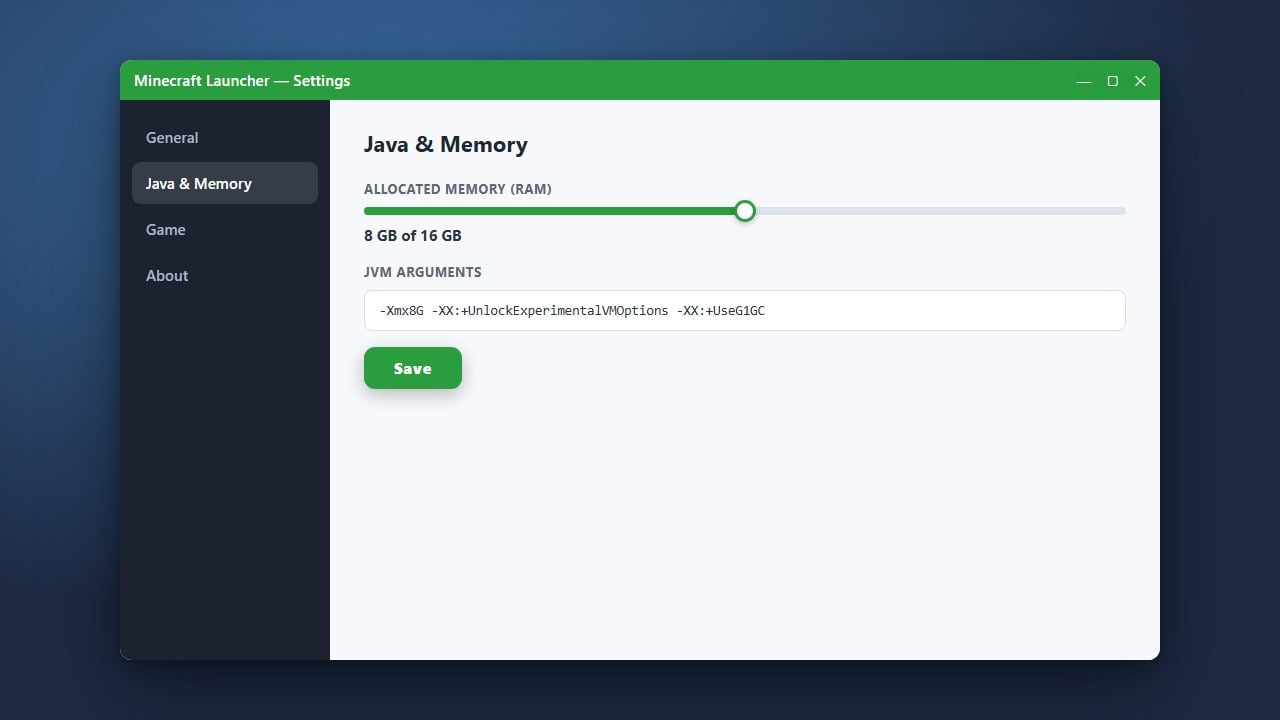
If your game stutters heavily after enabling shaders, consider giving the game more memory by following our tutorial on How to Allocate More RAM to Minecraft.
Download a Compatible Shader Pack
Start by picking a shader pack that matches your computer's hardware. Popular community favorites include Complementary Reimagined, BSL Shaders, and MakeUp - Ultra Fast. For Java Edition, download the pack as a .zip file and keep it compressed—do not unzip it.
For Bedrock Edition, look for packs specifically built for Bedrock's deferred lighting or RTX ray tracing, usually downloaded as a .mcpack file.
Set Up a Shader Loader (Java Edition)
Java Edition does not run shaders natively, so you need a shader-compatible mod. The best modern option for version 1.21+ is Iris paired with Sodium, which offers outstanding frame rates. Follow our guide on How to Install Iris Shaders to set it up quickly.
Alternatively, you can use OptiFine by reading our tutorial on How to Install OptiFine. If you play on Bedrock Edition, you can skip this step entirely because Bedrock handles packs natively.
Place the Shader Files in Minecraft
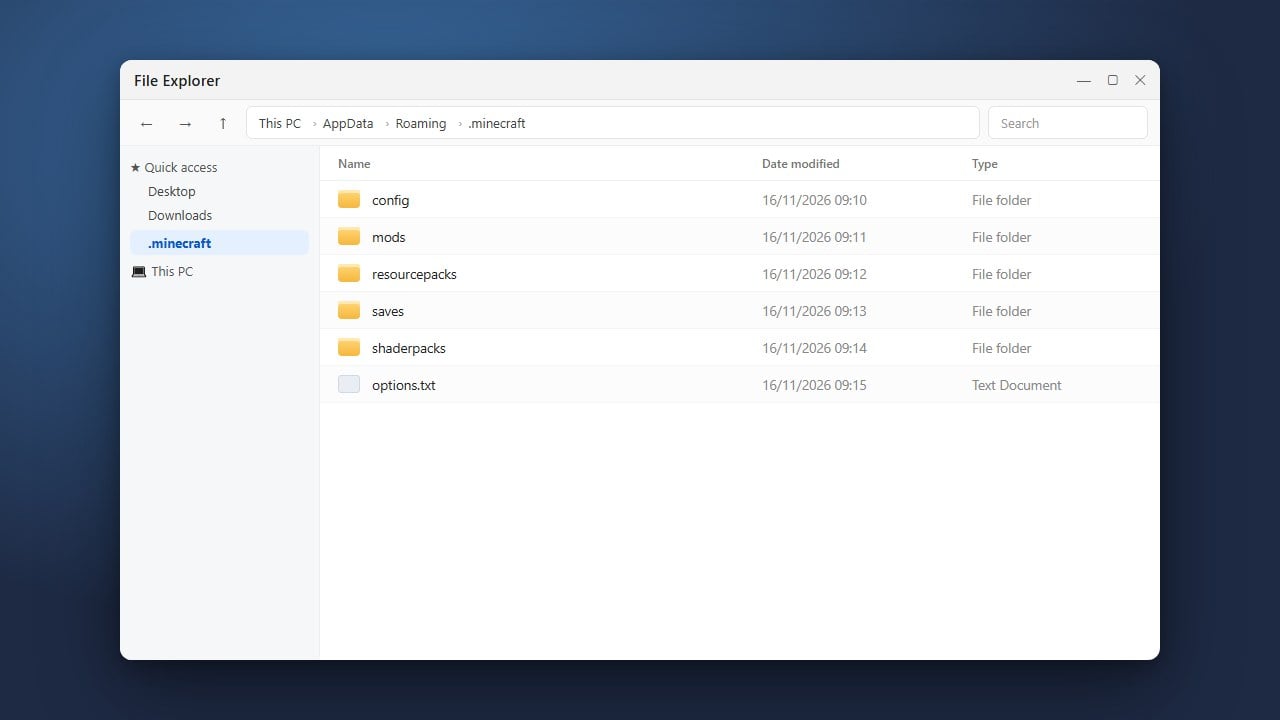
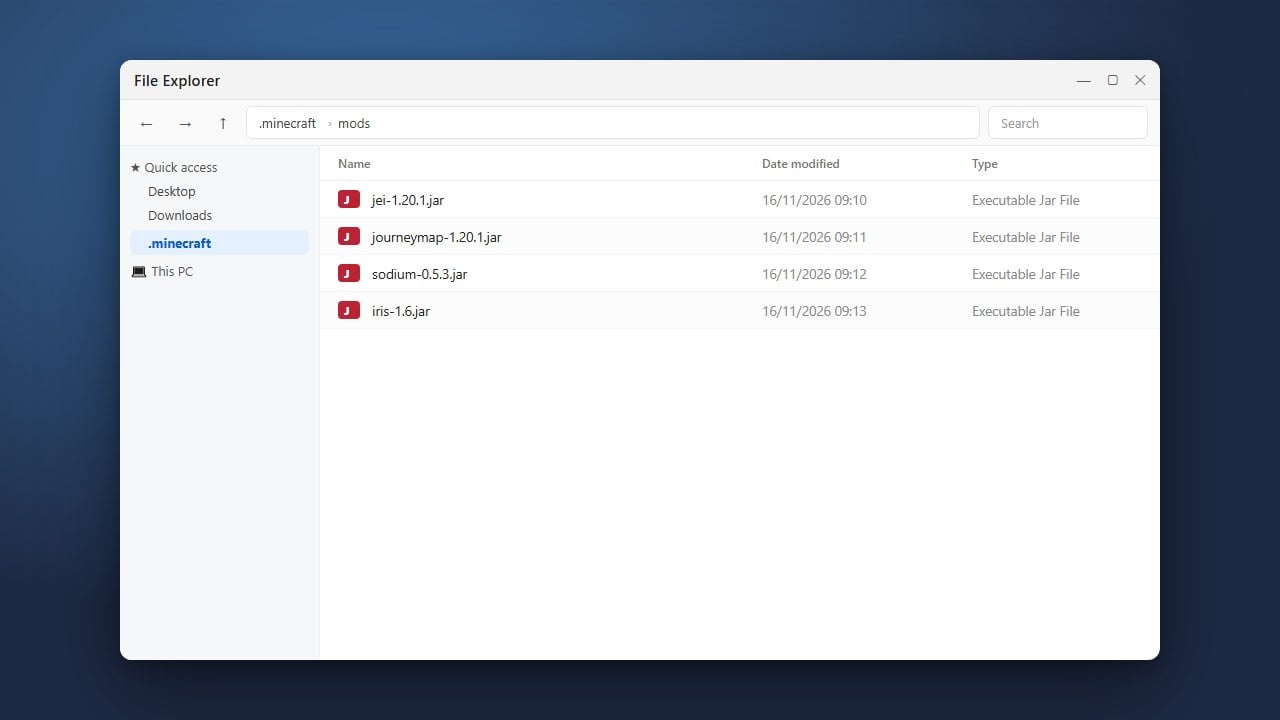
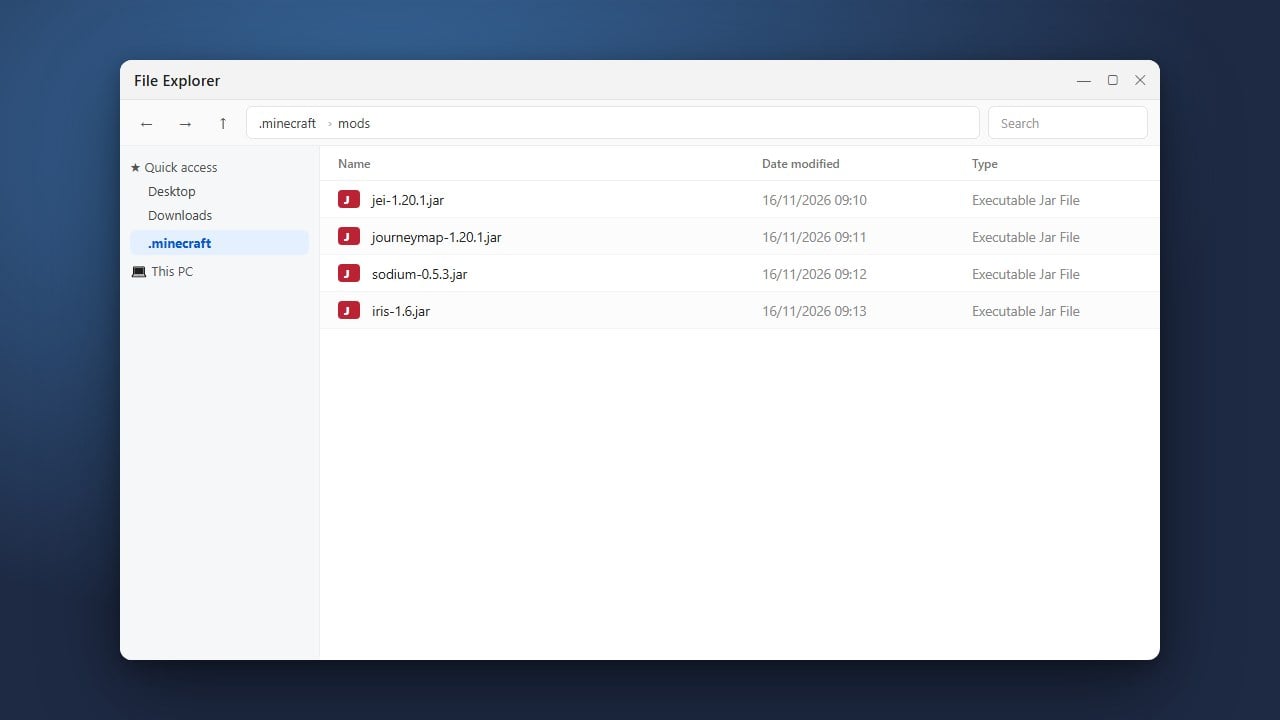
For Java Edition, launch the game using your Iris or OptiFine profile. From the main menu, go to Options > Video Settings > Shader Packs and click the Open Shader Pack Folder button. Drag and drop your downloaded .zip file directly into this window. If you prefer manual navigation, see How to Find Your .minecraft Folder.
For Bedrock Edition, simply locate your downloaded .mcpack file in your file explorer and double-click or tap it. Minecraft will open automatically and import the pack.
Activate the Shaders in Game Settings
On Java Edition, return to the Shader Packs menu in Video Settings. Click on your newly installed shader pack in the list so it is highlighted, then click Apply or Done. The game will pause briefly while loading the new visual pipeline.
On Bedrock Edition, open Settings > Global Resources > My Packs, select your imported pack, and choose Activate. If you are using deferred lighting packs in newer Bedrock versions, make sure to enable the deferred graphics toggle under the in-game Video settings.
Adjust Settings for Optimal Performance
Shaders can put significant strain on your graphics card. In Java Edition, click Shader Pack Settings inside the shader selection screen to lower quality profiles (such as switching from Ultra to Medium) or reduce shadow distance if you notice stuttering.
You can also decrease your standard render distance by two to four chunks to free up extra headroom for smooth, steady gameplay.
Frequently Asked Questions
Can I use Java shader packs on Minecraft Bedrock Edition?
No. Java shaders are programmed for OpenGL and Java rendering pipelines, which are entirely incompatible with Bedrock's Render Dragon engine. Bedrock requires dedicated .mcpack visual packs or RTX packs designed specifically for Bedrock Edition.
Why is my screen completely black or glitching after enabling a shader?
A black screen usually indicates an outdated graphics card driver or an incompatible shader version. Update your GPU drivers to the latest release and make sure your shader pack supports your current version of Minecraft.
Is Iris or OptiFine better for shaders in Minecraft 1.21+?
Iris (combined with Sodium) is generally the preferred choice for modern Minecraft. It loads shaders significantly faster, provides much higher frame rates, and updates more rapidly for new Minecraft releases than OptiFine.