Installing Minecraft Java Edition on a Mac is a straightforward process. Whether you are using a MacBook or an iMac, this guide will walk you through downloading the official launcher, setting up your account, and getting your game ready to play.
If your Mac runs on Apple Silicon (M1, M2, or M3 chips), the Minecraft launcher natively supports your processor for optimal performance and high frame rates.
Make sure you download the launcher exclusively from the official Minecraft website to keep your Mac safe from malicious third-party downloads.
1. Verify Your System Requirements
Before downloading, ensure your Mac meets the necessary specifications to run the game smoothly. Check your macOS version by clicking the Apple icon in the top-left corner of your screen and selecting About This Mac.
Minecraft Java Edition requires a modern version of macOS and an appropriate processor and graphics setup. For detailed specifications, review the Minecraft System Requirements guide.
2. Sign In to Your Minecraft Account
Open your web browser and navigate to the official Minecraft website. Log in using your Microsoft account credentials linked to your game purchase. If you haven't bought or set up your profile yet, you will need to complete that process first.
If you need help getting your profile ready, check out our guide on How to Make a Minecraft Account before proceeding further.
3. Download the Minecraft Launcher for macOS
Once logged into your account page, navigate to the download section for Minecraft Java Edition. Click the prominent download button to retrieve the official installer file designed specifically for macOS.
The file will download as a .dmg disk image and typically saves directly into your default Downloads folder.
4. Install the Game to Your Applications
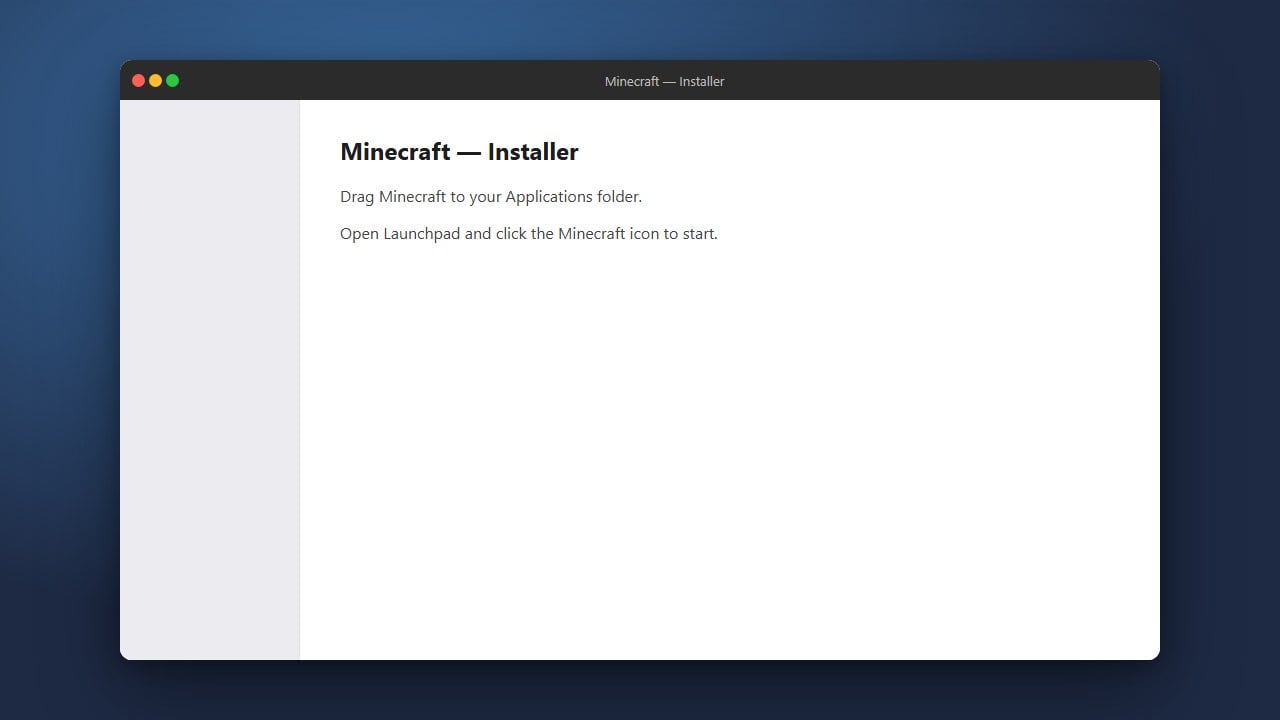
Open your Downloads folder and double-click the downloaded .dmg file to open the disk image installer window. A prompt will appear showing the Minecraft icon alongside your Applications folder.
Simply click and drag the Minecraft icon directly into the Applications folder shortcut. This copies all necessary files to your Mac.
5. Open the Minecraft Launcher and Log In
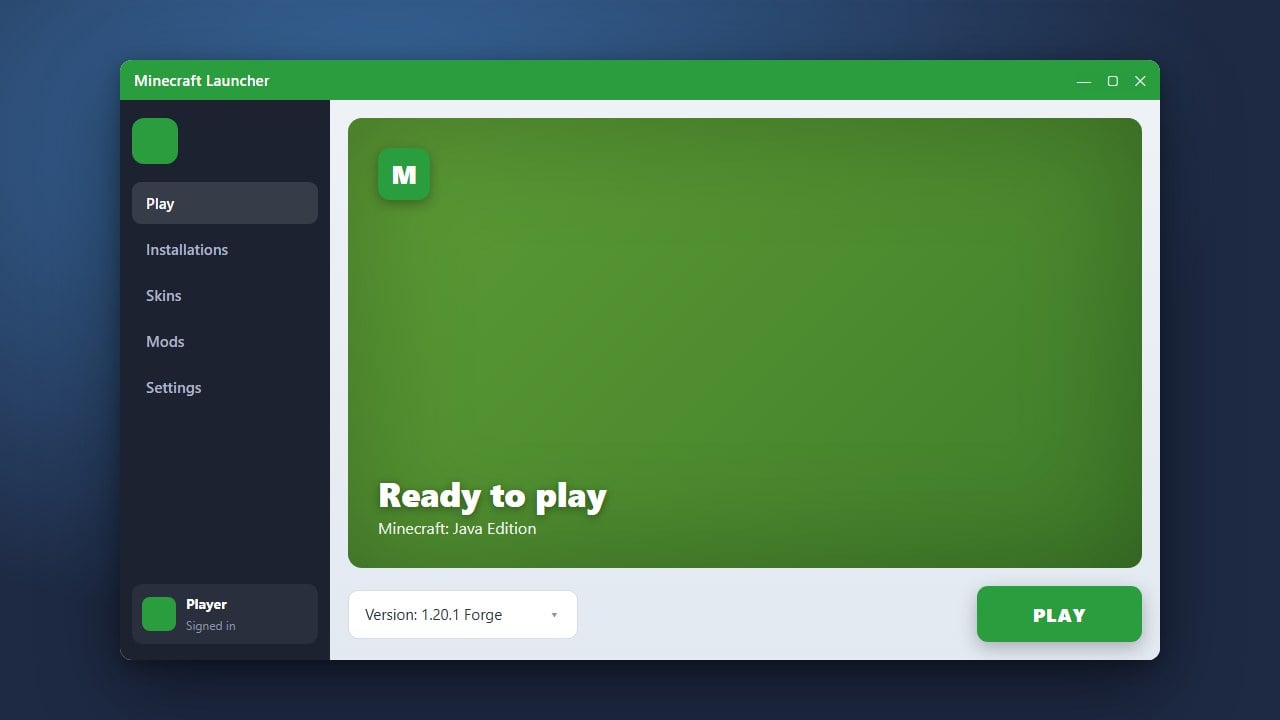
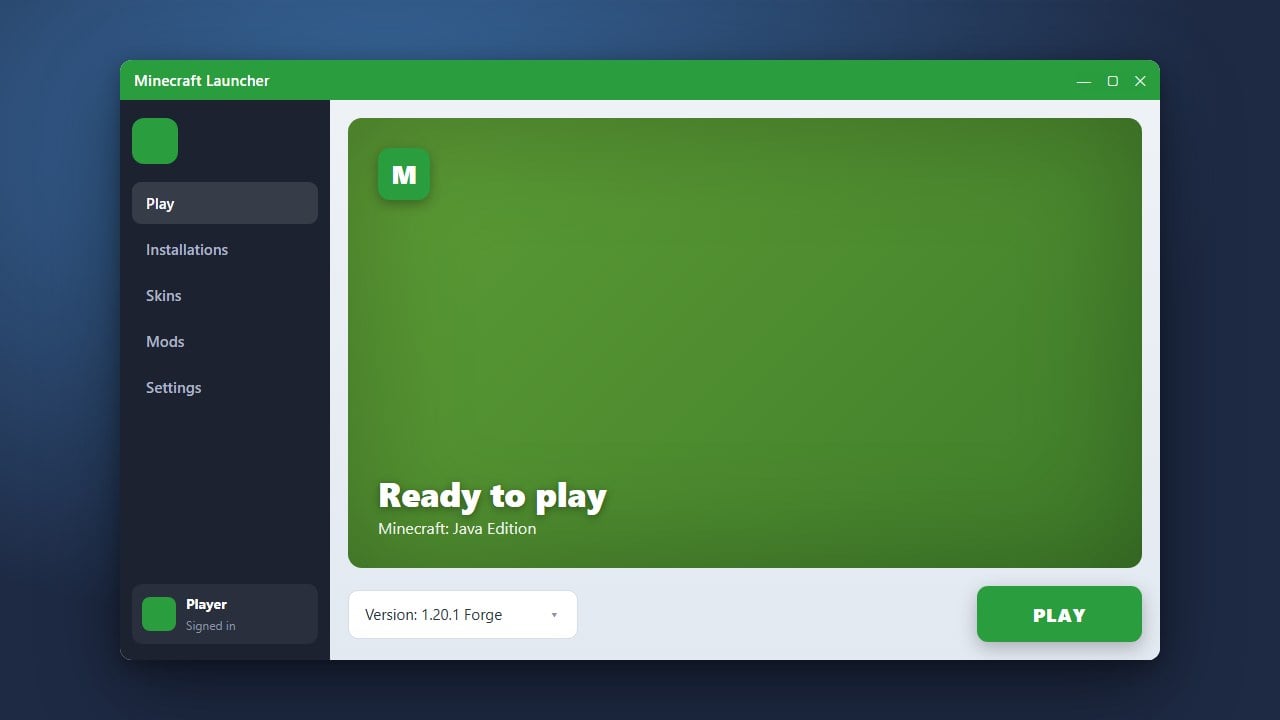
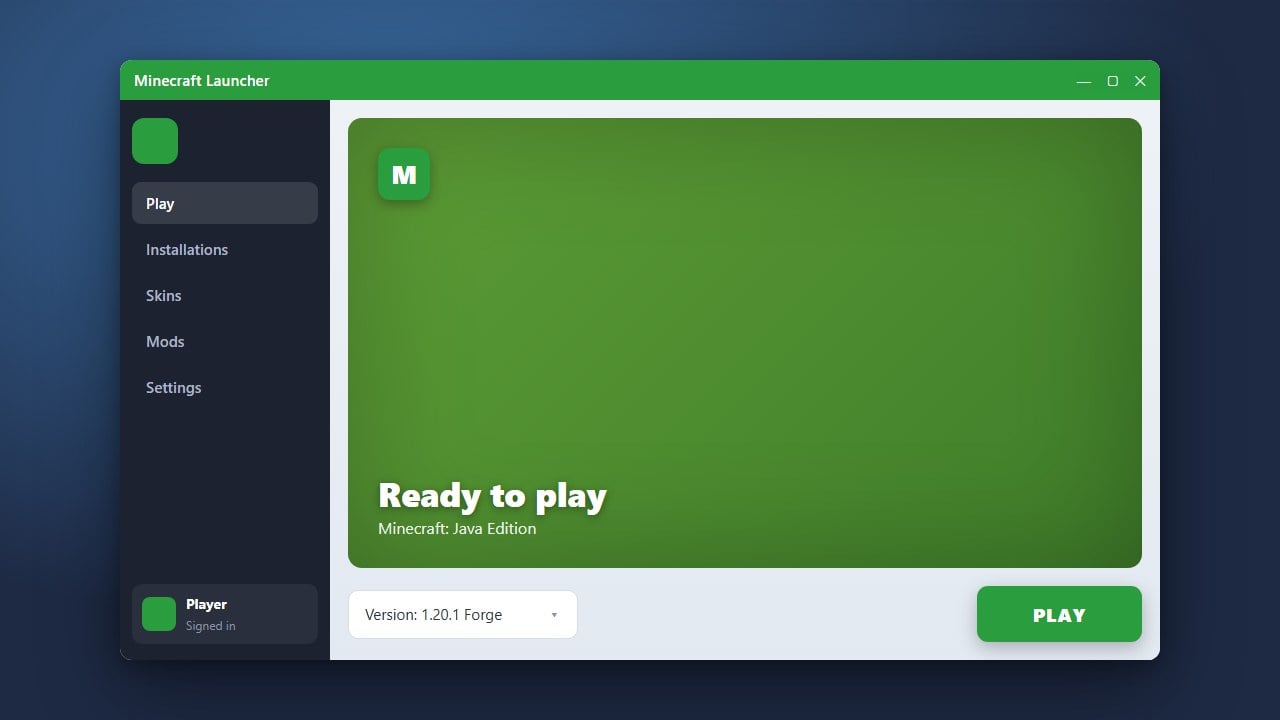
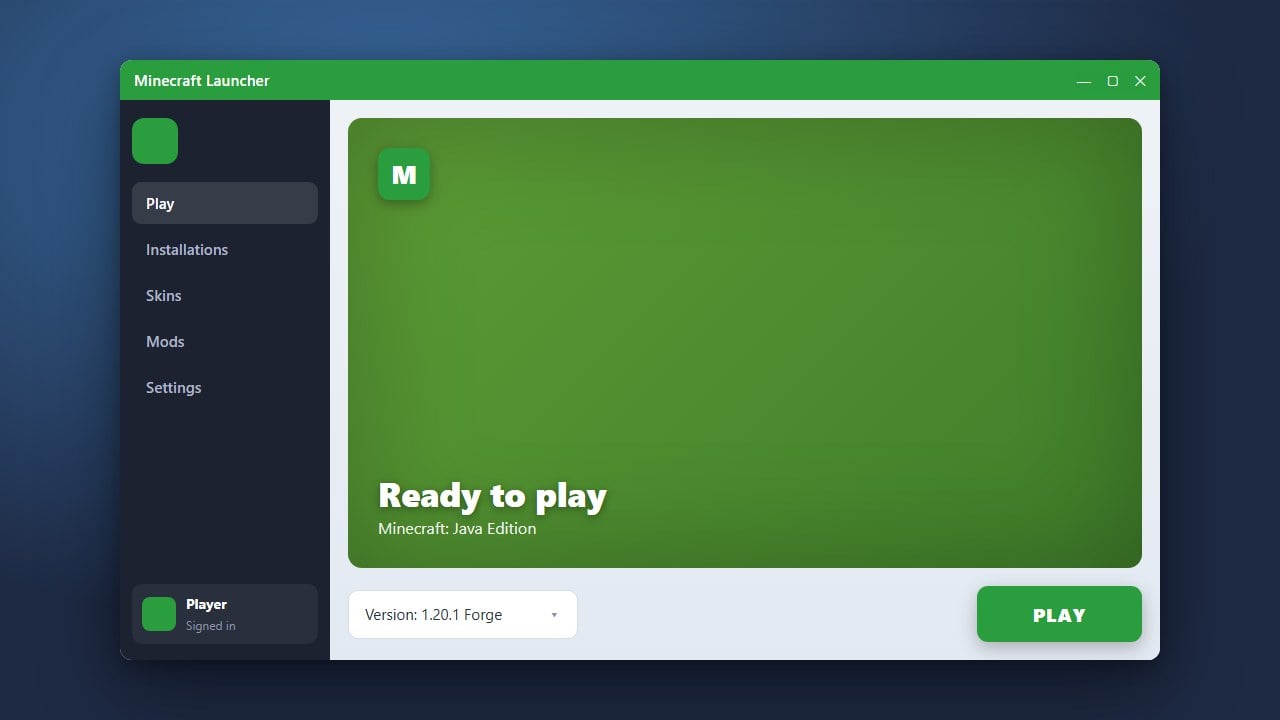
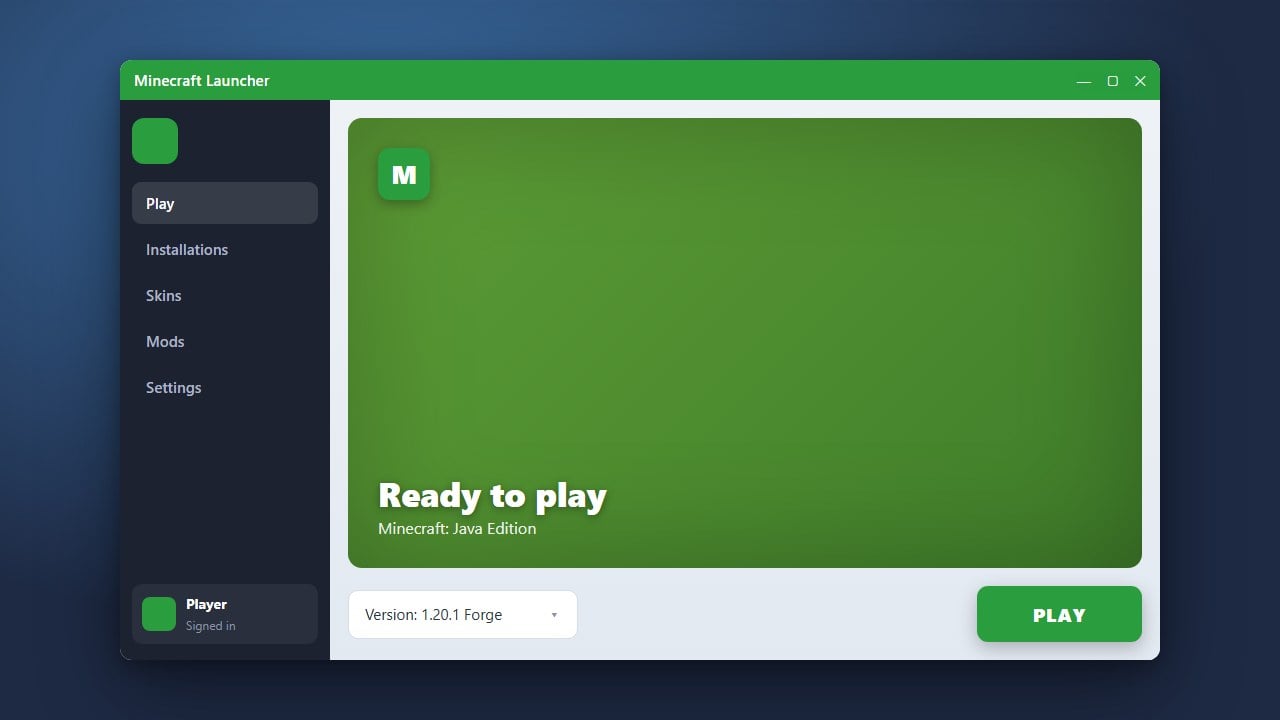
Navigate to your Applications folder or use Spotlight search (Command + Space) to find and open the Minecraft Launcher. When the launcher opens, sign in using your Microsoft account details.
The launcher will automatically check for updates and download the latest version of Java Edition so you are ready to jump into a match.
6. Play and Create Your First World
Click the green Play button in the launcher to start the game. Once the main menu loads, you can jump straight into gameplay and build your very first adventure.
If you need help setting up your initial game preferences, take a look at How to Create Your First World.
Frequently Asked Questions
Can I play Minecraft Java Edition on an M1 or M2 Mac?
Yes! Minecraft Java Edition has native support for Apple Silicon processors, offering great performance on M-series MacBooks and iMacs.
Do I need to install Java separately on my Mac?
No. The modern Minecraft Launcher for macOS automatically includes and manages the correct version of Java required to run the game.