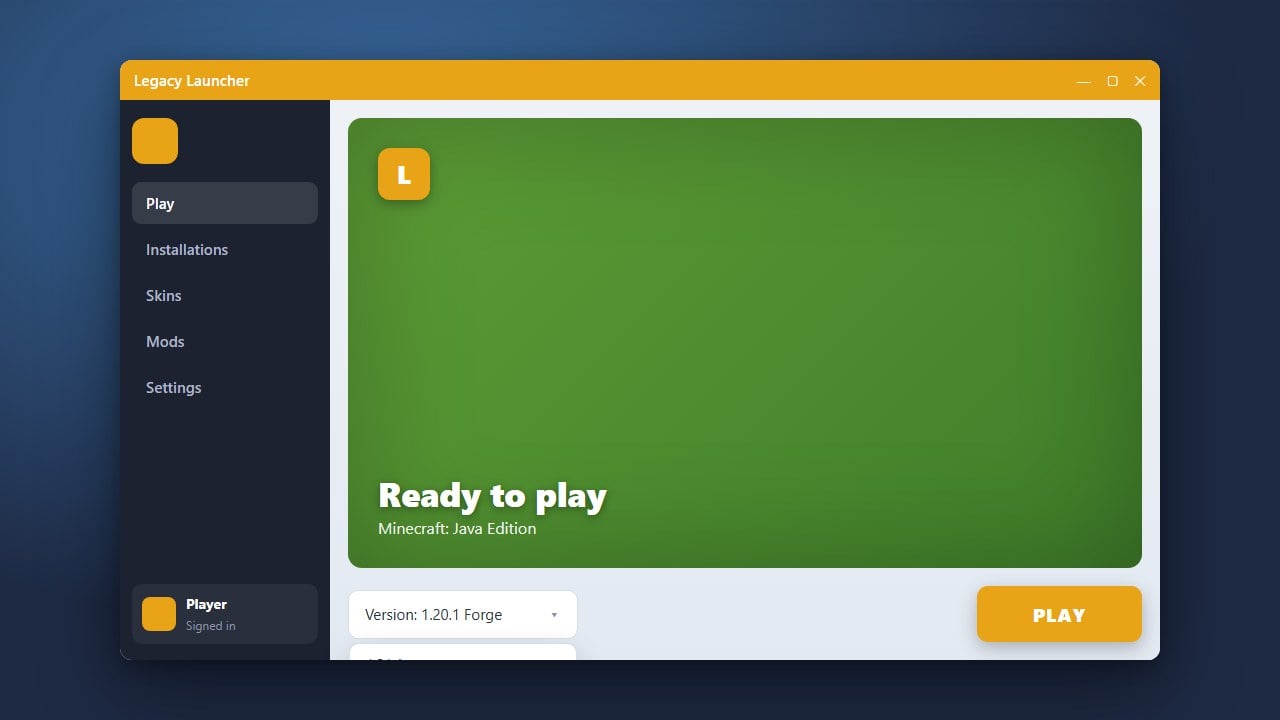
Changing your game version in Legacy Launcher is essential if you want to play on older worlds, test snapshots, or join servers running a specific Minecraft update. Follow this simple guide to switch versions in just a few clicks.
Always back up your world saves before switching to an older version to prevent data corruption or missing blocks.
Open Legacy Launcher
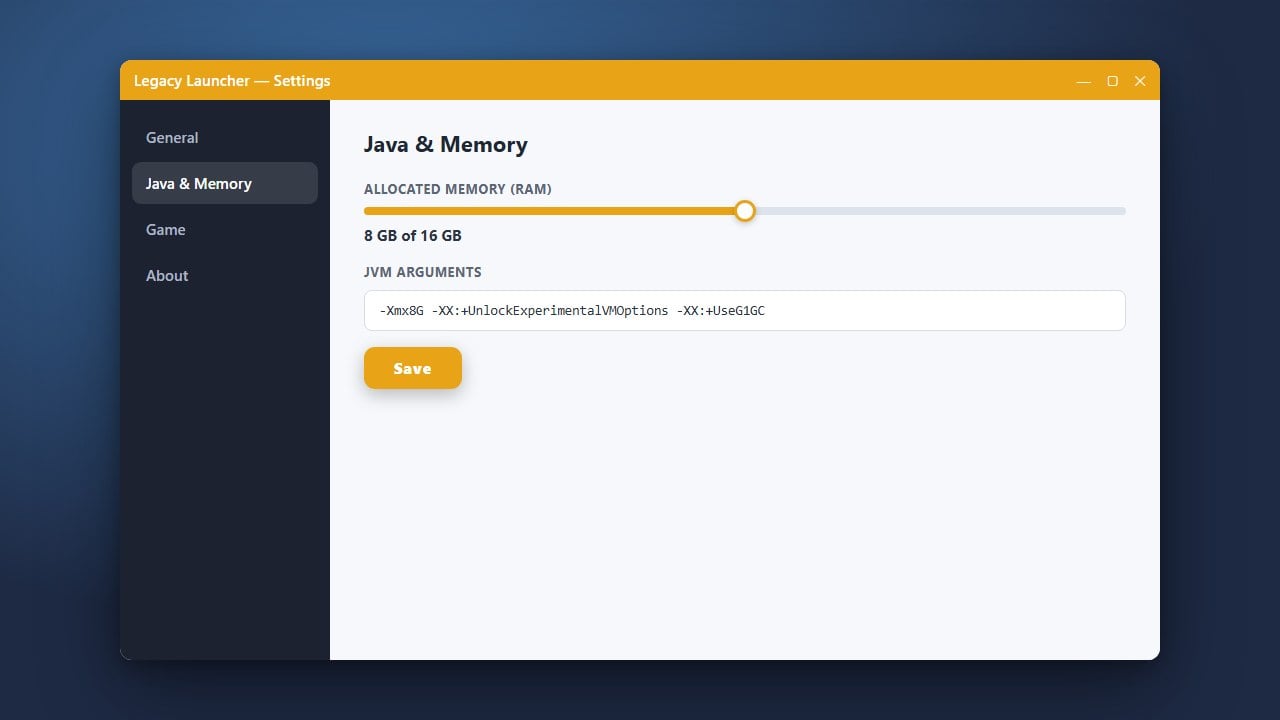
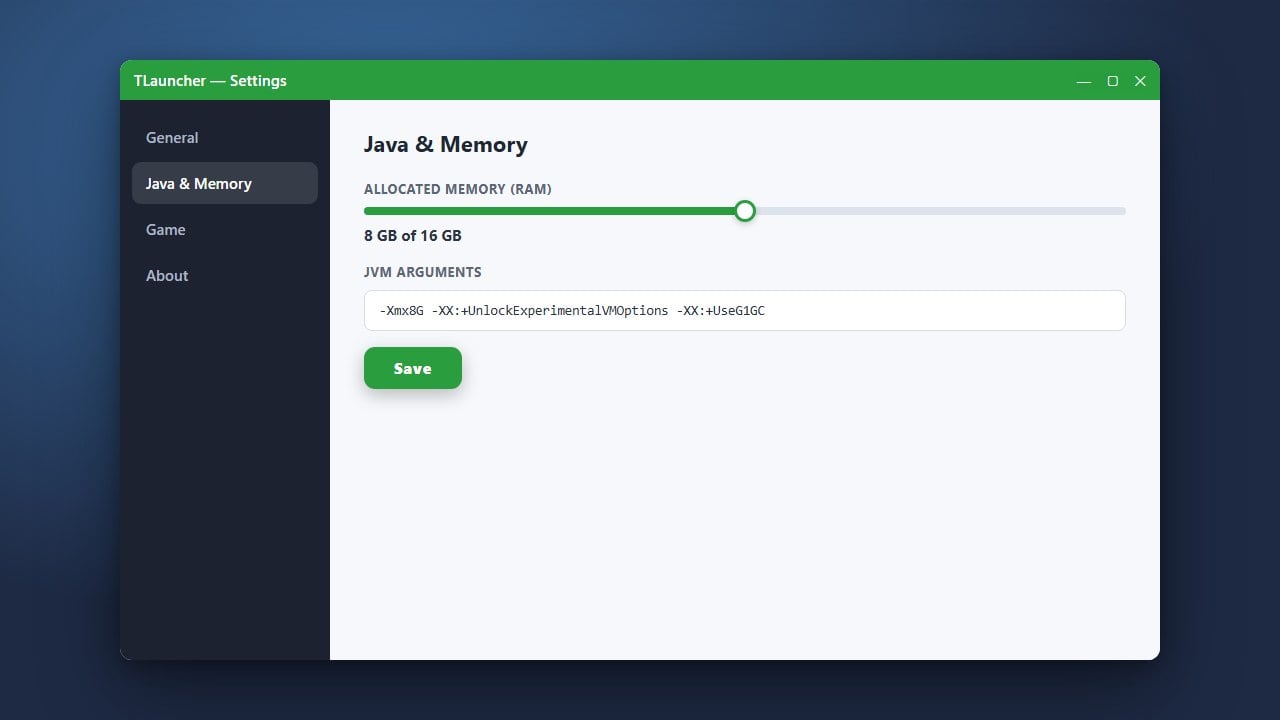
Launch Legacy Launcher on your computer and make sure you are logged into your account. Before changing anything, you might want to review our guide on How to Allocate More RAM in Legacy Launcher to ensure smooth performance on your chosen version.
Navigate to the Version Dropdown
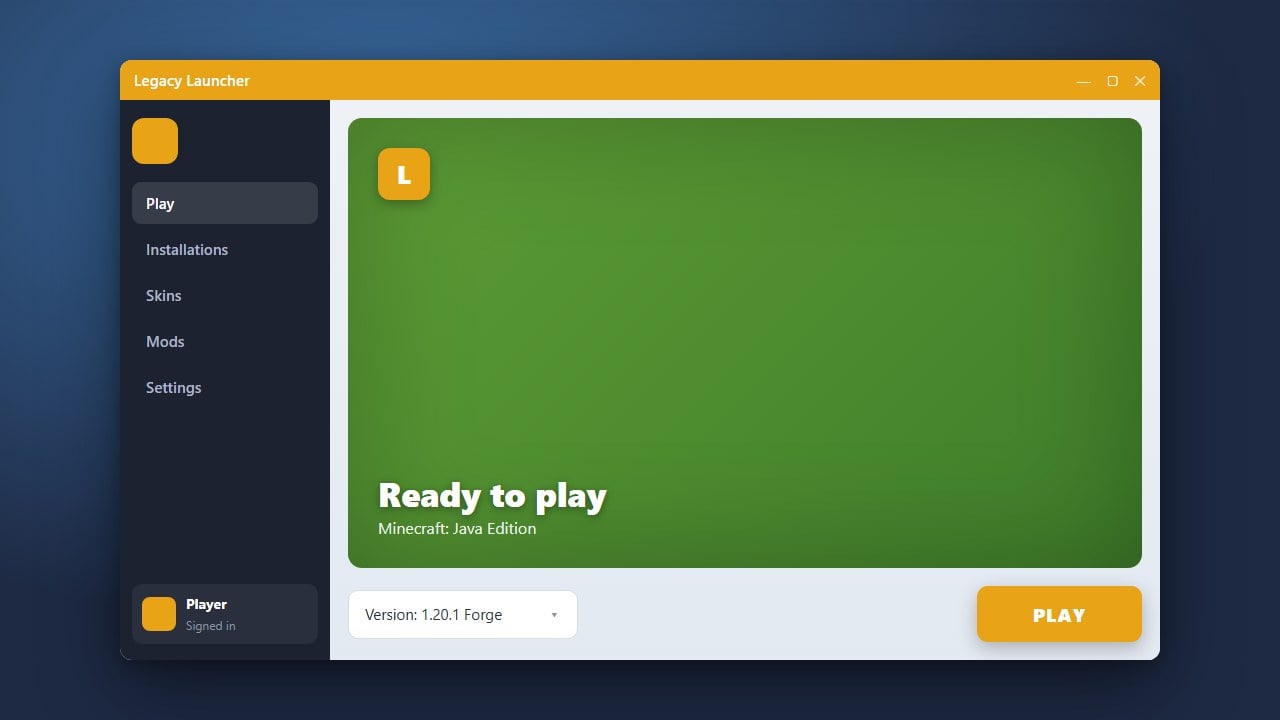
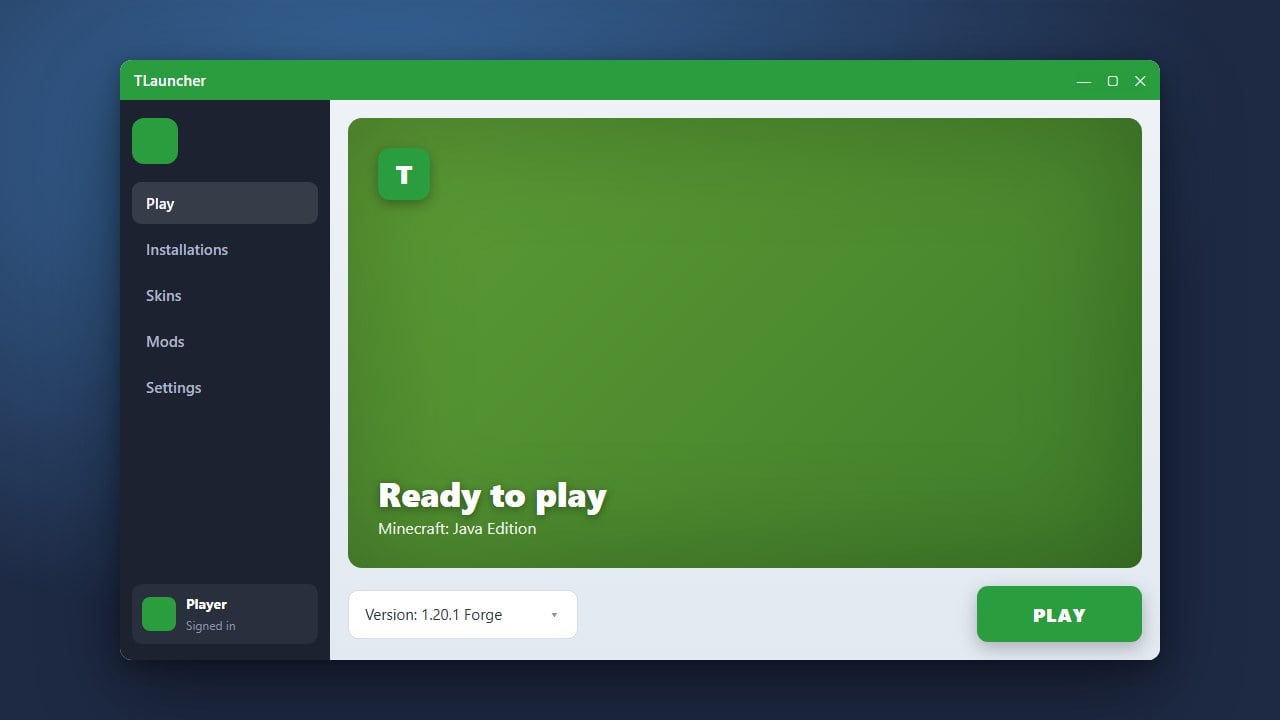
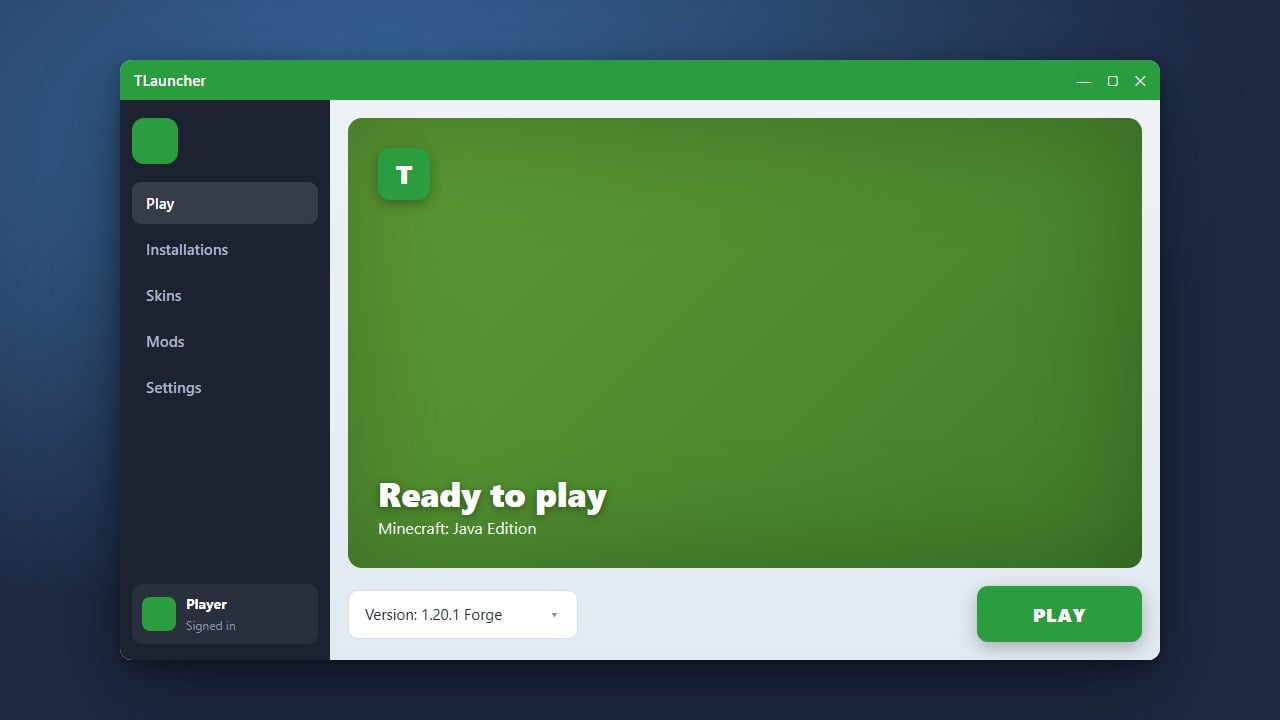
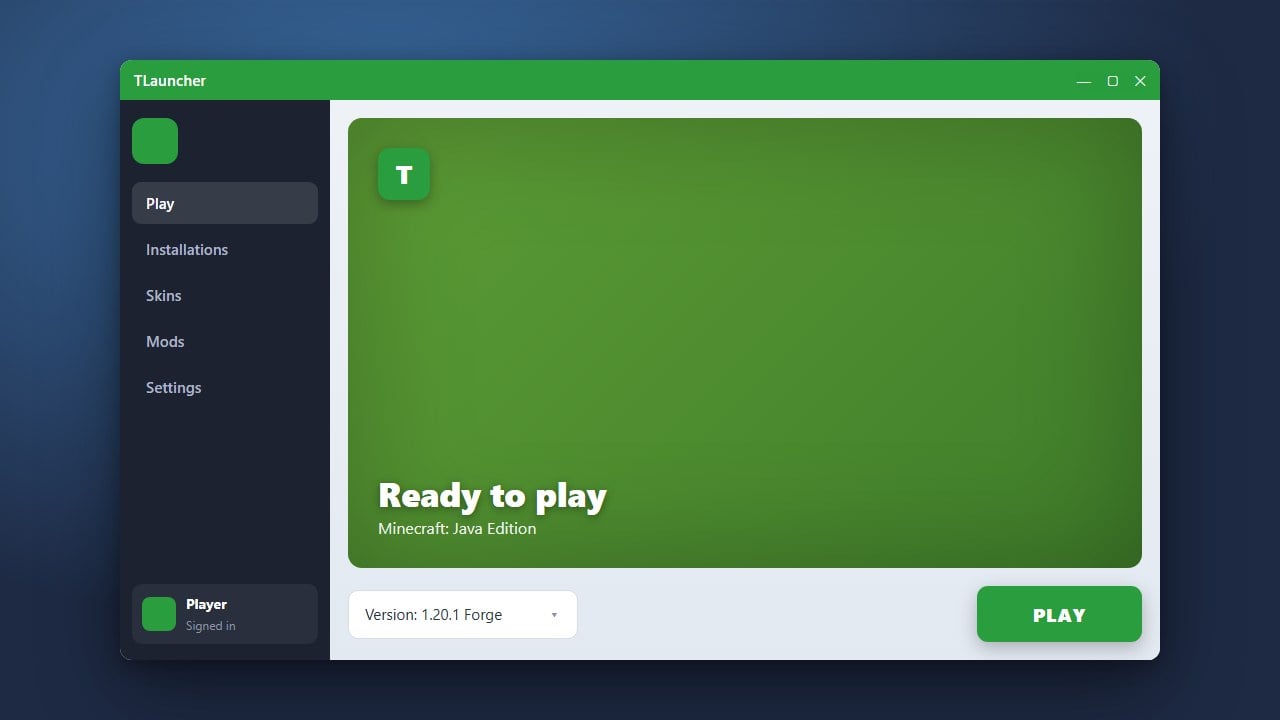
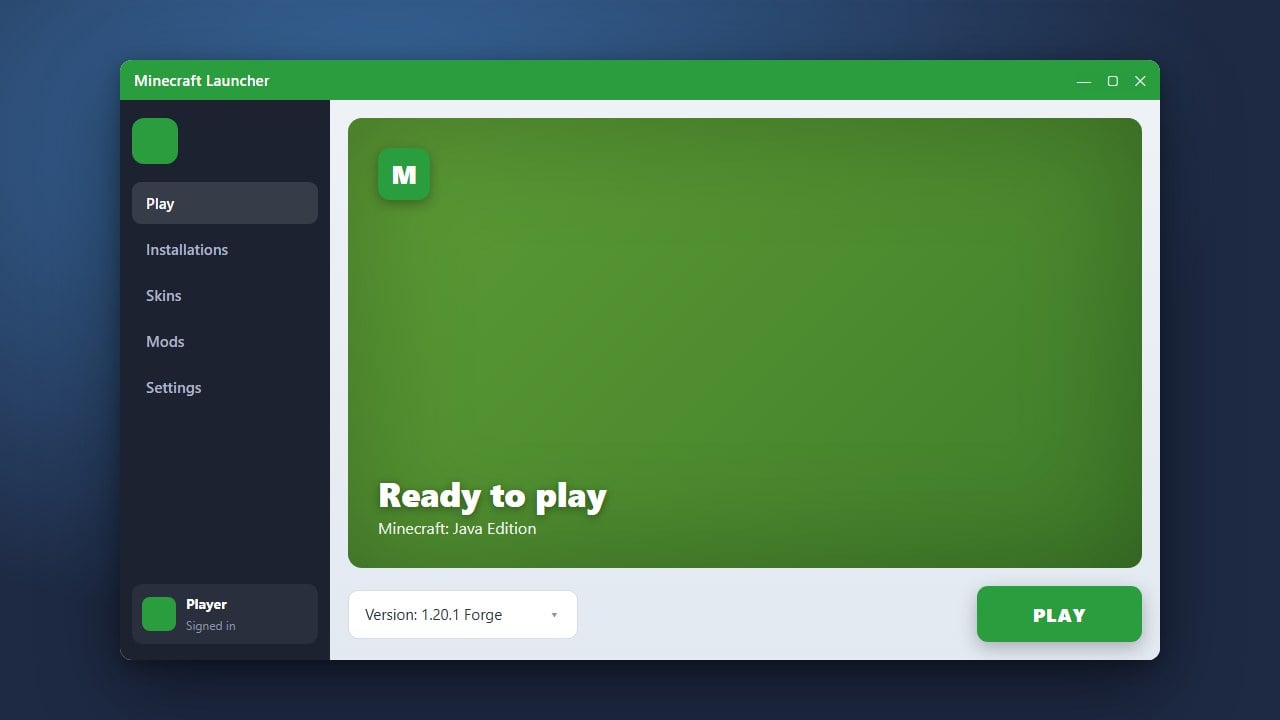
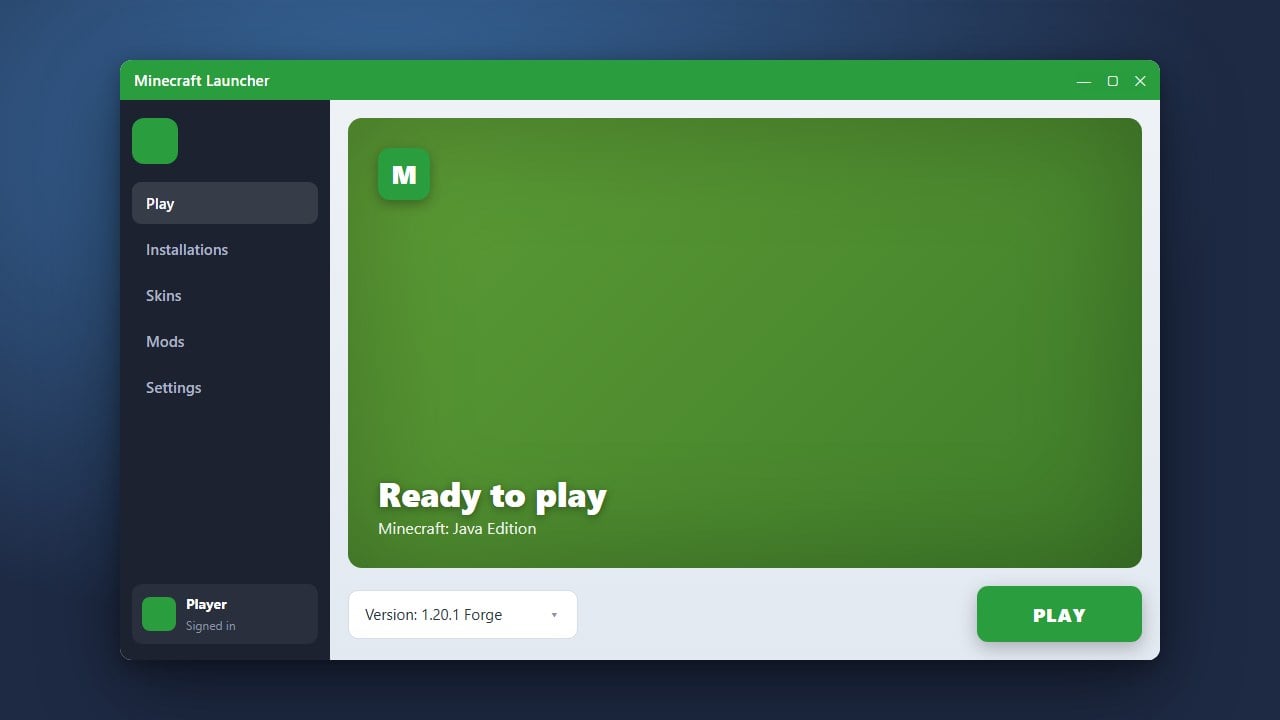
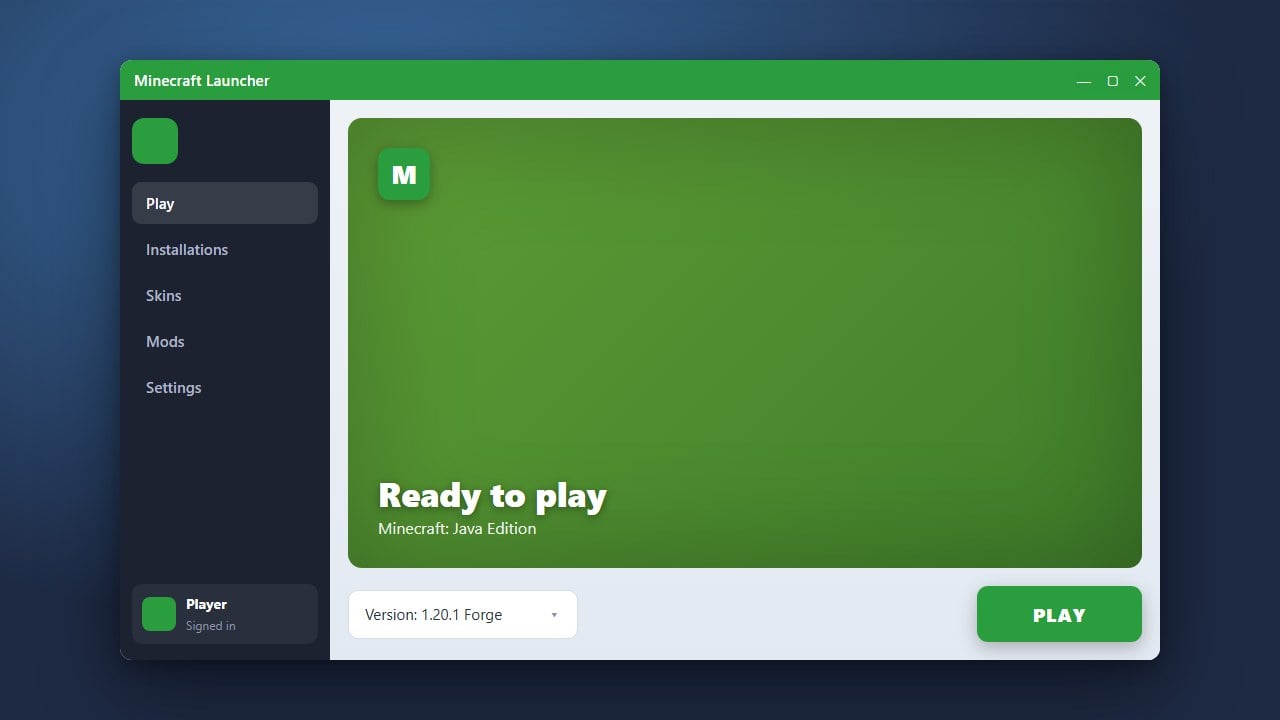
Look toward the bottom left or center of the launcher window, near the play button. You will see a version selection menu that displays your currently active Minecraft release.
Select Your Desired Version
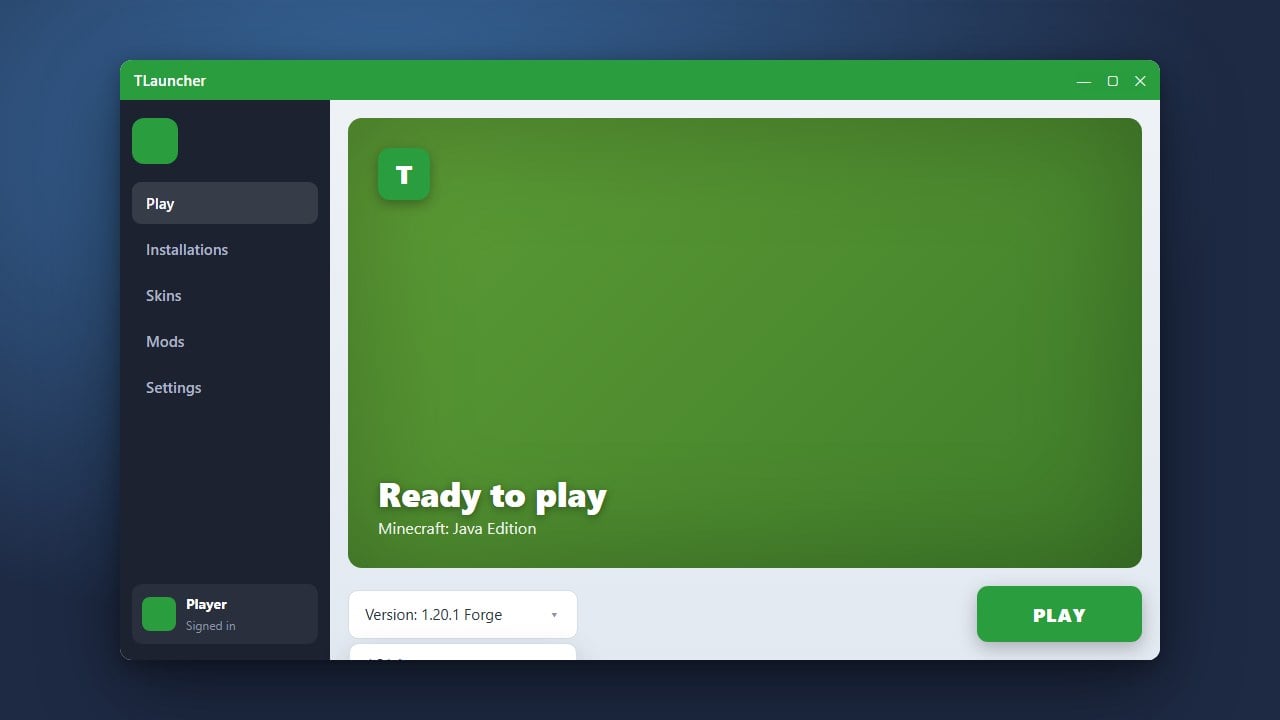
Click on the version dropdown menu to open the complete list of available game builds. Scroll through the list to find the specific release, snapshot, or modded version you wish to play.
Install and Launch the Game
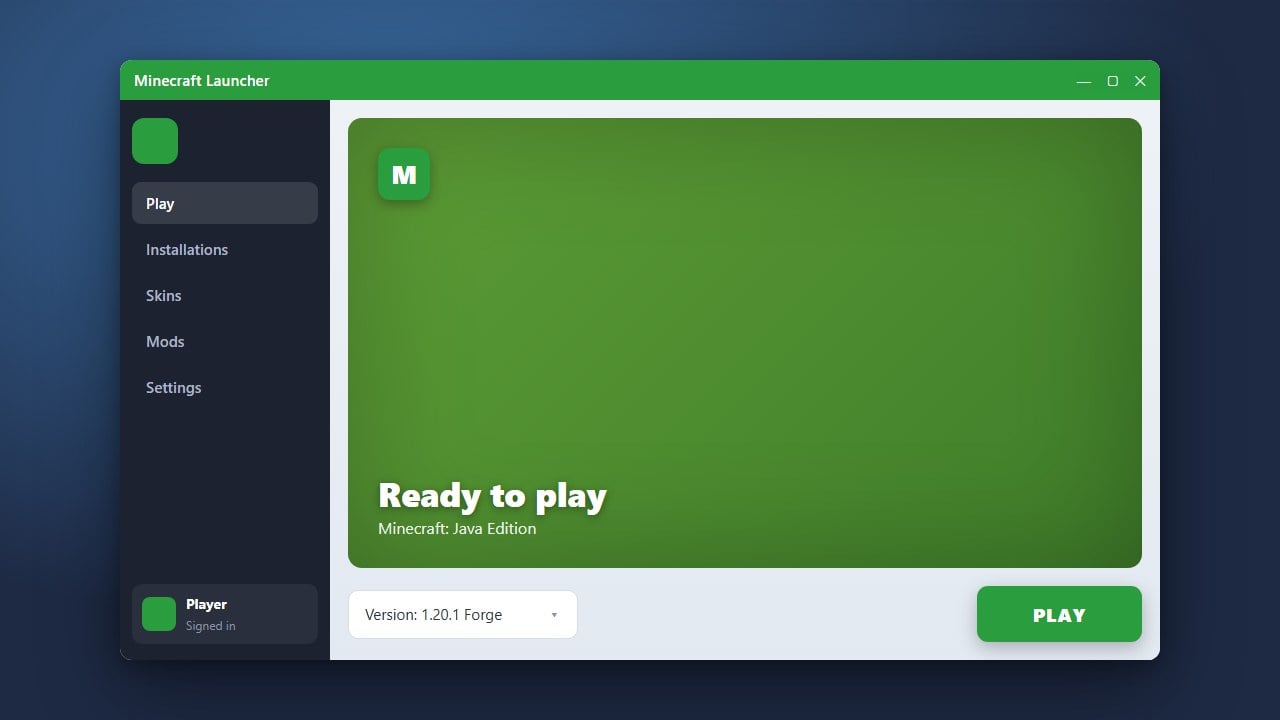
Once you have picked your desired version, click the install or play button. Legacy Launcher will automatically download the necessary game files, after which the game will start up.
Frequently Asked Questions
Can I play older versions of Minecraft in Legacy Launcher?
Yes, Legacy Launcher supports almost all historical Java Edition releases, including early alpha and beta builds, as well as modern updates.
Do I need an active internet connection to download a new version?
Yes, you need to be connected to the internet the first time you launch a new version so the launcher can download the game files.