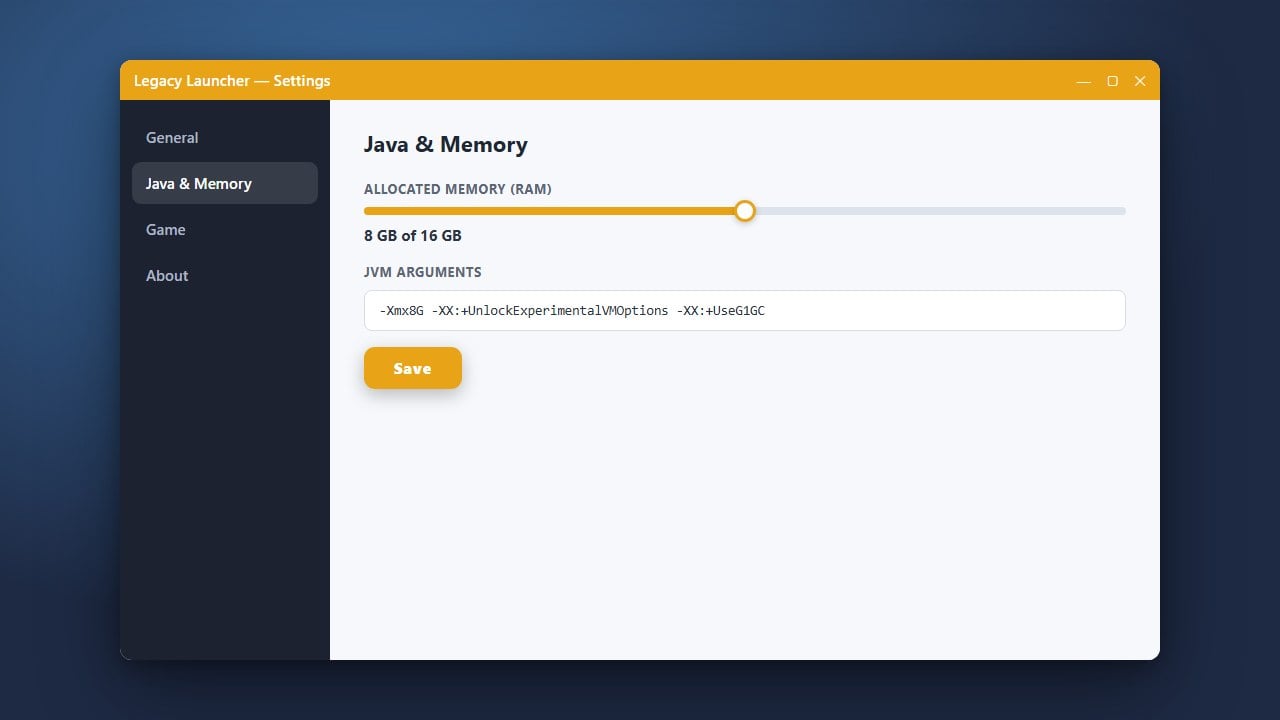
Allocating more RAM to Minecraft in Legacy Launcher can help fix stuttering, reduce lag, and ensure heavy modpacks run smoothly. If you also use other clients, you might want to check out guides like How to Allocate More RAM in TLauncher or How to Allocate More RAM in SKlauncher for similar setups.
Never allocate all of your computer's available RAM to Minecraft, as your operating system needs memory to function properly.
Open Legacy Launcher
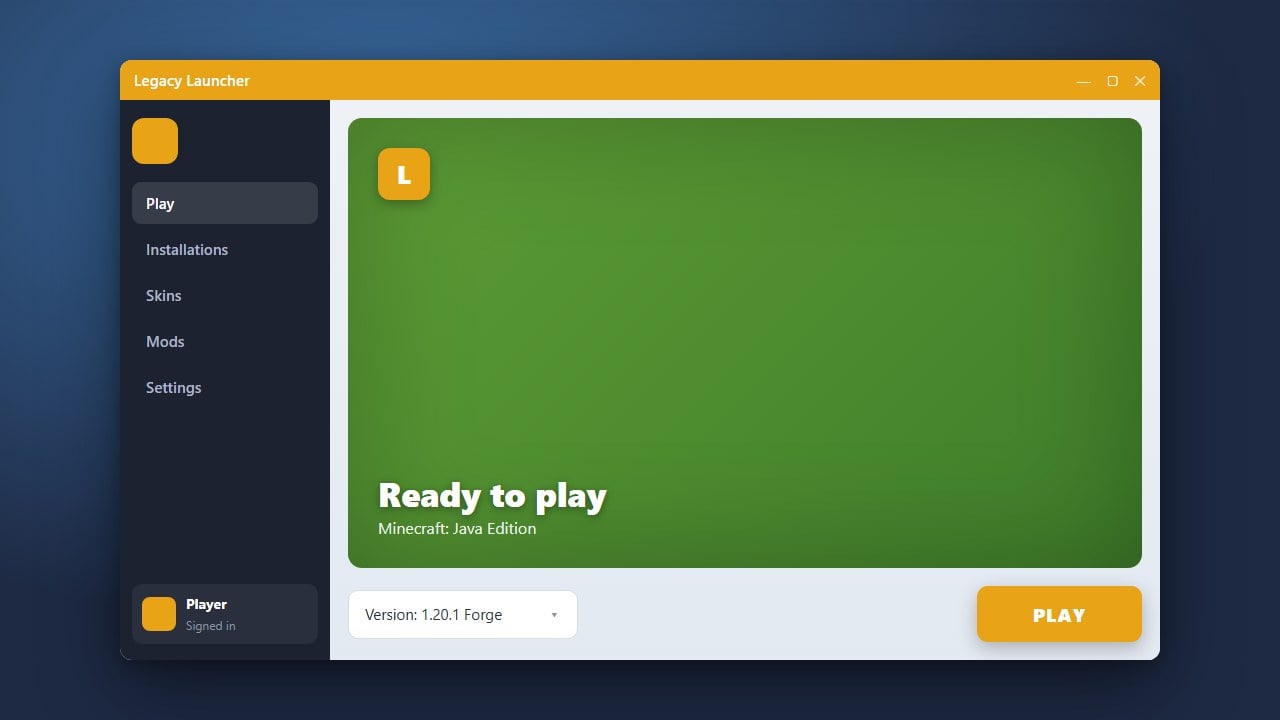
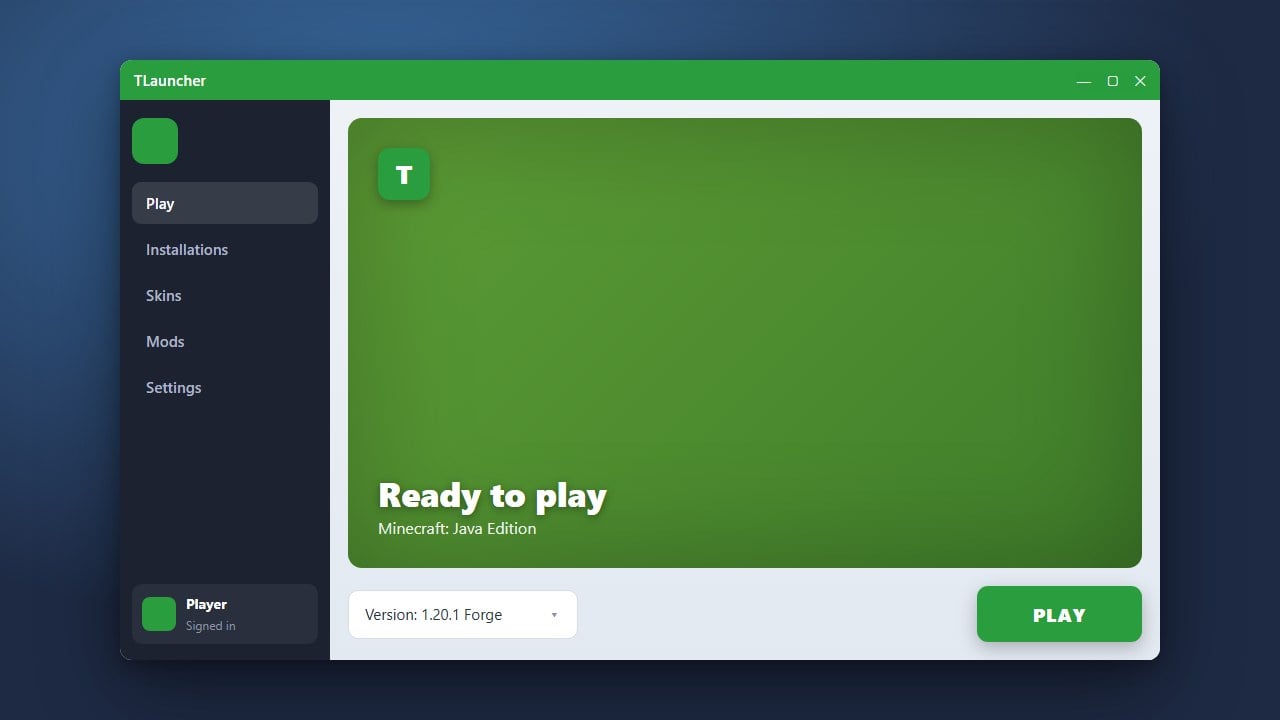
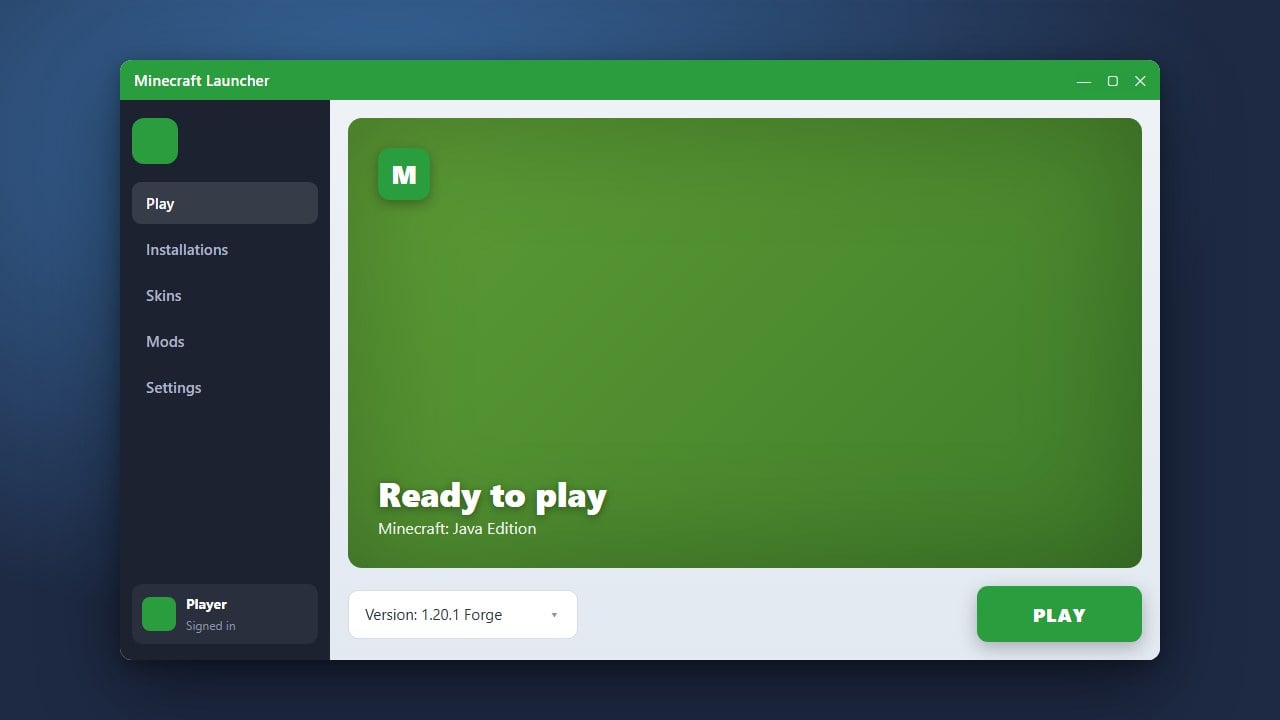
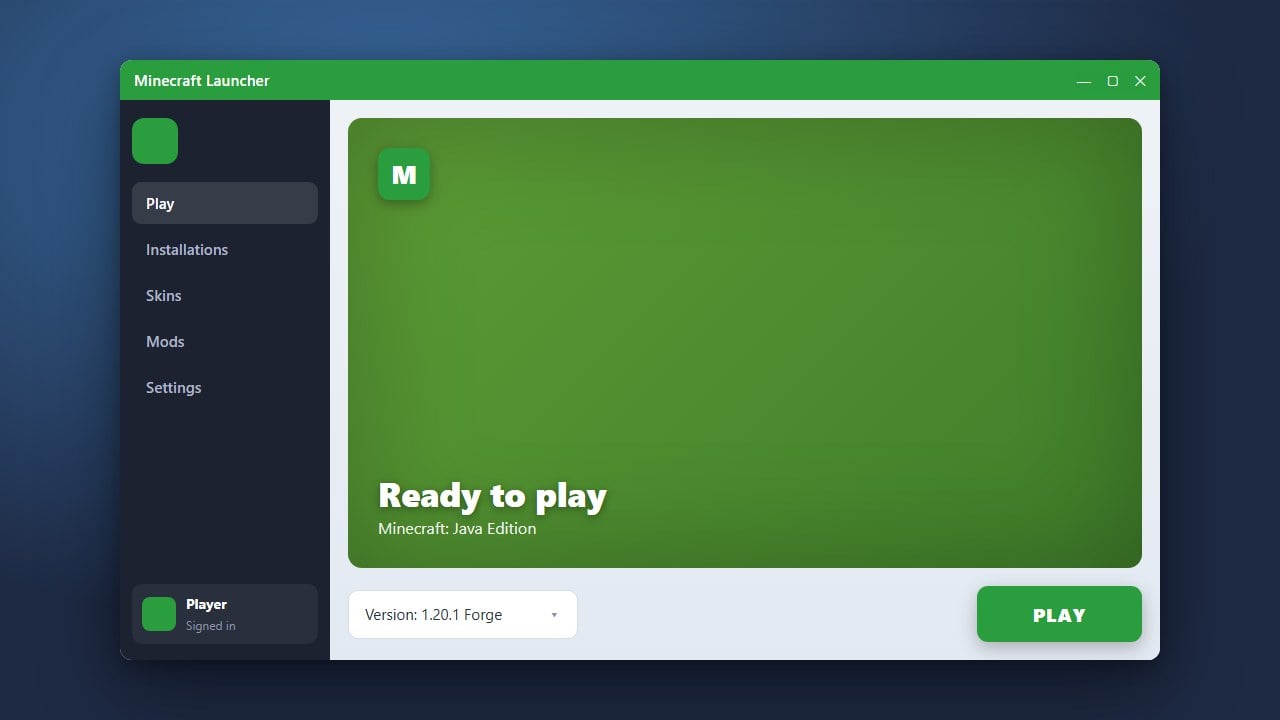
Start by launching Legacy Launcher on your computer. Make sure you are logged into your account before proceeding to the settings menu.
Navigate to Settings
Look for the Settings icon (usually represented by a gear or cog symbol) located near the bottom right corner of the launcher window and click it to open the preferences menu.
Locate the Memory Allocation Slider
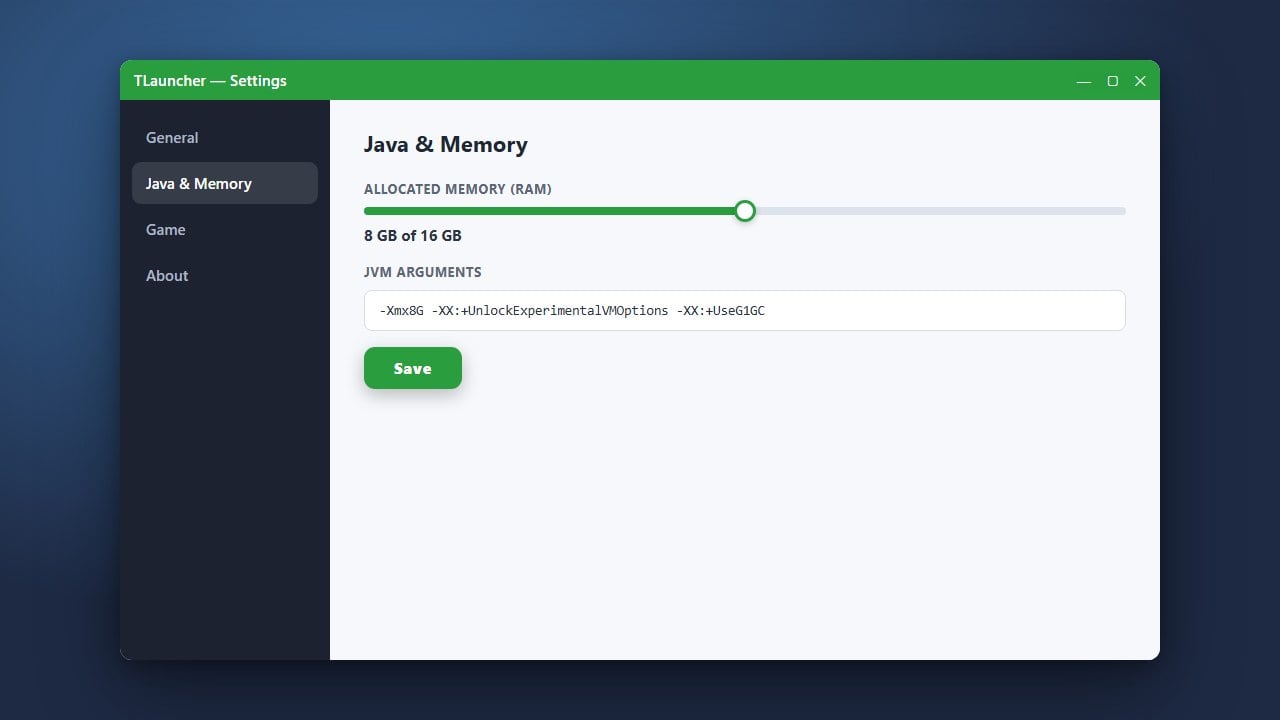
Inside the settings window, find the slider or input field labeled Memory Allocation or RAM. This slider controls how much system memory Minecraft is allowed to use.
Adjust Your RAM Amount
Drag the slider to your desired RAM amount. For vanilla Minecraft, 2GB to 4GB is usually plenty, but heavy modded versions may require more. Be careful not to allocate more than half of your total physical RAM to avoid slowing down your entire PC.
Save and Launch Minecraft
Click the Save or Apply button to confirm your changes. You can now start your game, and it will run with the newly assigned memory limit.
Frequently Asked Questions
How much RAM should I allocate to Minecraft?
For vanilla Minecraft, 2GB to 4GB is ideal. If you are playing with heavy modpacks, you may need 6GB to 8GB depending on your system specs.
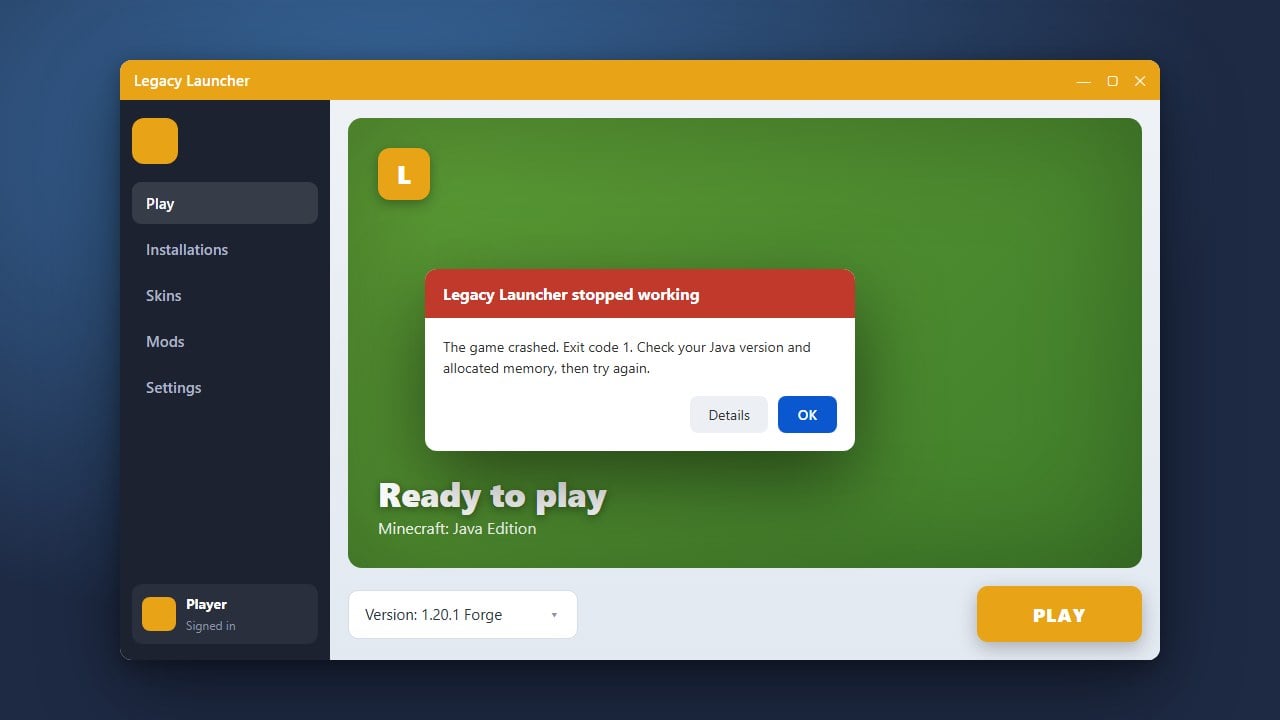
Why does my game crash when I allocate too much RAM?
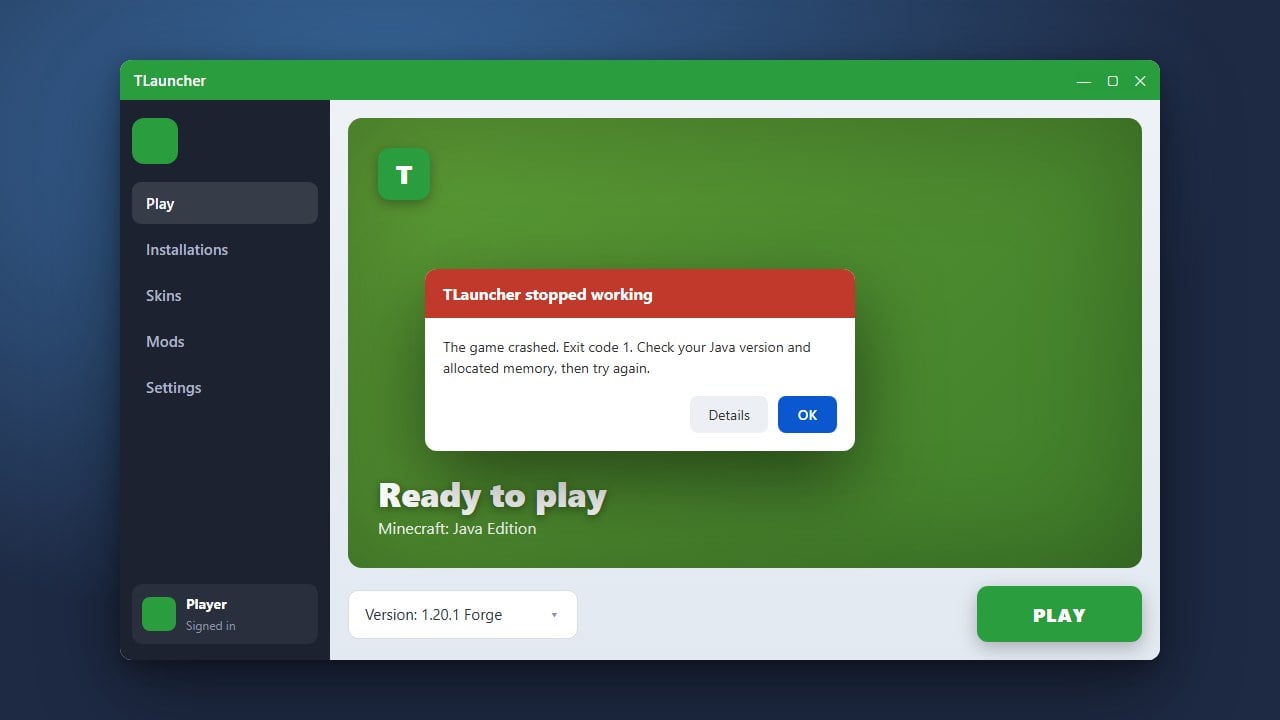
Allocating too much memory can starve your operating system or trigger Java garbage collection issues, leading to crashes. Always leave at least half your total RAM free for Windows and background apps.