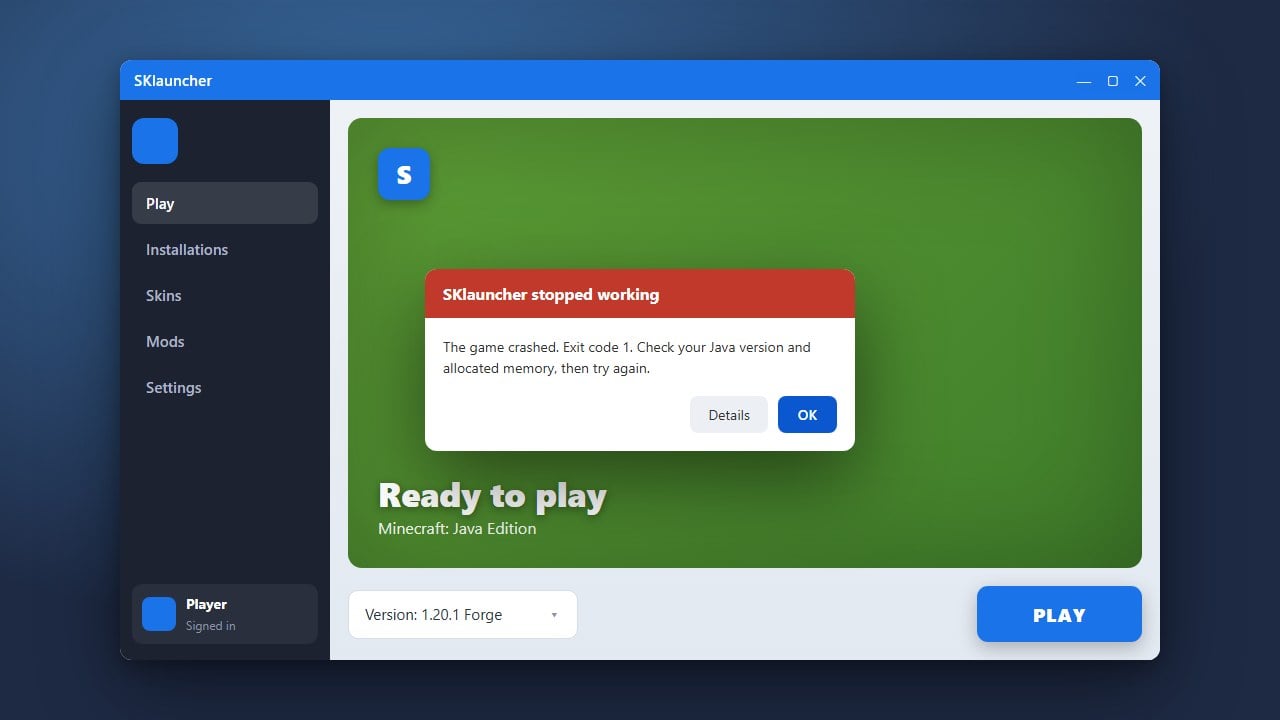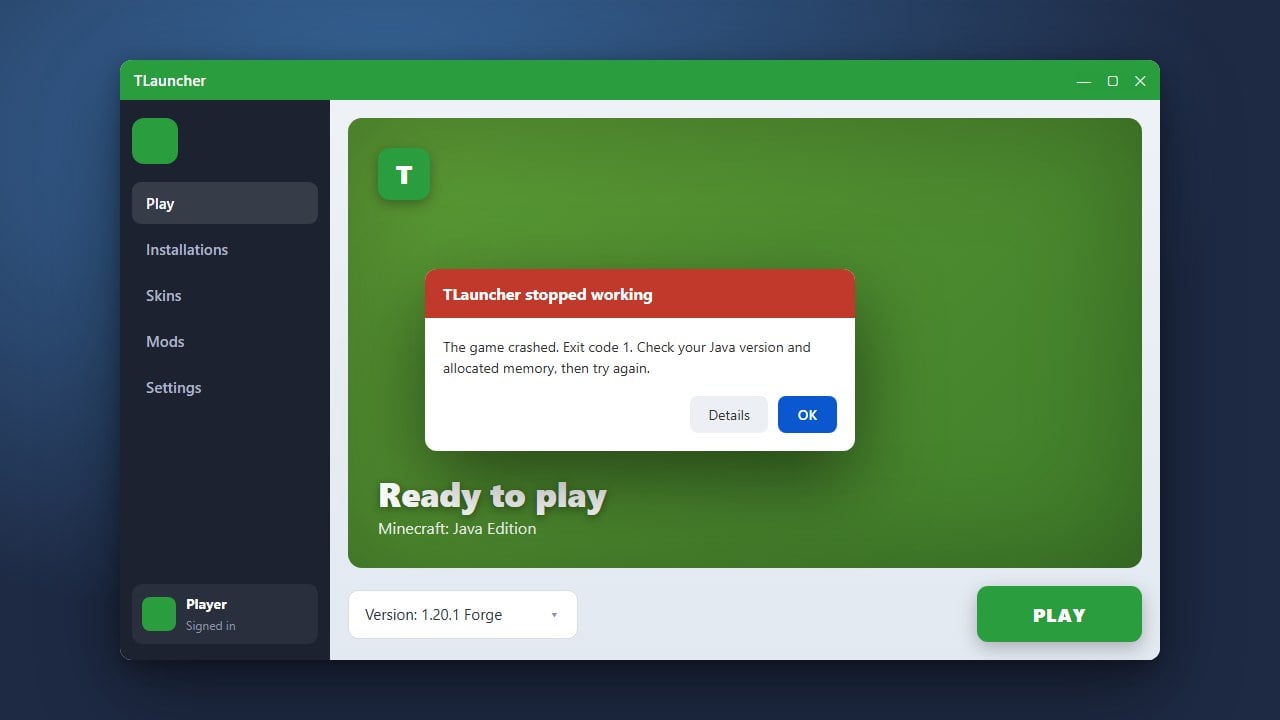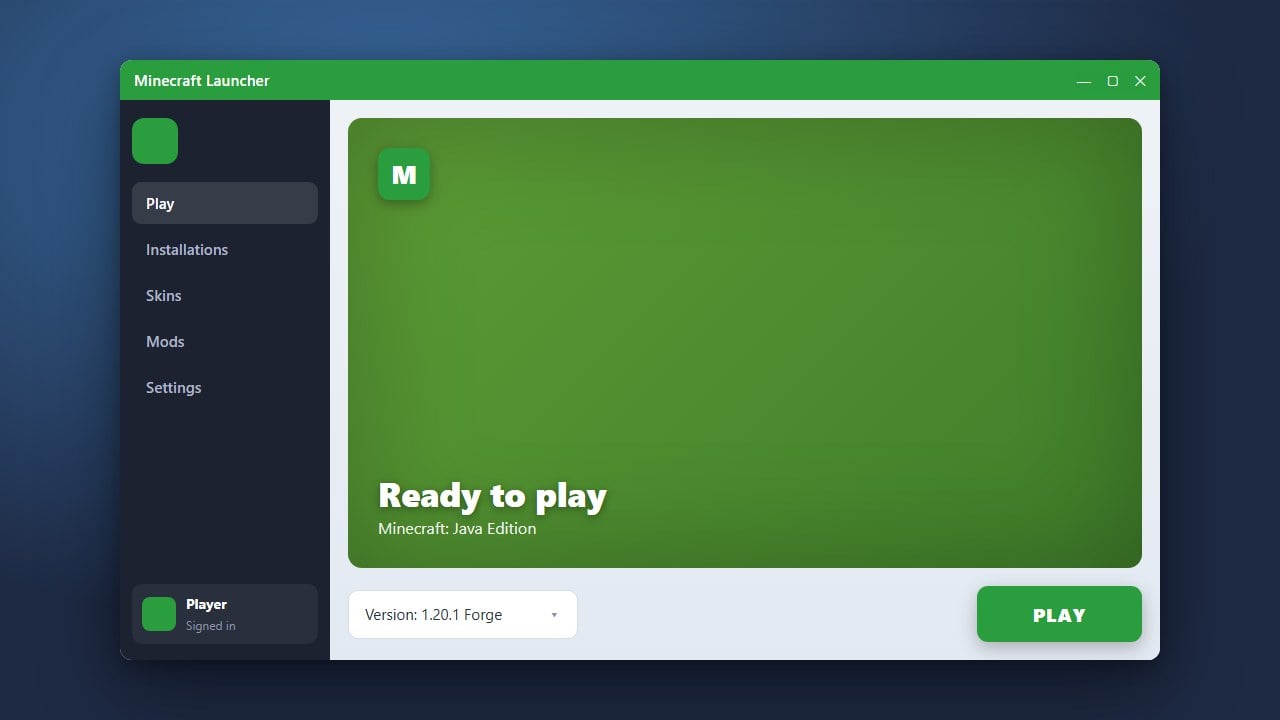
If your Minecraft game is lagging, stuttering, or crashing due to running out of memory, allocating more RAM in SKlauncher is a quick and effective fix. Follow this step-by-step guide to adjust your memory settings properly for Minecraft Java Edition.
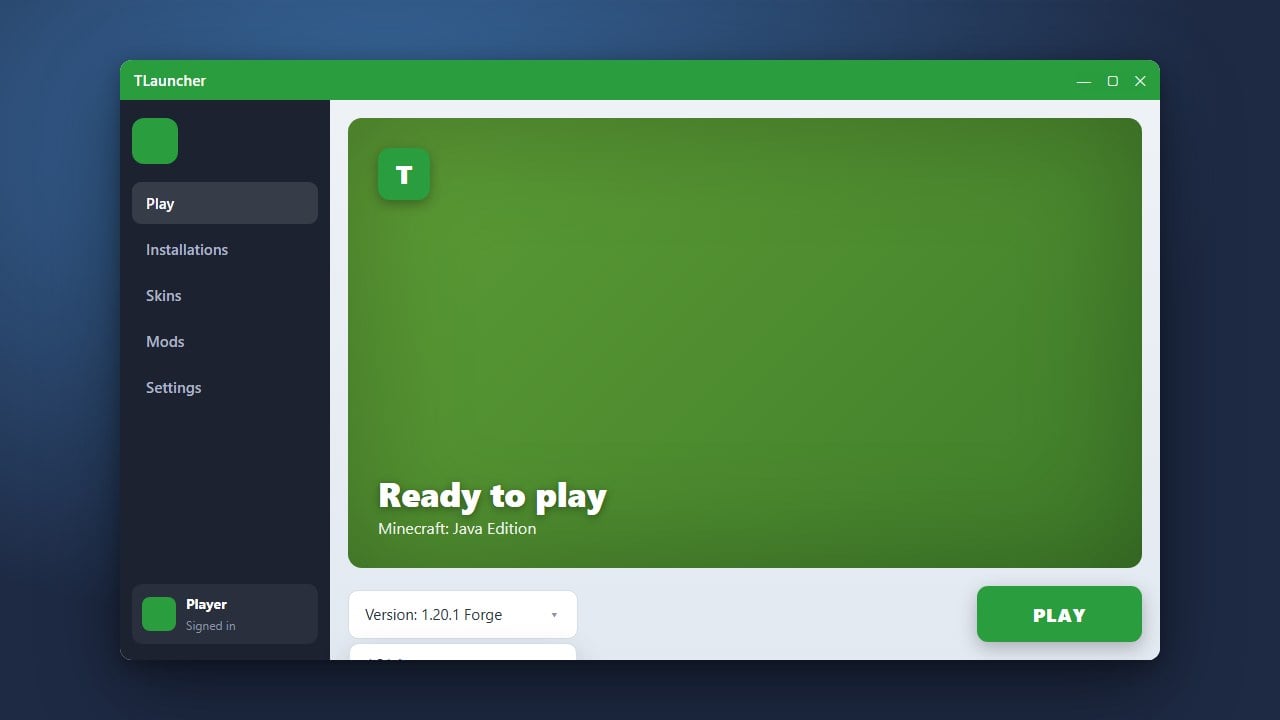
Open SKlauncher
Start by launching SKlauncher on your computer and making sure you are logged into your account. If you haven't set up the launcher yet, you can learn more through our How to Download and Install SKlauncher guide before proceeding.
Navigate to Profiles or Settings
In the main dashboard of SKlauncher, look at the top menu bar and click on the Profiles tab. Alternatively, you can check the gear icon for general launcher settings depending on your specific version of the launcher.
Select the Target Profile
Find the specific game profile or version for which you want to increase memory. Click on it to open the profile editing options where you can customize game arguments, versions, and performance parameters.
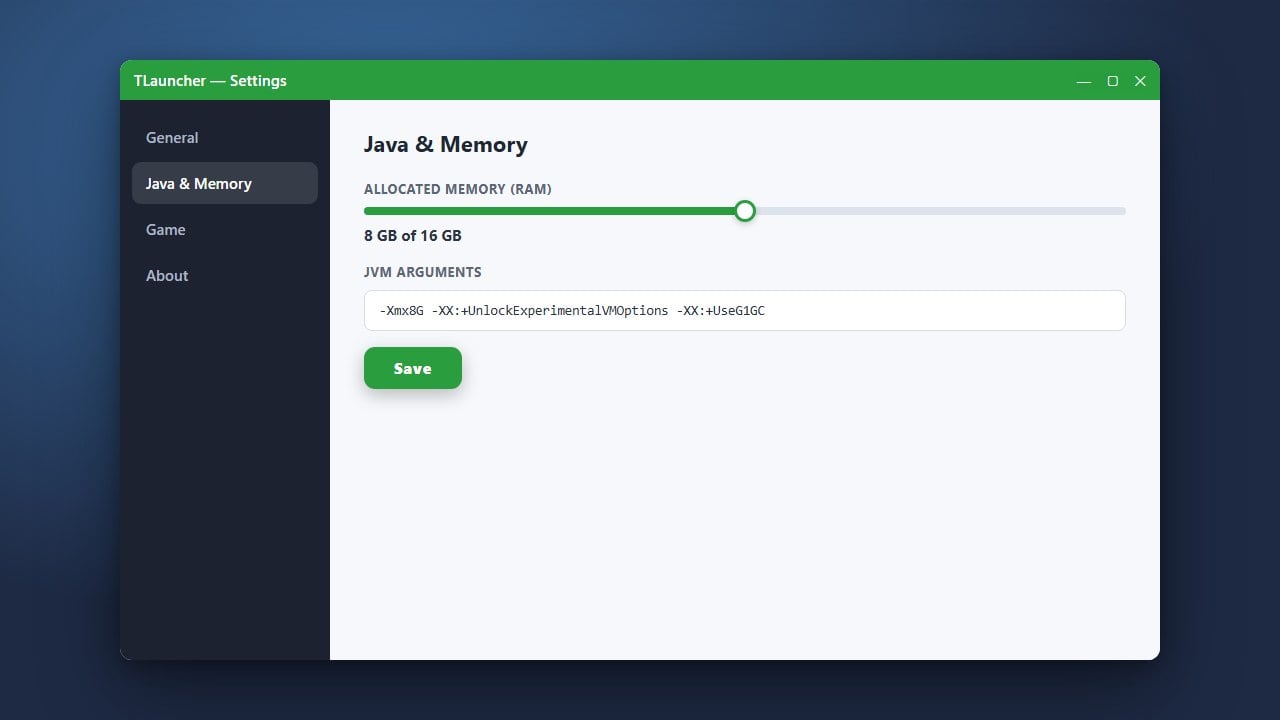
Adjust the RAM Allocation Slider
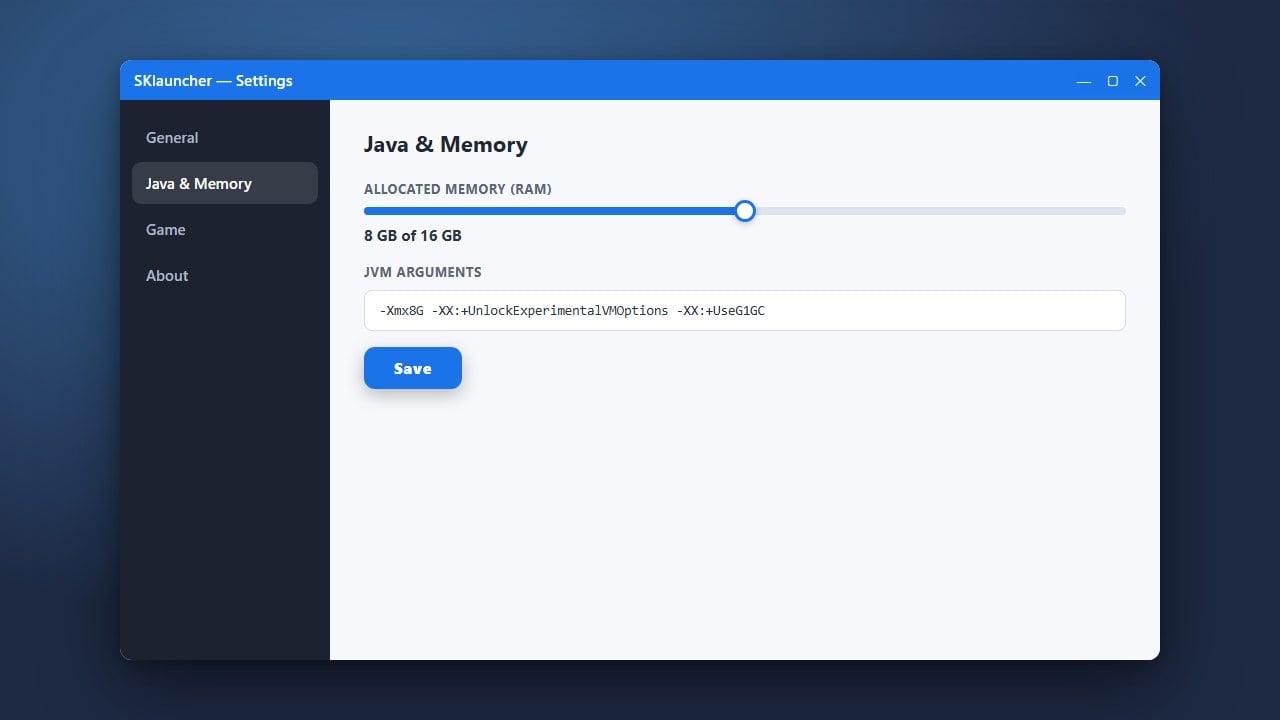
Scroll down until you locate the Java memory settings or RAM slider. Drag the slider to your desired memory limit, or type the exact amount in megabytes (for example, typing 4096 for 4GB of RAM).
Save Your Changes
Click the Save button to apply your new memory allocation settings. You can now launch your game with the updated RAM configuration, and if you ever need to change game versions, check out How to Change the Minecraft Version in SKlauncher.
Frequently Asked Questions
How much RAM should I allocate to Minecraft?
For vanilla Minecraft, 2GB to 4GB is usually more than enough. If you are playing with heavy modpacks, you may need to allocate 6GB to 8GB of RAM.
Why is my RAM slider grayed out?
If you cannot change your RAM allocation, you likely have a 32-bit version of Java installed. You must install a 64-bit version of Java to allocate more than 2GB of RAM.