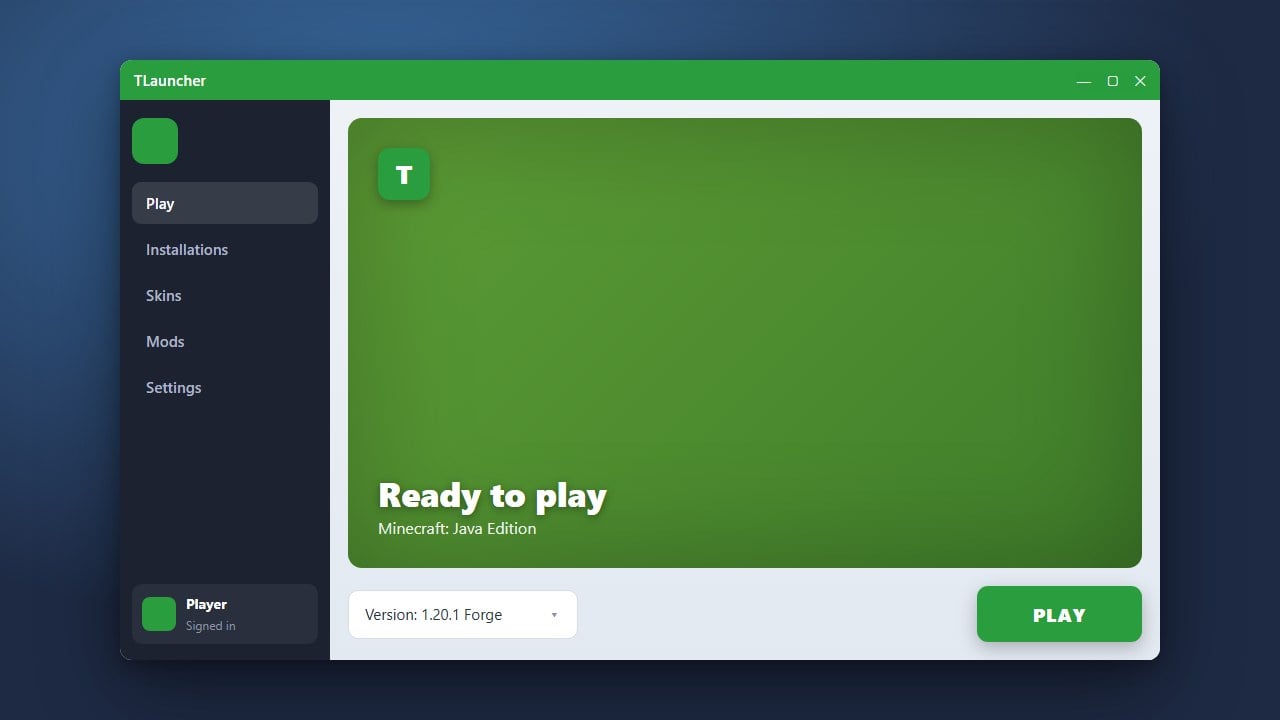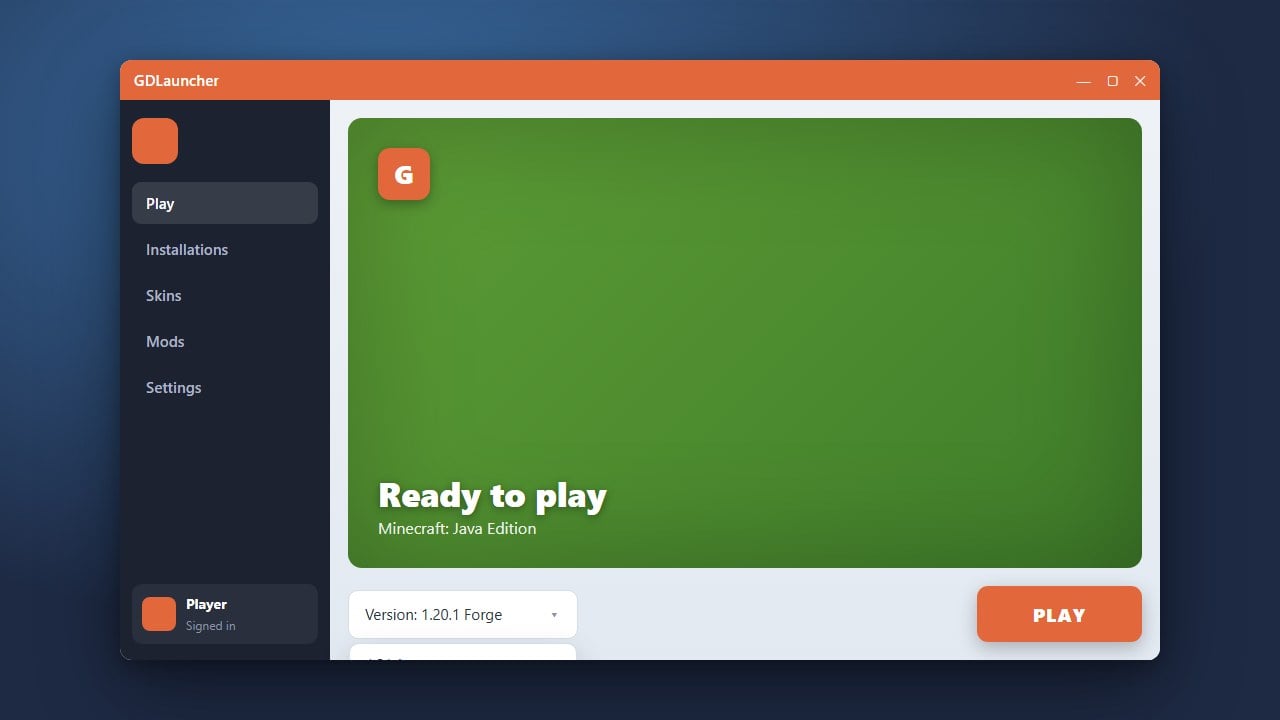
Changing your Minecraft version in GDLauncher allows you to play older updates, test the latest snapshots, or match your favorite mods. Follow this simple guide to update or downgrade your game instances quickly in Java Edition.
Always back up your world saves before downgrading your Minecraft version to prevent world corruption or loss of items.
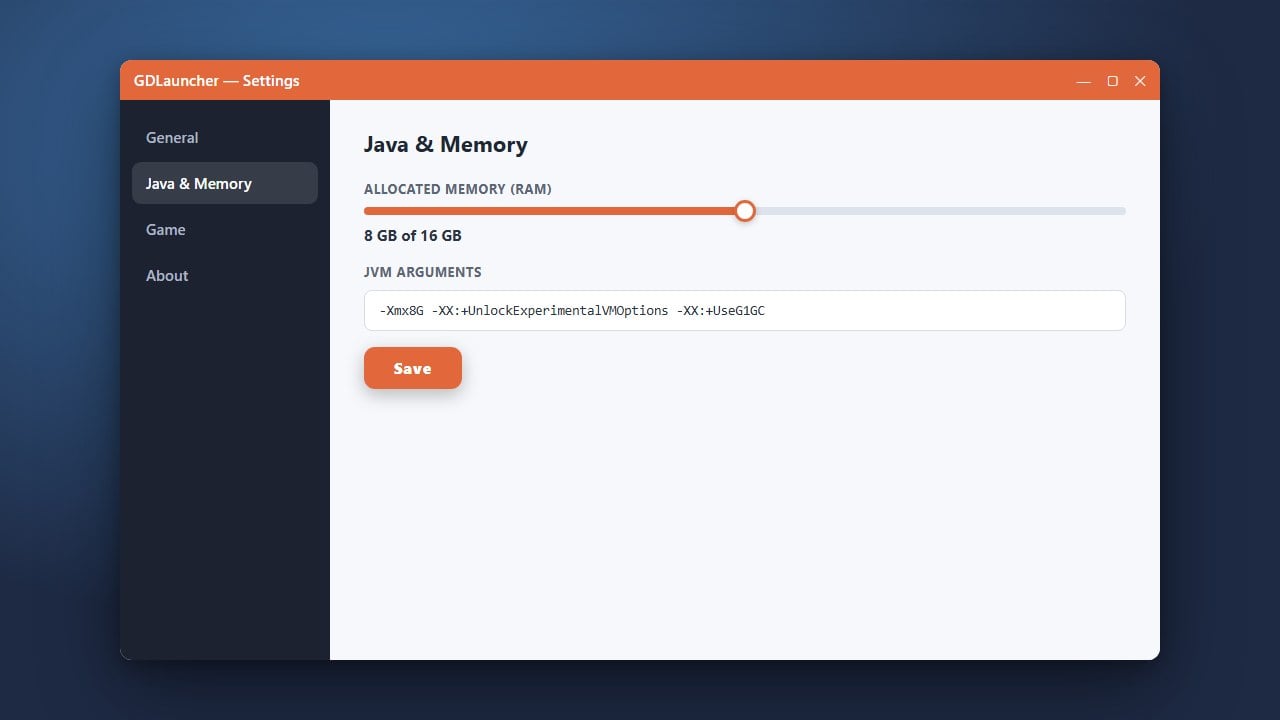
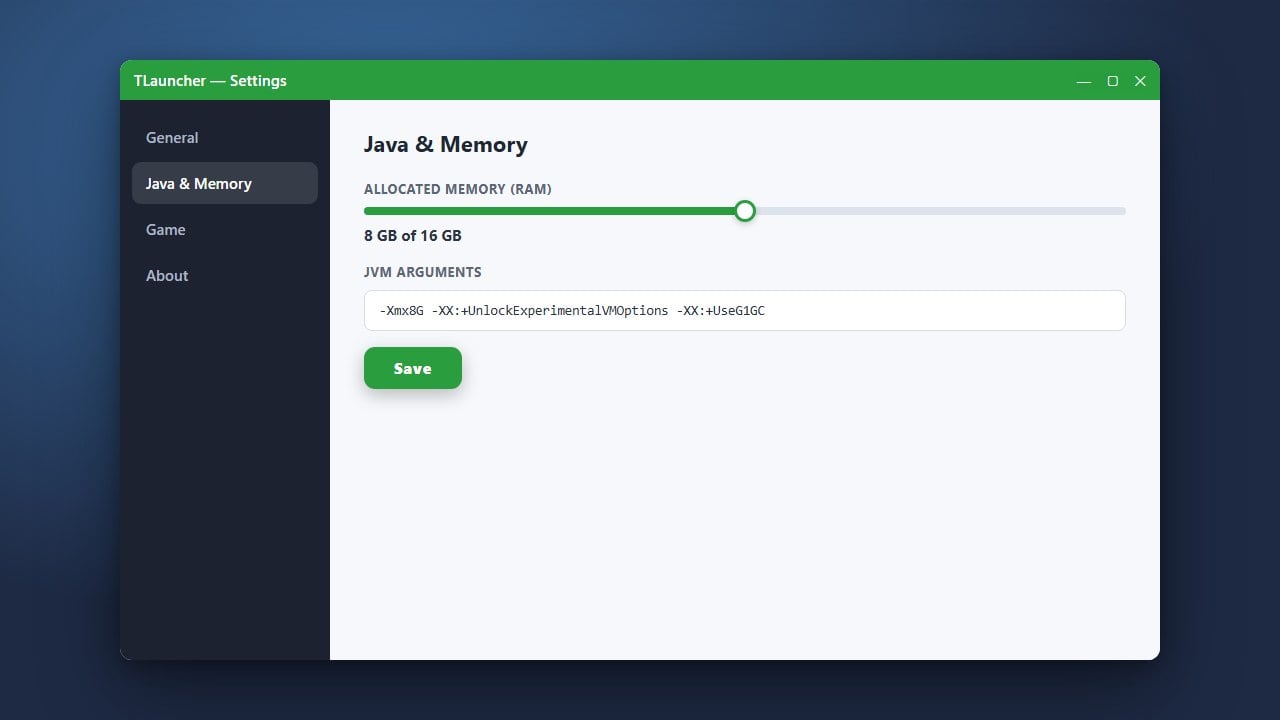
If you also want to improve your game performance while managing instances, check out our guide on How to Allocate More RAM in GDLauncher.
Open GDLauncher
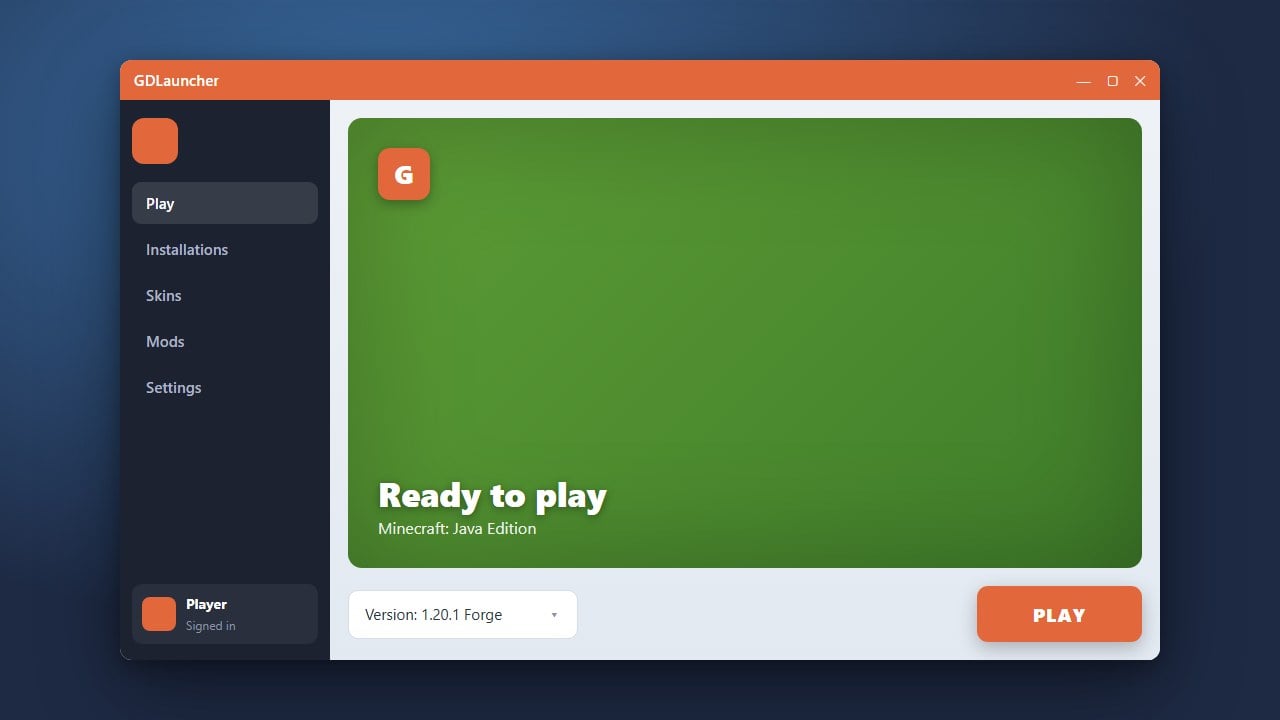
Start by launching GDlauncher on your computer and signing into your Minecraft account. Make sure the application is fully updated to ensure a smooth configuration process.
Select Your Instance
Navigate to the Instances tab on the left-hand menu where all your configured Minecraft profiles are listed. Locate the specific instance you want to modify.
Open Instance Settings
Hover over your chosen instance card and click on the Manage button or the gear icon. This will open the detailed configuration panel for that specific profile.
Change the Version
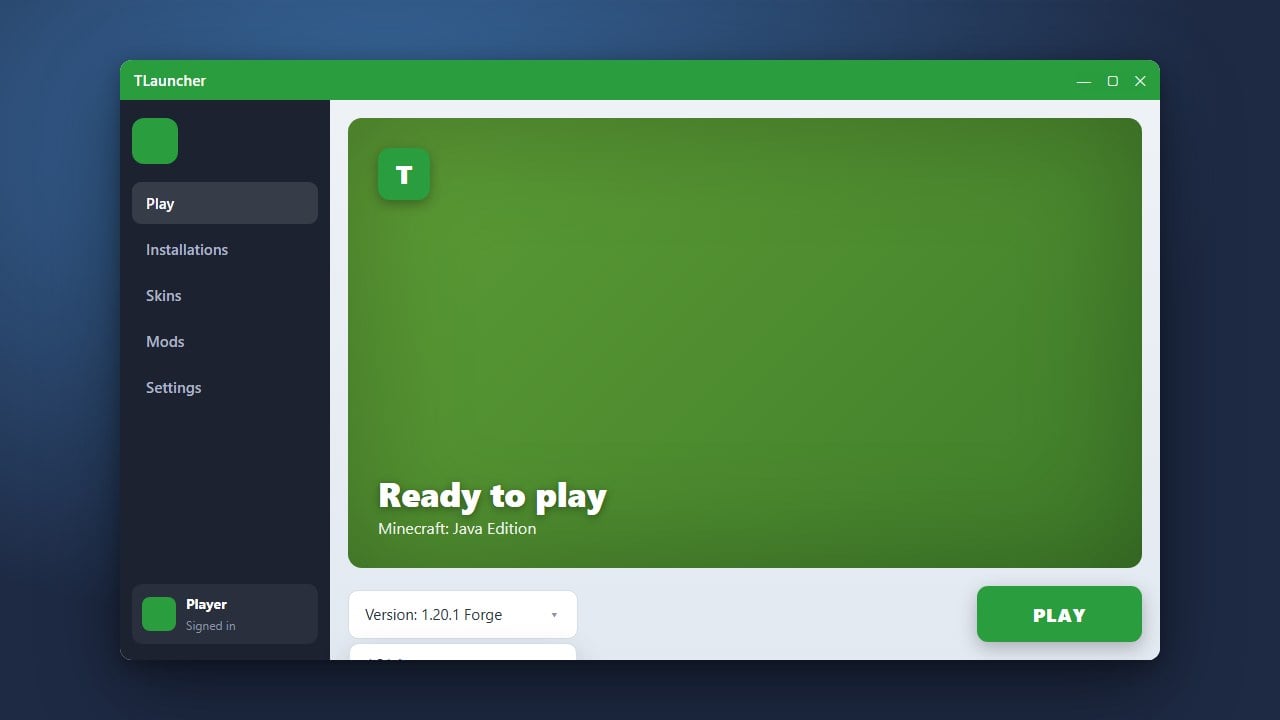
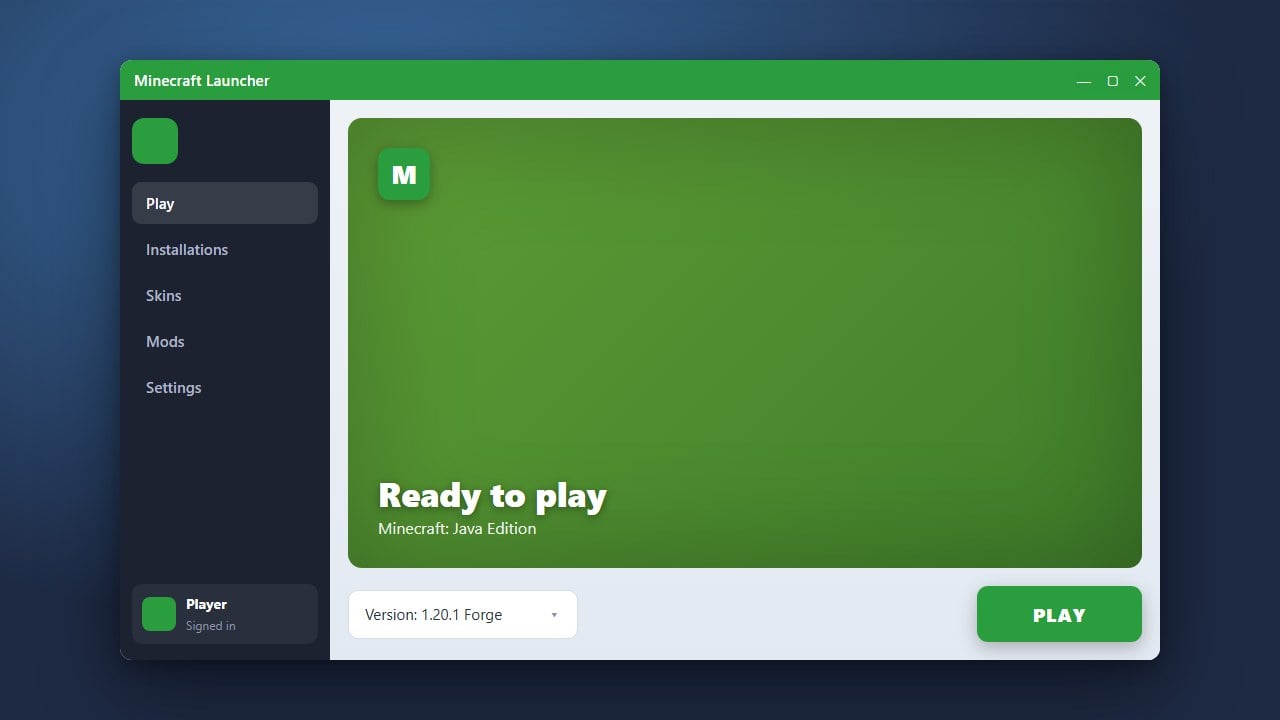
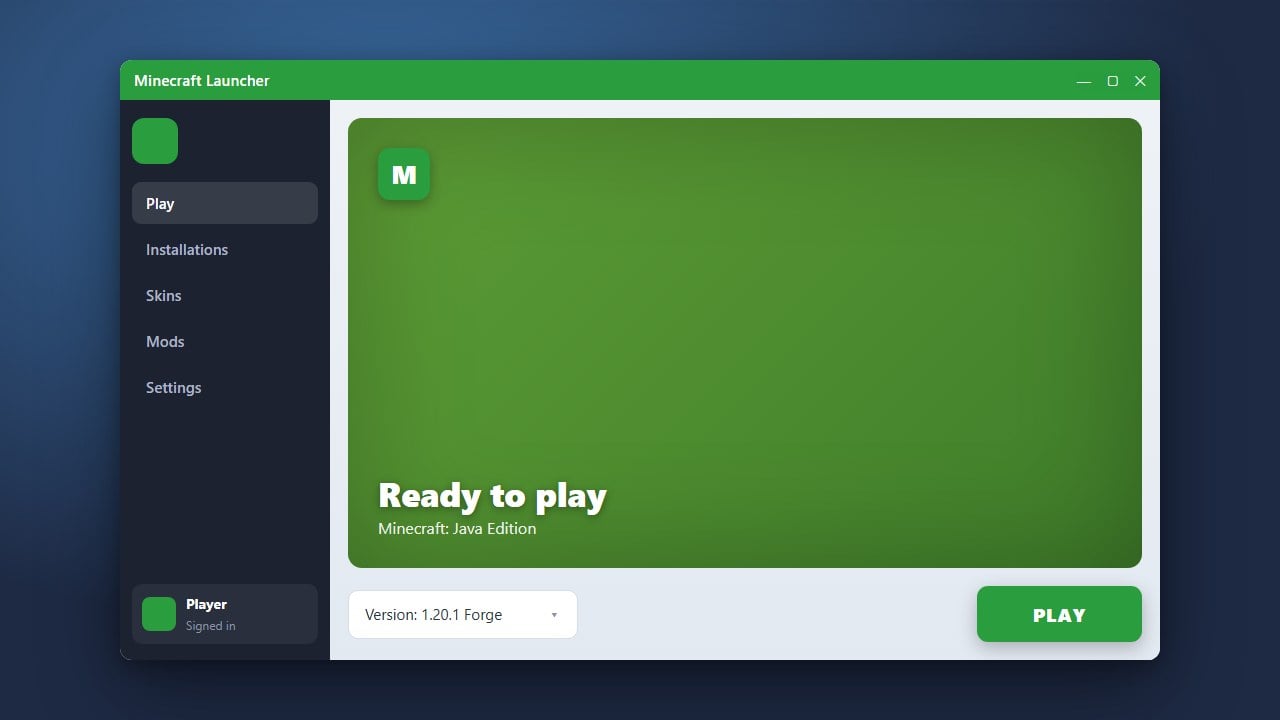
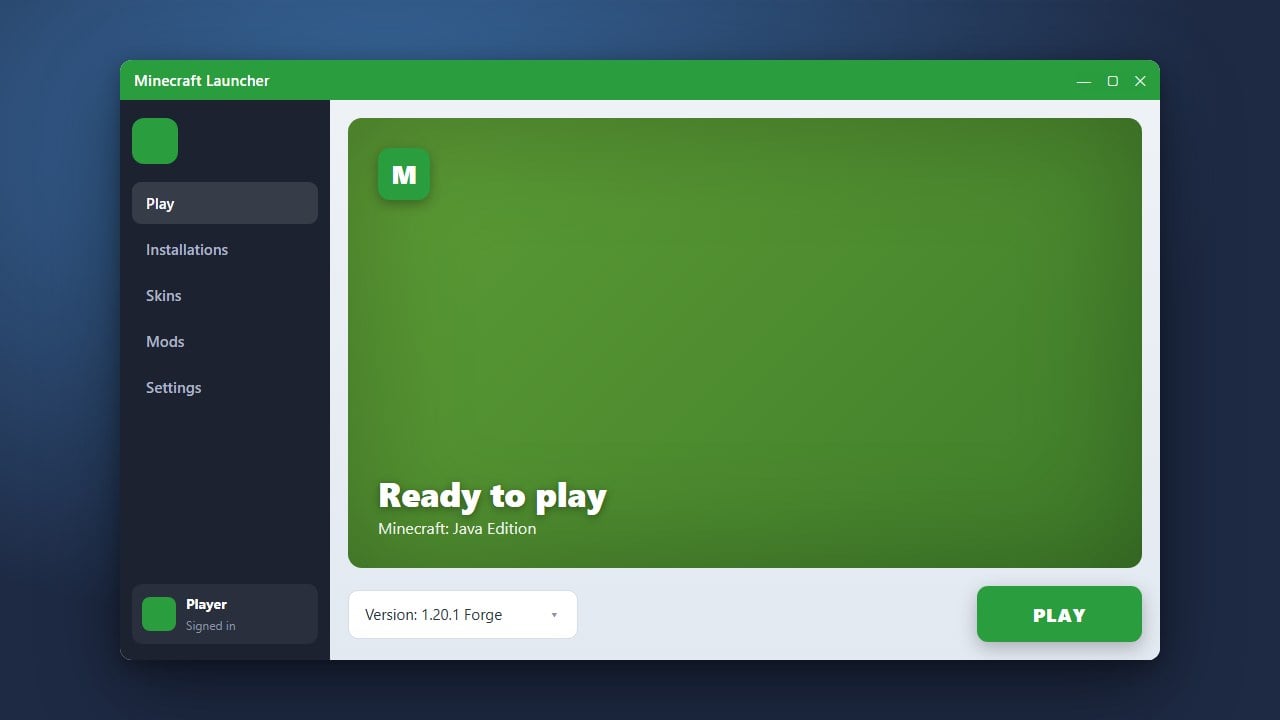
Inside the instance management menu, look for the version number display or go to the versions tab. Click on it to open the dropdown list of available Minecraft versions, then select the new version you prefer.
Save and Play
Confirm your changes and let GDLauncher download any necessary game files for the new version. Once the download finishes, hit the play button to jump back into your world.
Frequently Asked Questions
Can I change the version of an existing modded instance?
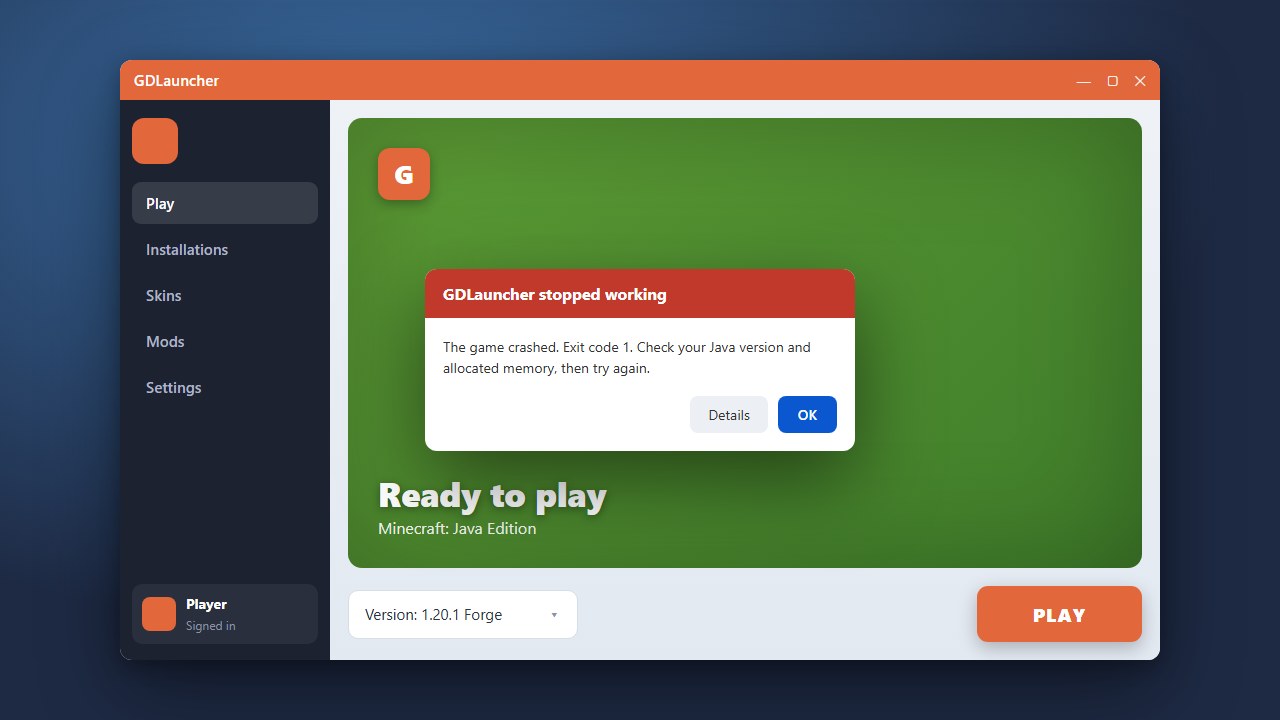
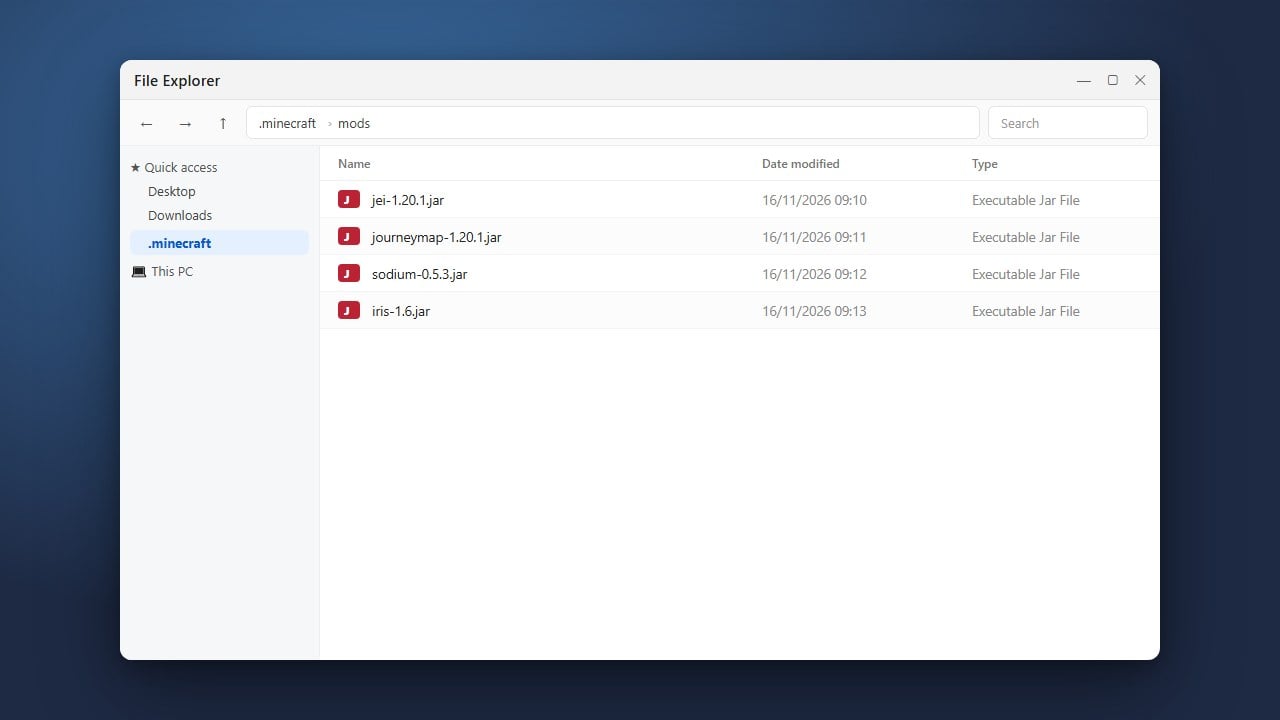
Yes, but you must ensure that all your installed mods are also updated to match the new Minecraft version, otherwise the game may crash upon launch.
Where can I find snapshot versions in GDLauncher?
You can usually enable snapshots by checking a toggle box in the version selection menu to view experimental and pre-release builds.