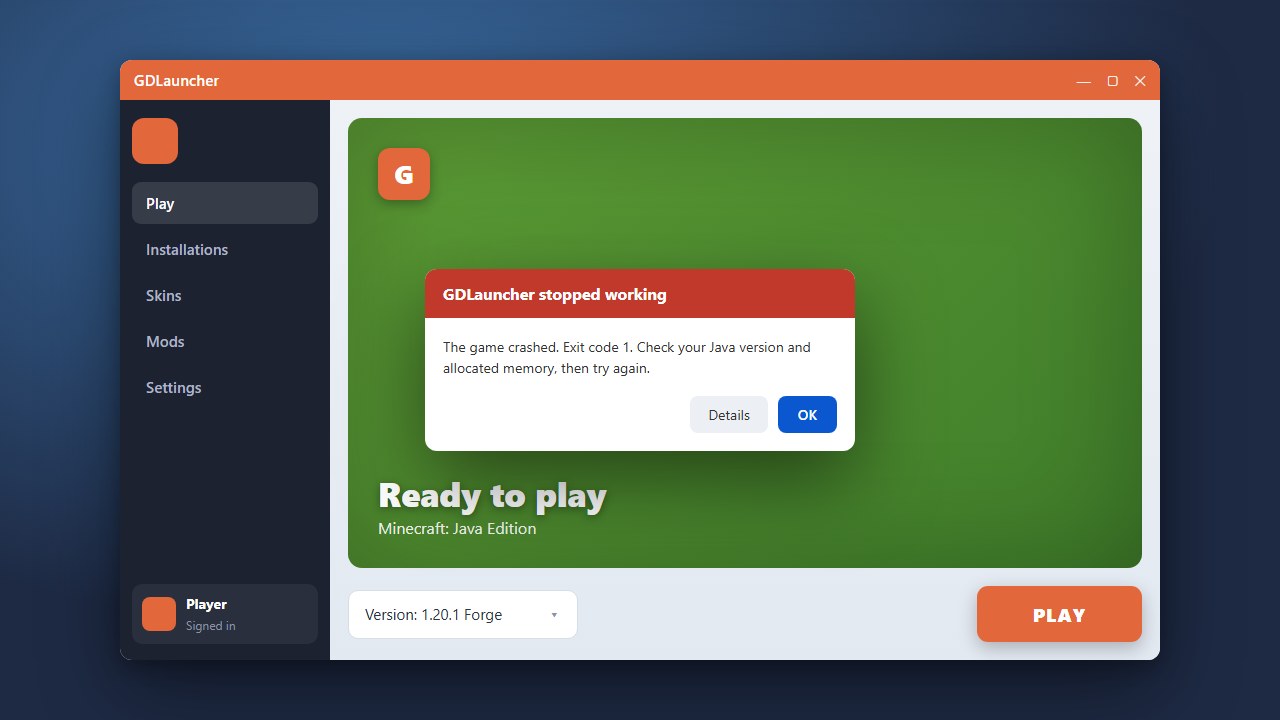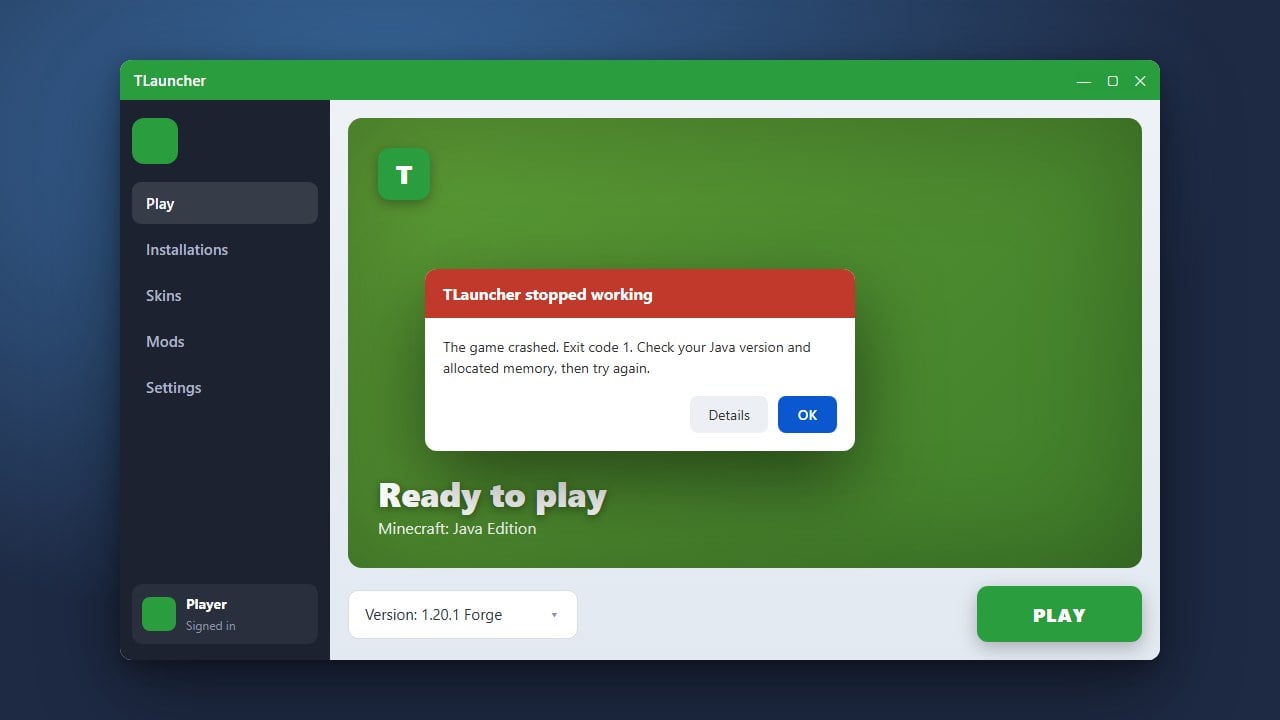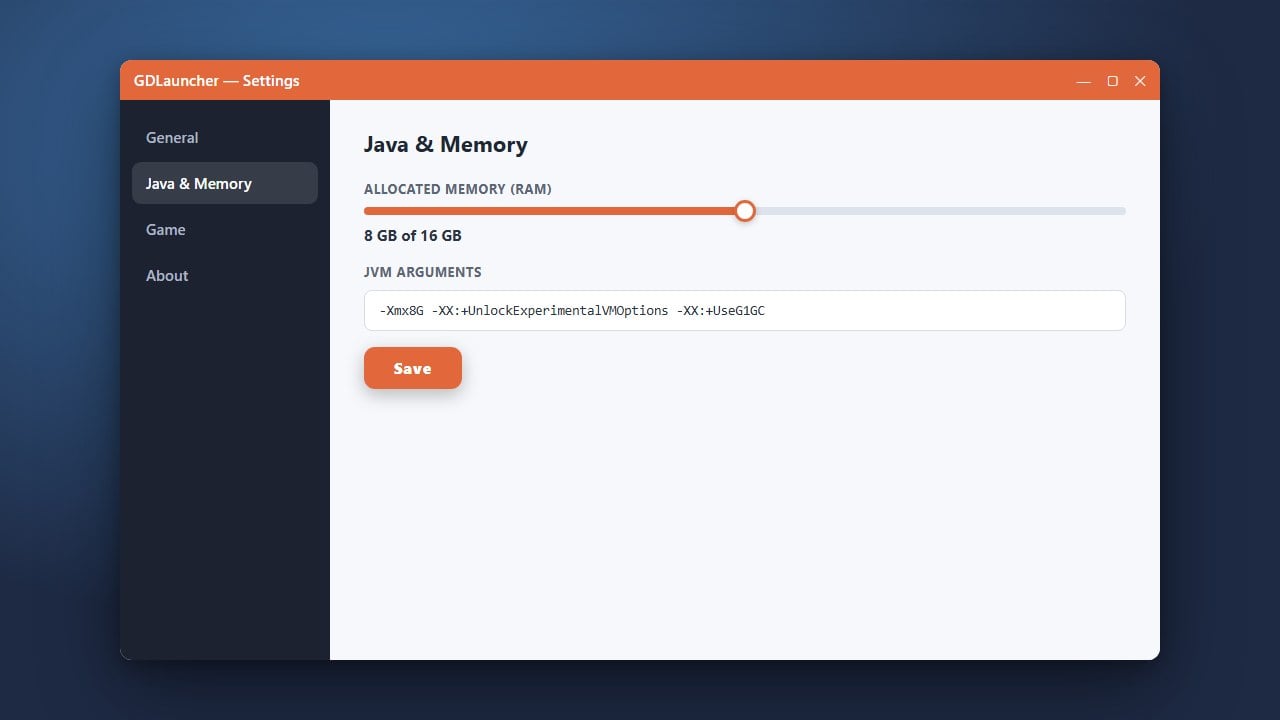
If your Minecraft game is lagging, stuttering, or crashing with out-of-memory errors, you likely need to assign more RAM. This guide will show you how to quickly change your memory allocation settings in GDLauncher for Java Edition.
Never allocate all of your computer's total RAM to Minecraft. Always leave at least 2GB to 4GB free for your operating system and background applications to prevent system crashes.
Open GDLauncher Settings
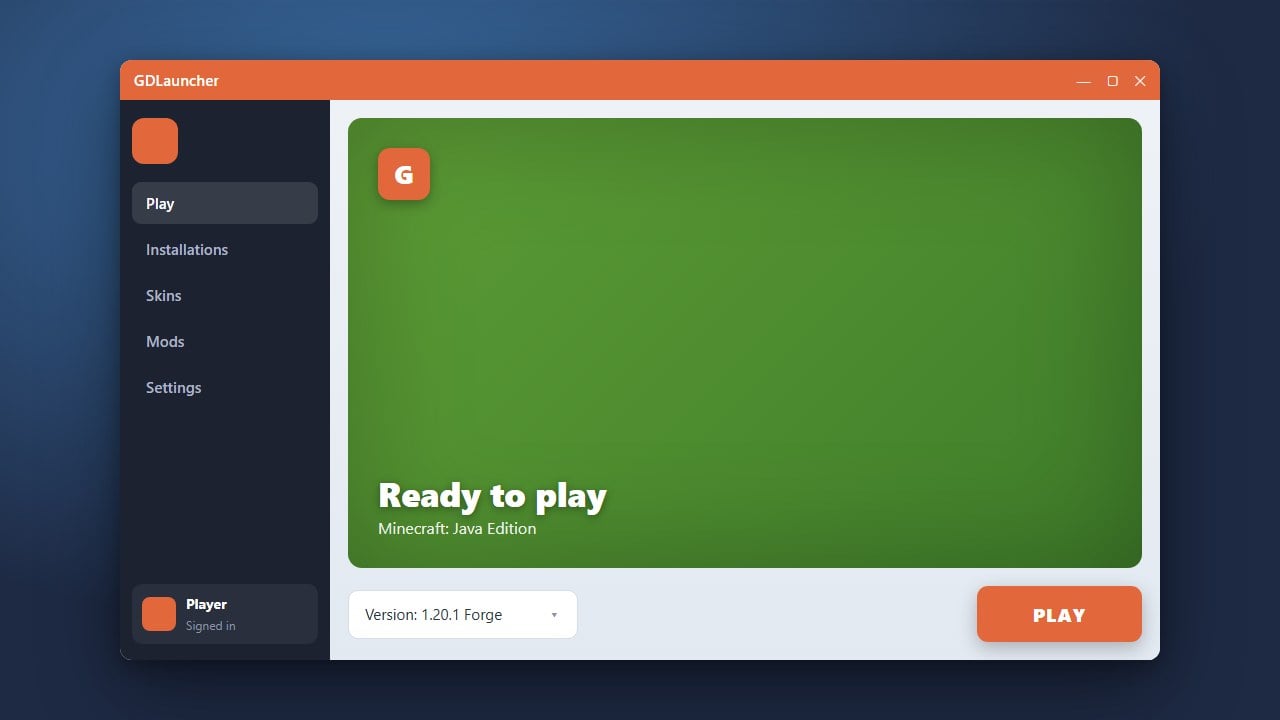
Launch GDLauncher on your computer. Looktowards the bottom left or top right corner of the application window and click on the Settings icon (usually represented by a gear symbol) to open the global application preferences.
Navigate to the Java Settings Tab
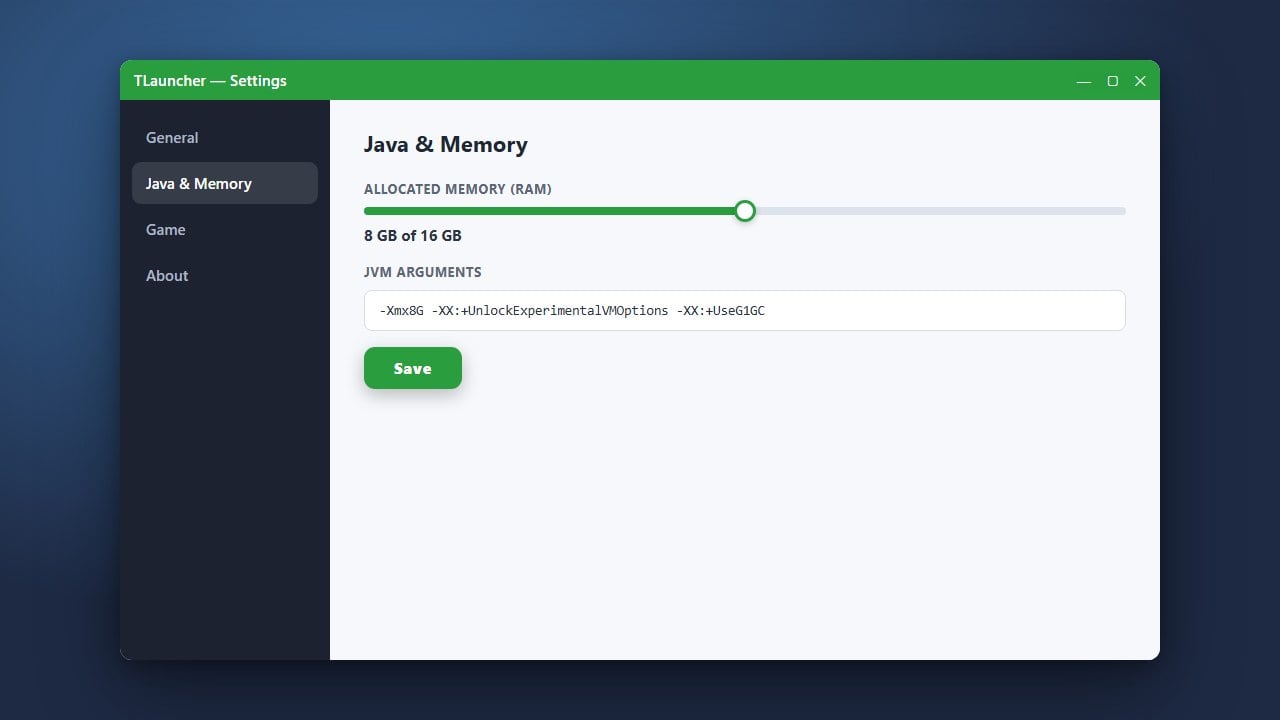
Inside the Settings menu, look at the sidebar menu options on the left side of the screen. Click on the Java tab to view your current Java runtime paths, arguments, and memory allocation sliders.
Adjust the Memory Slider
Locate the Memory or RAM slider option. Drag the marker to your desired amount of gigabytes (GB). For vanilla Minecraft, 2GB to 4GB is usually plenty, but heavy modpacks may require 6GB to 8GB depending on your total system memory.
Save and Launch Your Game
Once you have selected the appropriate amount of RAM, your changes save automatically in GDLauncher. You can now return to your instances page and start your game with the newly assigned memory.
Frequently Asked Questions
How much RAM should I allocate to Minecraft?
For vanilla Minecraft, 2GB to 4GB is ideal. For medium to heavy modded instances, 4GB to 6GB is recommended. Only go higher if you are playing massive modpacks.
Can I change the RAM for just one specific instance?
Yes! Instead of changing the global settings, right-click your specific instance in GDLauncher, go to Manage, select Settings, and override the global Java memory allocation there.