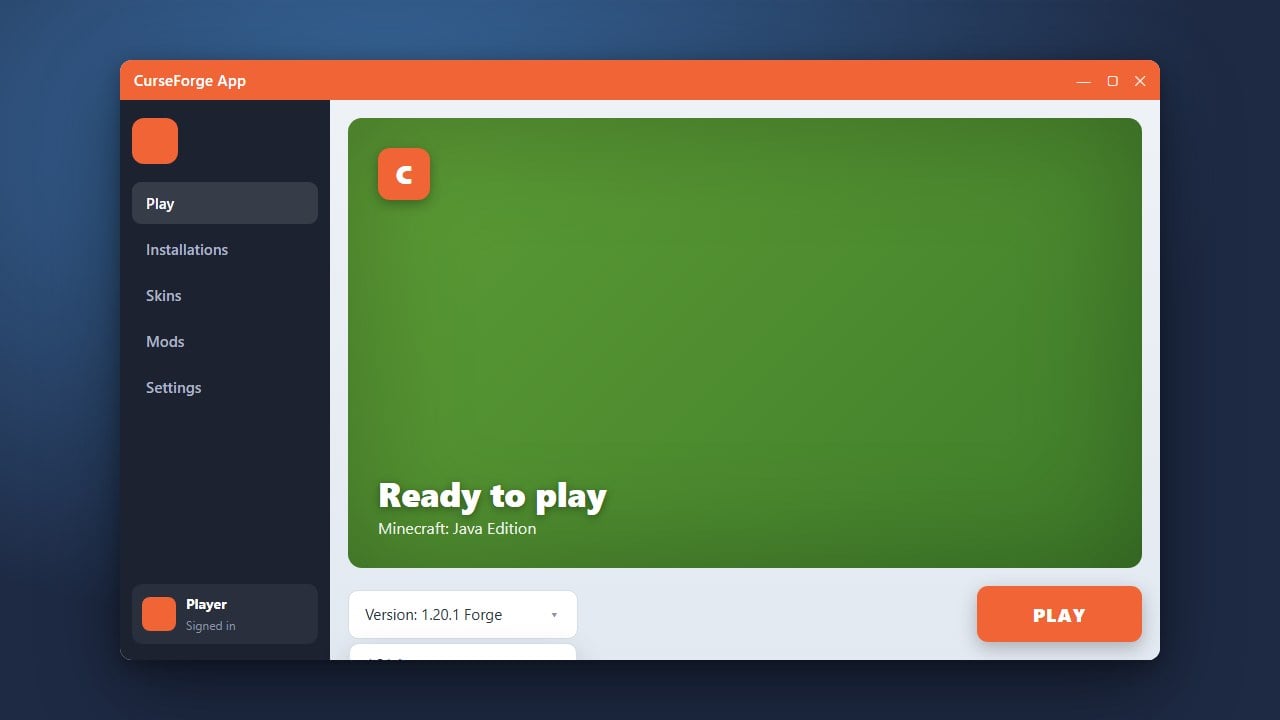
Changing your game version in the CurseForge app is essential when you want to play on specific modded setups or switch between different releases of Minecraft Java Edition. This straightforward guide will walk you through creating a new custom profile or modifying an existing setup to use your preferred version.
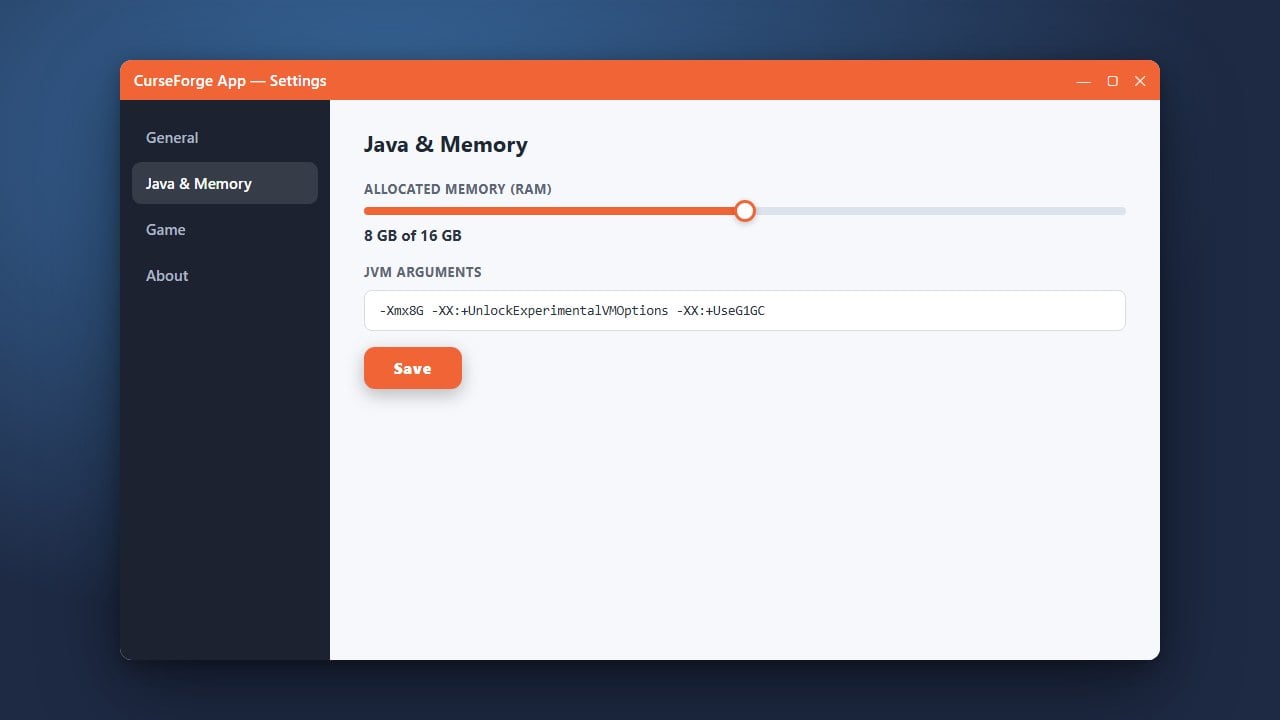
If you also need to adjust memory allocation for heavy modpacks, check out our guide on How to Allocate More RAM in CurseForge App.
Open the CurseForge App
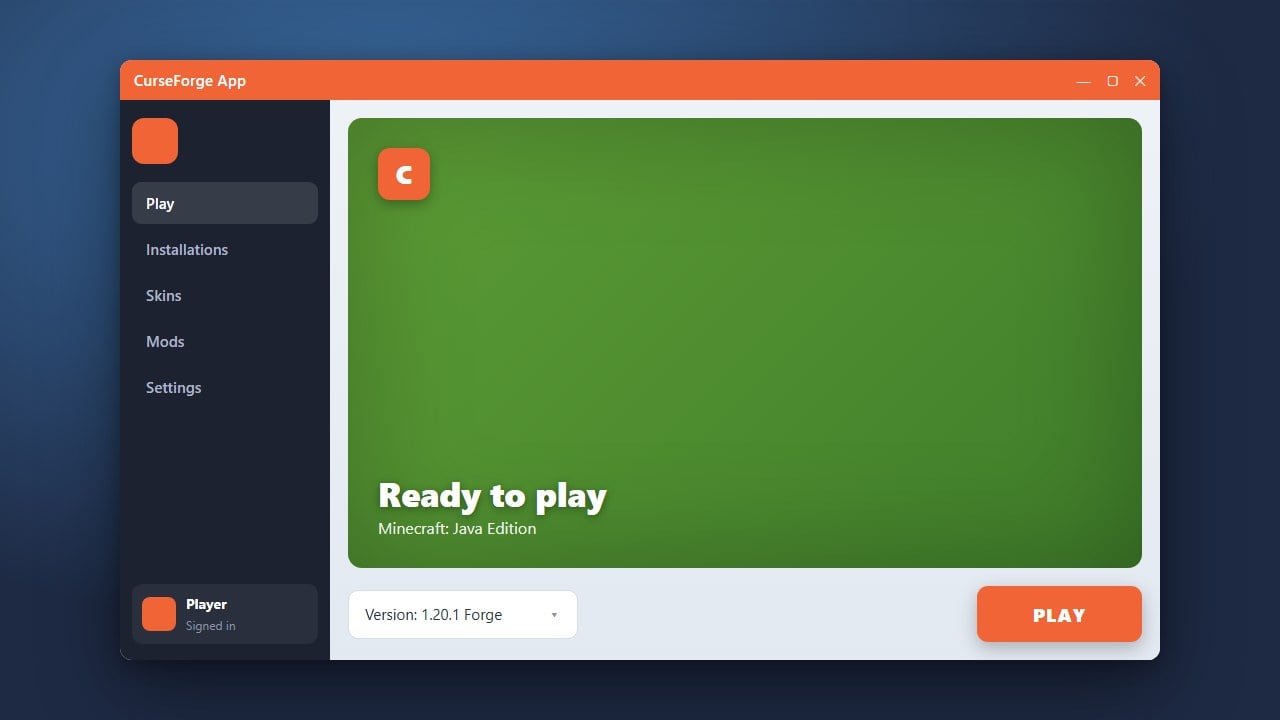
Launch the CurseForge application on your computer and make sure you are on the main dashboard. Click on the Minecraft tab to view your installed modpacks and custom profiles.
Create a New Custom Profile
If you want to start fresh on a new version, click the Create Custom Profile button located in the top right corner of the Minecraft screen. This opens a configuration menu where you can choose your exact game settings.
Select Your Desired Minecraft Version
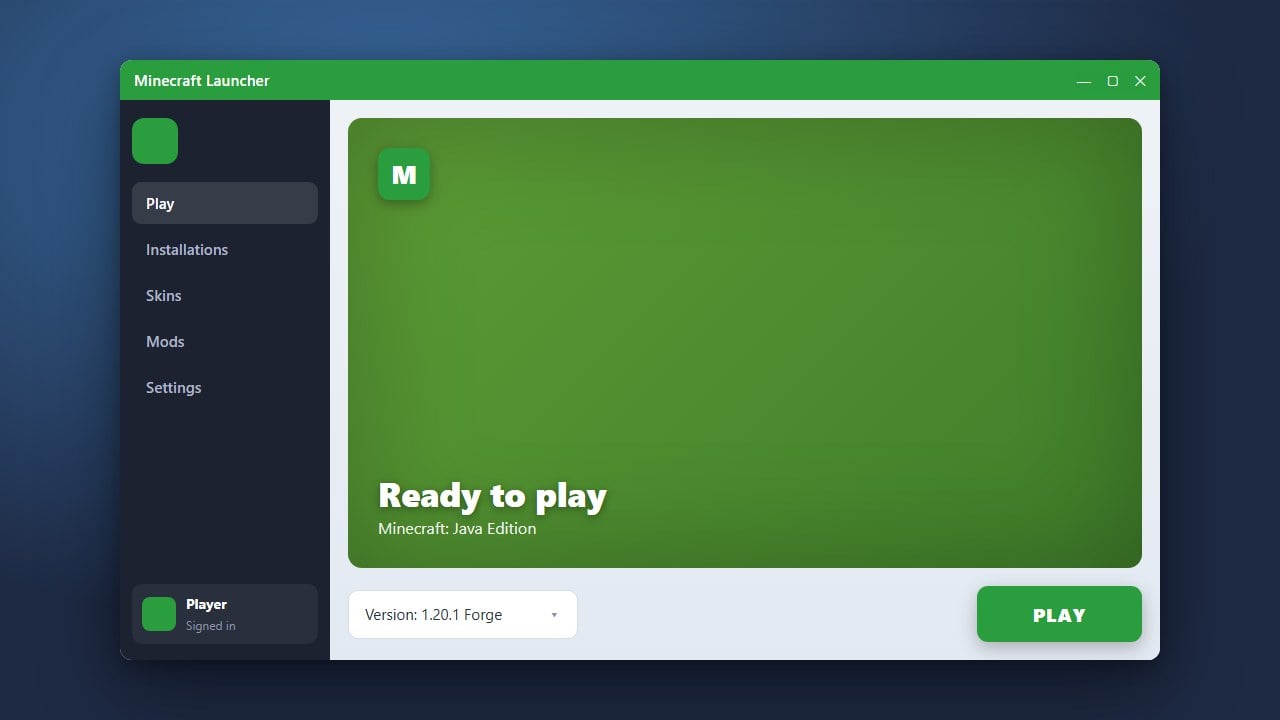
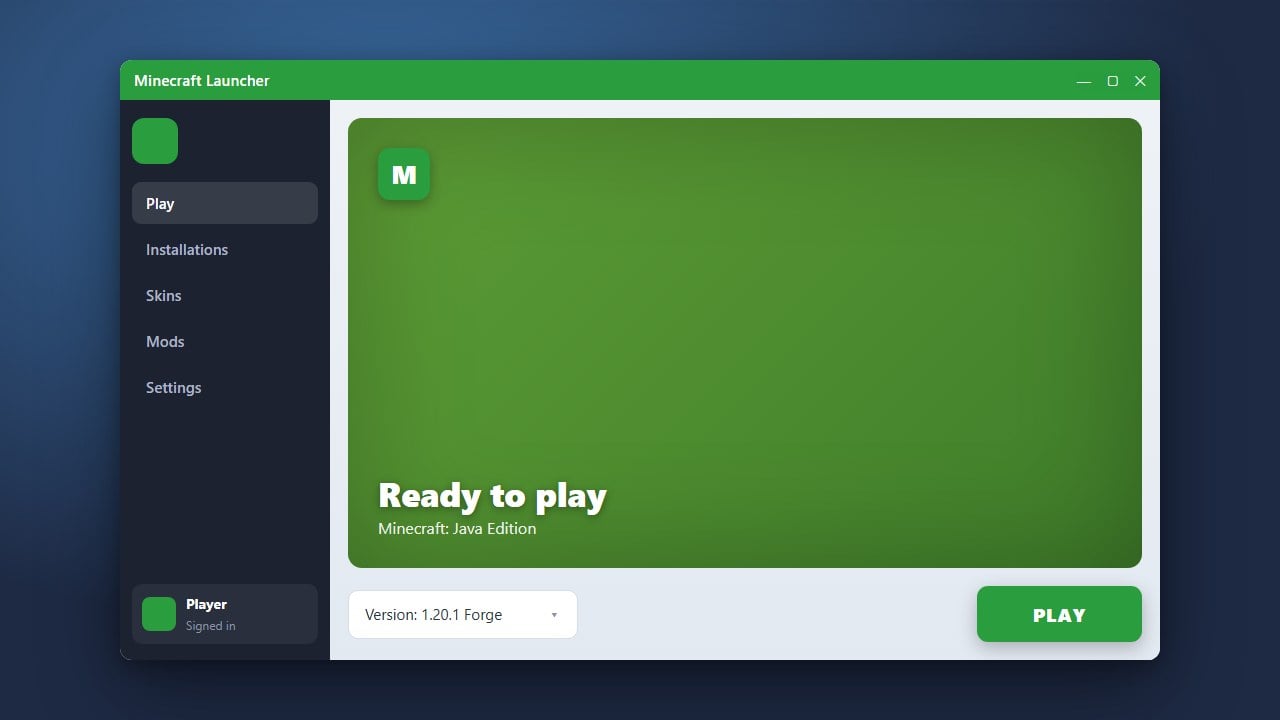
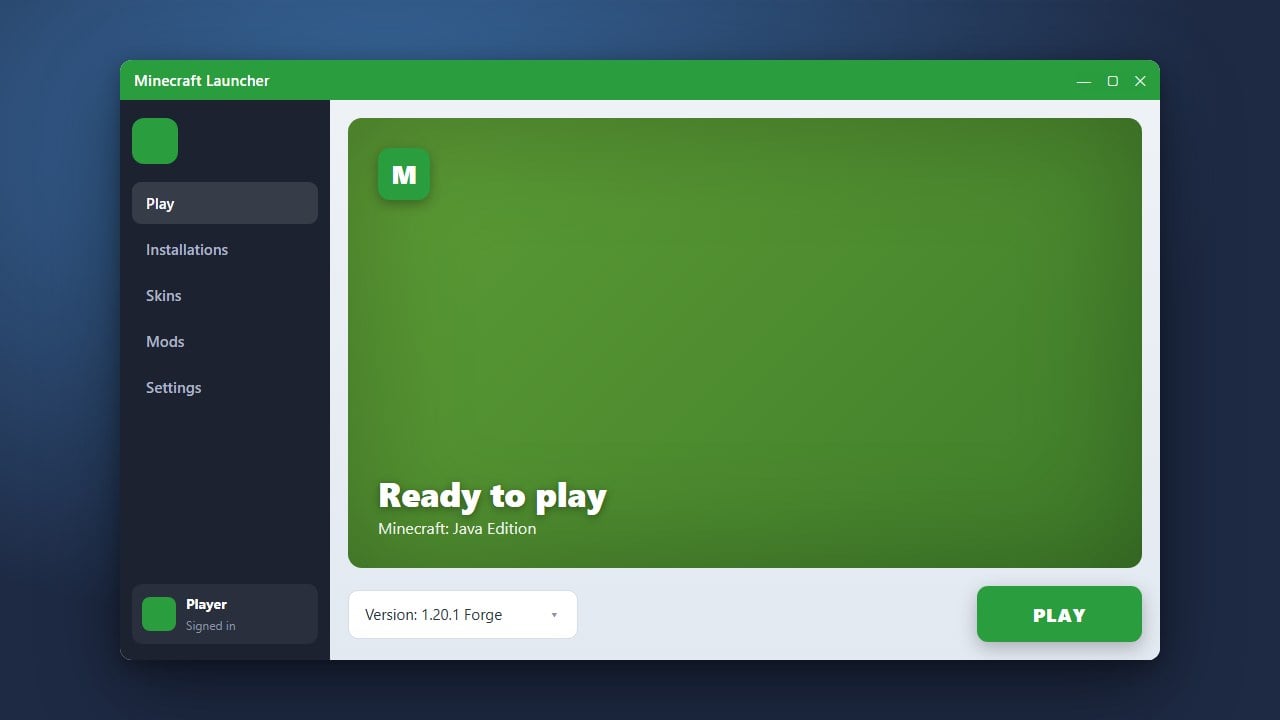
In the custom profile creation window, look for the dropdown menus labeled Game Version and mod loader type (such as Forge, Fabric, or vanilla). Click the game version dropdown and select the specific Minecraft release you want to use.
Name and Create the Profile
Give your new profile a recognizable name so you can easily find it later. Click the Create button, and CurseForge will automatically download all the necessary game files for that specific version.
Play Your Updated Version
Once the download is complete, hover over your newly created profile card and click the Play button to launch Minecraft with your selected version.
Frequently Asked Questions
Can I change the version of an already existing profile in CurseForge?
CurseForge does not allow you to simply change the version dropdown on an existing modded profile without breaking dependencies. It is always best to create a new custom profile for a different version.
Does CurseForge support Bedrock Edition?
No, the CurseForge desktop app only manages Java Edition profiles, mods, and resource packs.