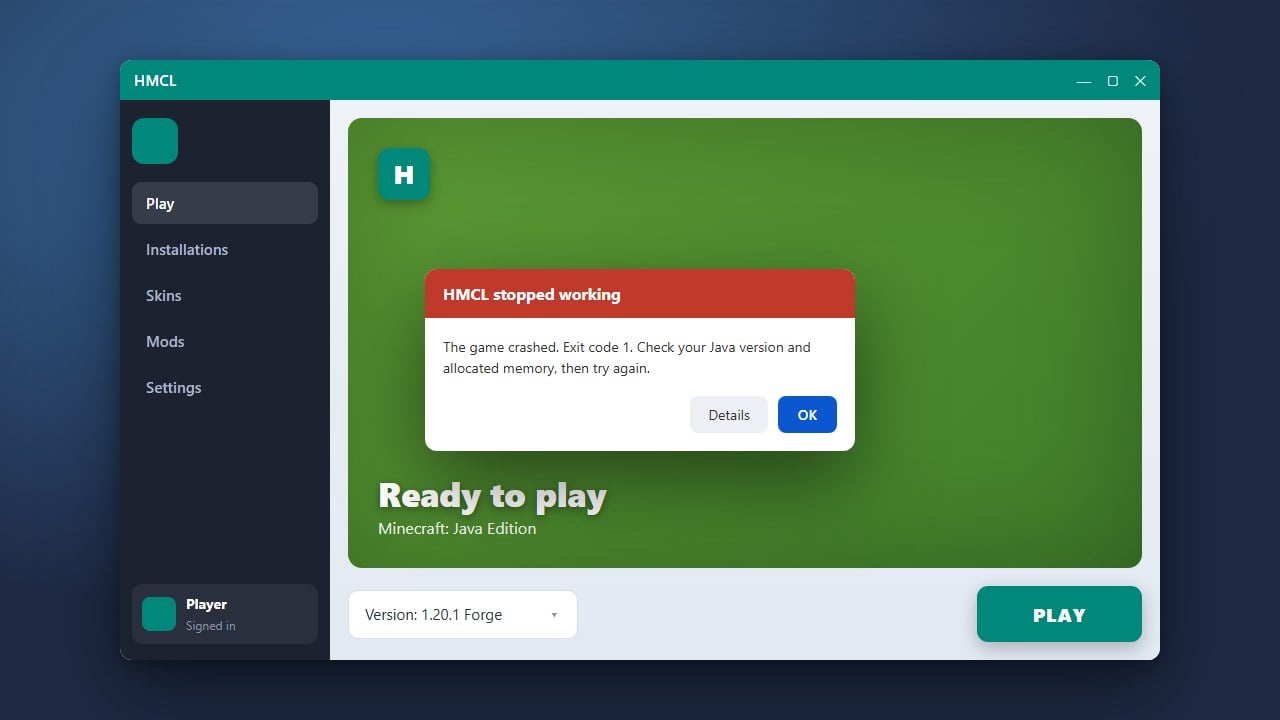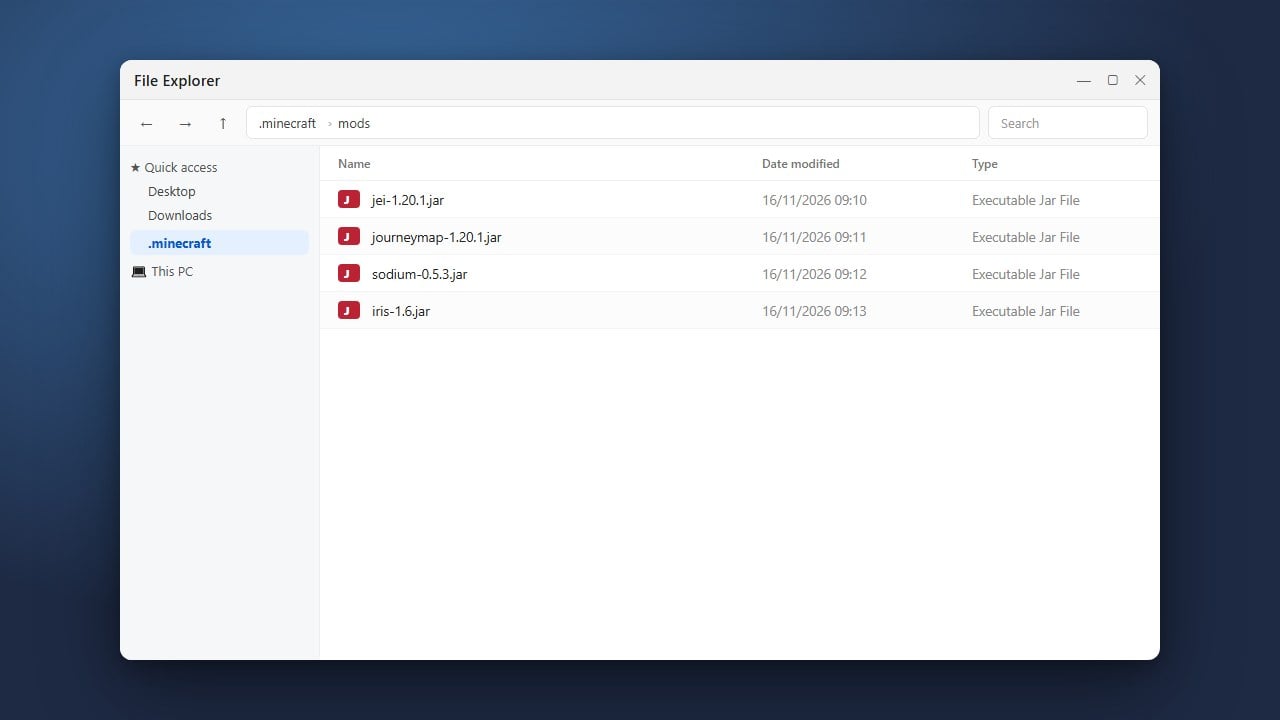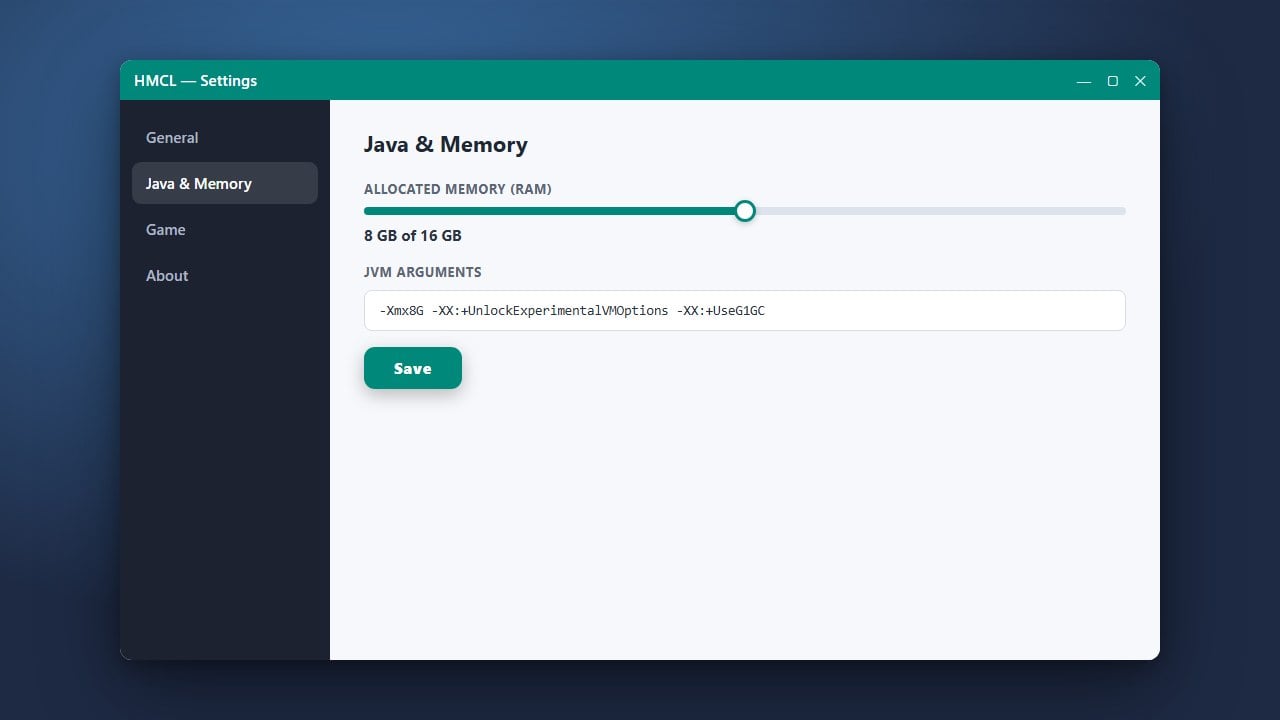
Allocating more RAM to Minecraft in HMCL can dramatically reduce lag, prevent crashes, and ensure smooth gameplay, especially when playing heavy modded versions like How to Install Forge and Fabric with HMCL. Follow this simple guide to adjust your memory settings correctly.
Never allocate 100% of your computer's installed RAM to Minecraft, as this can cause freezing, stuttering, and system instability.
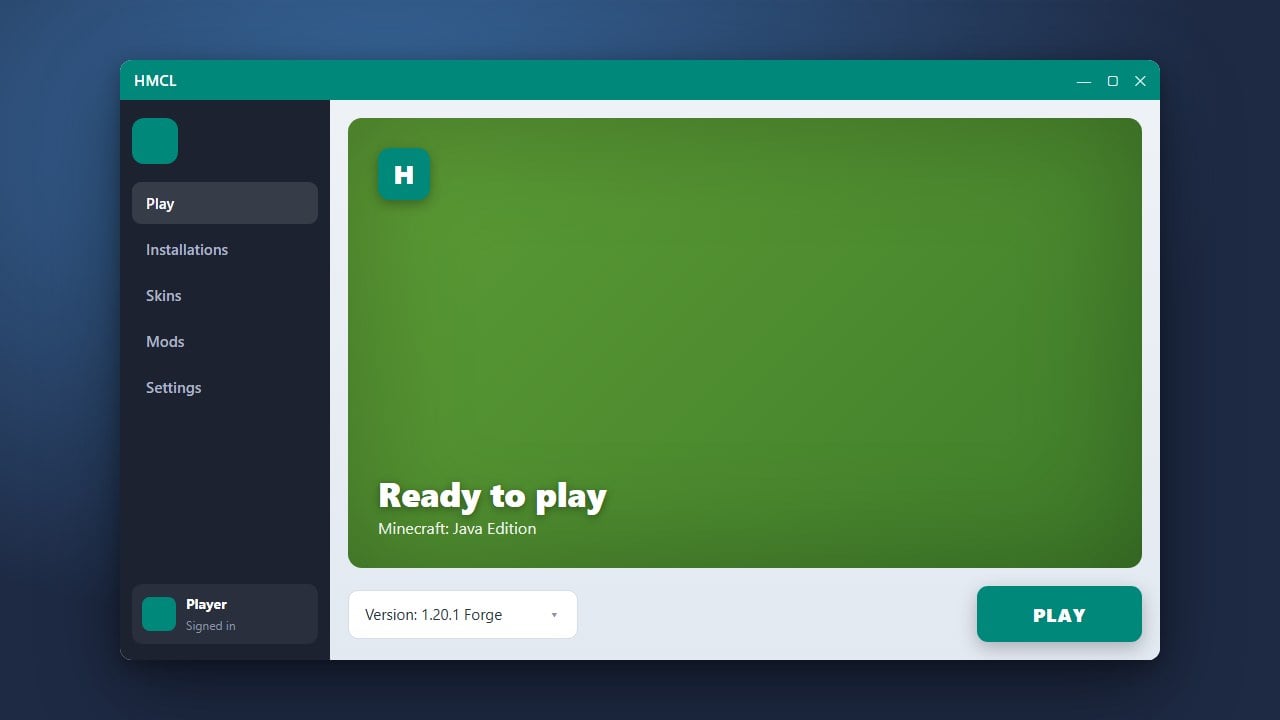
Open HMCL Launcher
Start by launching HMCL on your computer. Make sure you are on the main dashboard where your Minecraft accounts and profile settings are visible.
Navigate to Global Settings or Profile Settings
You can adjust RAM globally for all versions or specifically for a single version. Click on the Settings gear icon on the left sidebar for global settings, or select a specific version and open its individual settings menu.
Locate the Memory Allocation Slider
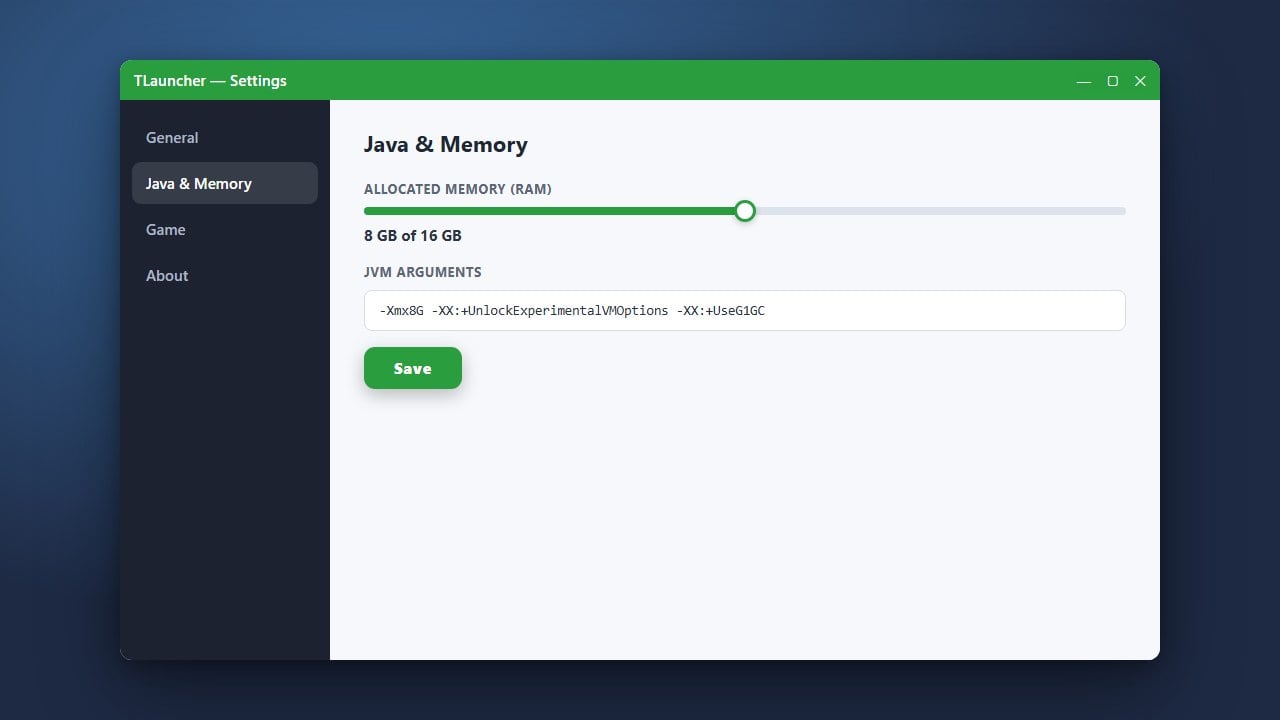
Look for the Memory or Maximum Memory slider in the settings panel. This slider controls how much RAM your computer dedicates to running Minecraft.
Adjust Your RAM Limit
Drag the slider to your desired RAM amount. As a general rule, allocate 4GB to 6GB for modern modded Minecraft, leaving enough RAM for your operating system and background applications. Avoid allocating your PC's total maximum RAM.
Save and Launch Minecraft
Once you have set your preferred memory amount, save your changes if prompted. You can now launch your game and check the F3 debug screen in Minecraft to confirm that your new RAM allocation is active.
Frequently Asked Questions
How much RAM should I allocate to Minecraft in HMCL?
For vanilla Minecraft, 2GB to 4GB is usually plenty. For heavy modpacks, 4GB to 8GB is recommended depending on your computer's total RAM capacity.
Why is the RAM slider greyed out or limited?
If you cannot select high amounts of RAM, you likely have a 32-bit version of Java installed. You need to install a 64-bit Java runtime environment to allocate more than 4GB of RAM.