Lunar Client comes with many built-in performance tweaks and cosmetic features, but you can also enhance your gameplay by adding your own custom Fabric or Forge mods. If you are exploring alternative clients, you might also want to check out our guides on How to Add Mods to Badlion Client and How to Add Mods to Feather Client.
Always ensure your custom mods match the exact Minecraft version you are launching, otherwise the game may crash on startup.
If you experience performance issues after adding several mods, you can learn how to optimize your setup with our guide on How to Boost FPS with Lunar Client.
Open Lunar Client Settings
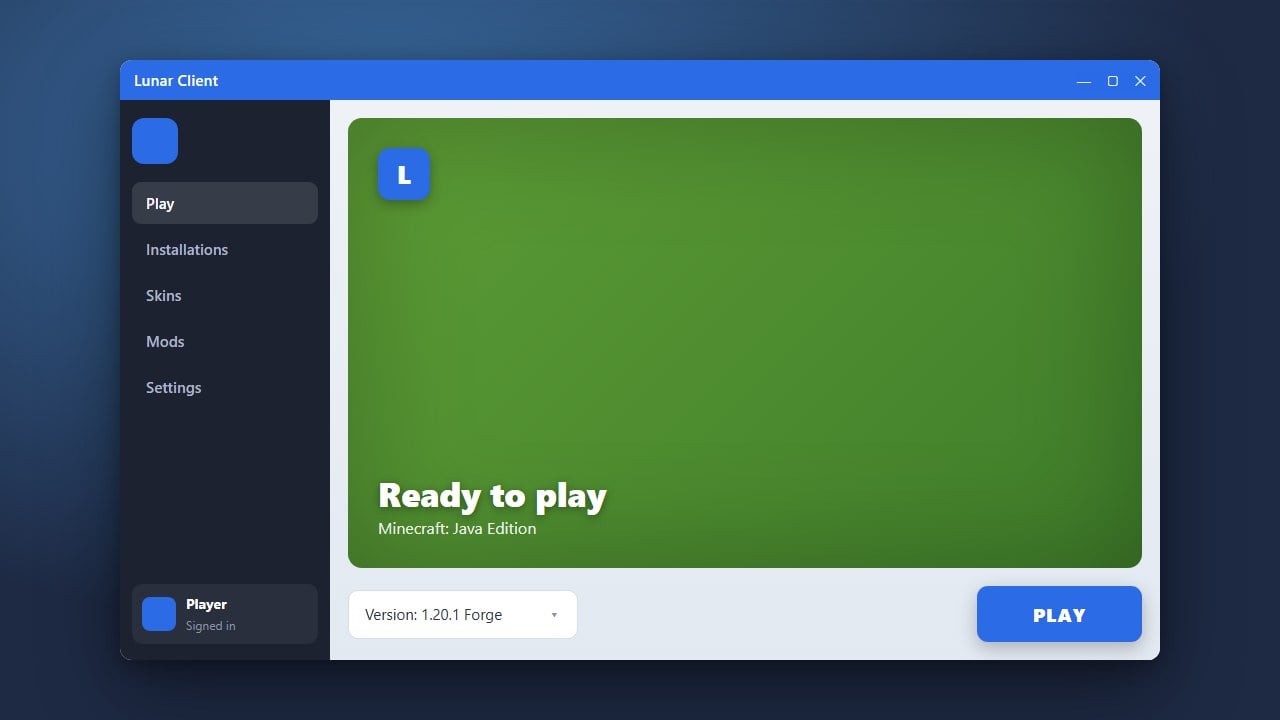
Launch Lunar Client from your desktop or taskbar. Before launching a game version, locate the gear icon or the version configuration menu on the main launcher dashboard to access your profile settings.
Navigate to the Mods Tab
Inside the version launch settings, find and click on the Mods or Custom Mods section. This is where Lunar Client manages external modifications for supported versions.
Select Your Minecraft Version and Mod Loader
Choose the specific Minecraft version you want to play on, ensuring you select the correct mod loader type that matches your downloaded files, such as Fabric or Forge.
Add Your Mod Files
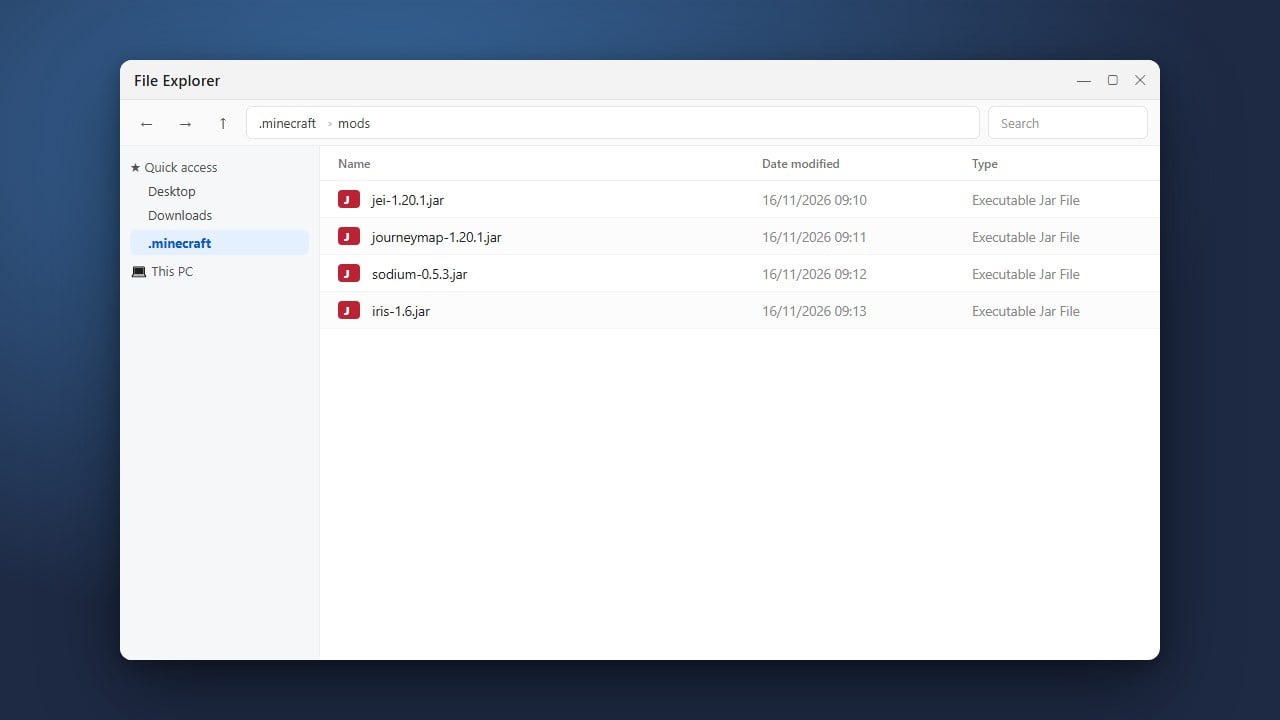
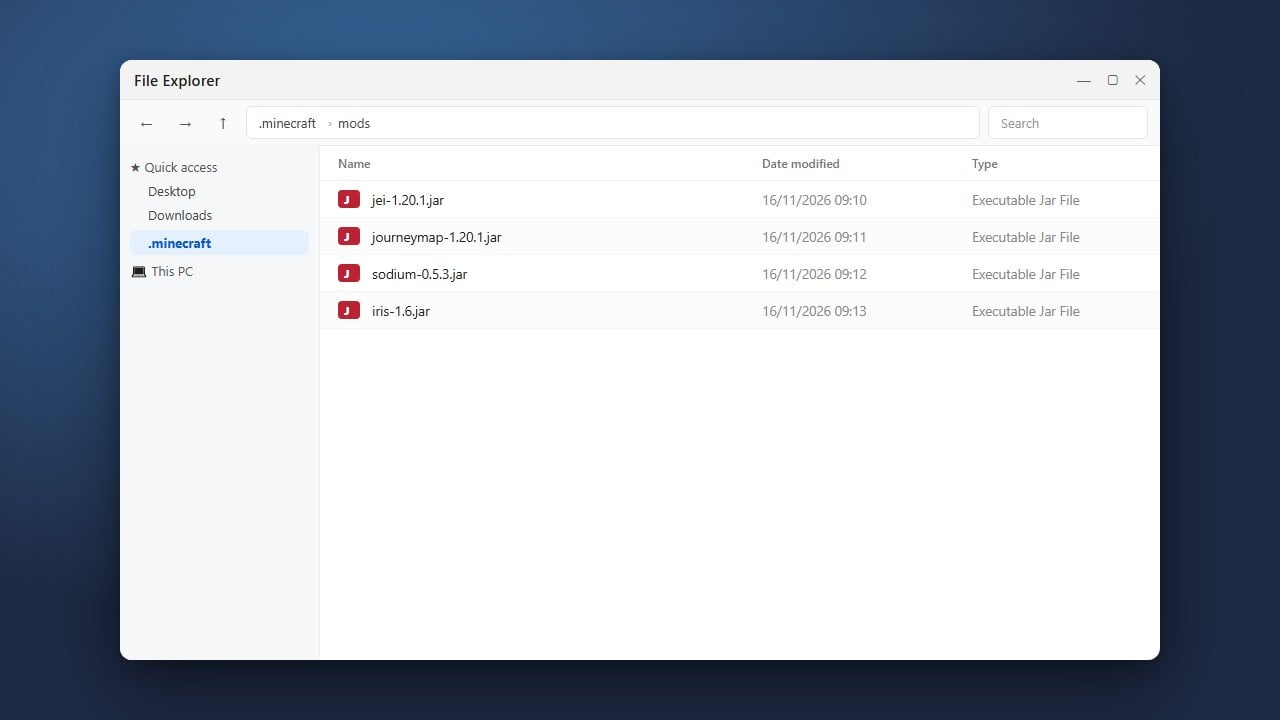
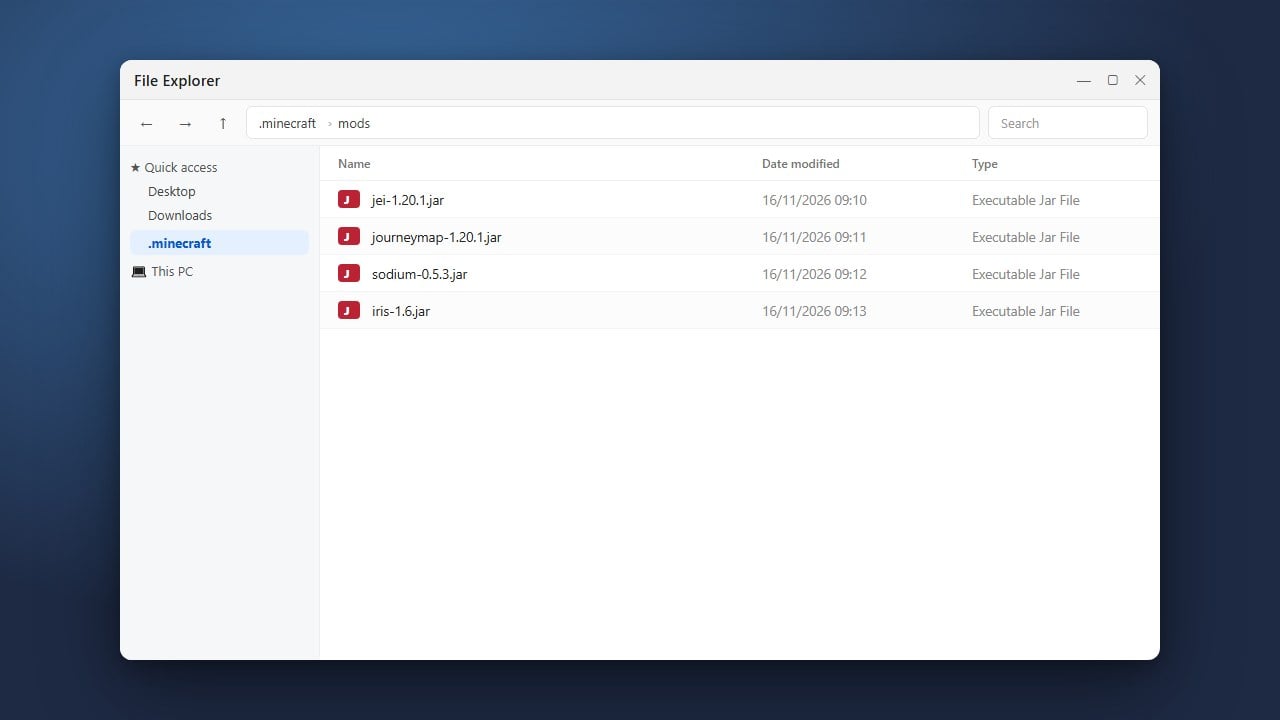
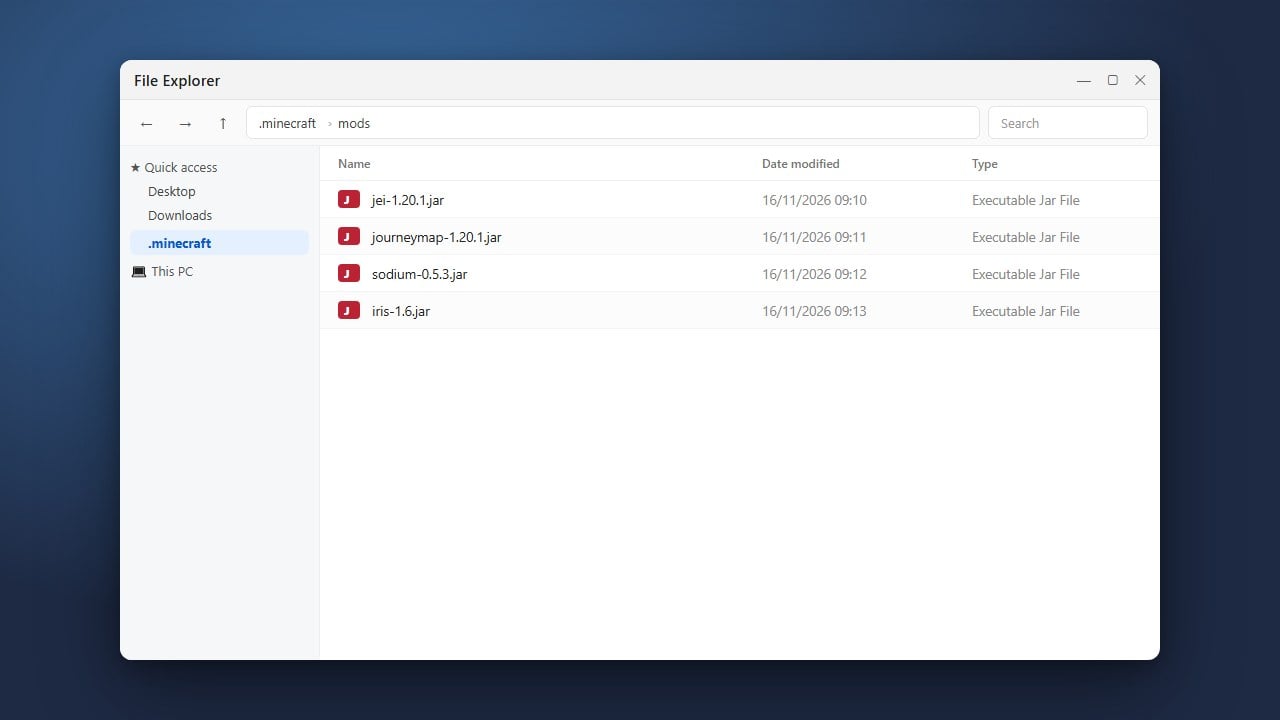
Click on the folder icon or the option to open the game directory, then drag and drop your downloaded .jar mod files directly into the designated mods folder for that profile.
Launch the Game
Return to the main Lunar Client screen, click Launch Game, and verify that your newly added mods load correctly by checking the mod menu once you reach the title screen.
Frequently Asked Questions
Can I use Forge and Fabric mods at the same time in Lunar Client?
No, you must choose either Forge or Fabric for your profile, as mods built for one loader are generally incompatible with the other.
Where are the Lunar Client mod folders located?
Lunar Client stores its game files and profiles inside your user directory under the .lunarclient folder.