Feather Client is a popular performance-enhancing launcher for Minecraft Java Edition that also supports custom client-side and server-side mods. If you want to expand your gameplay beyond the built-in mods, you can easily install your own. If you are starting fresh, check out our guide on How to Download and Install Feather Client to make sure your setup is fully prepared.
1. Open Feather Client and Select Your Profile
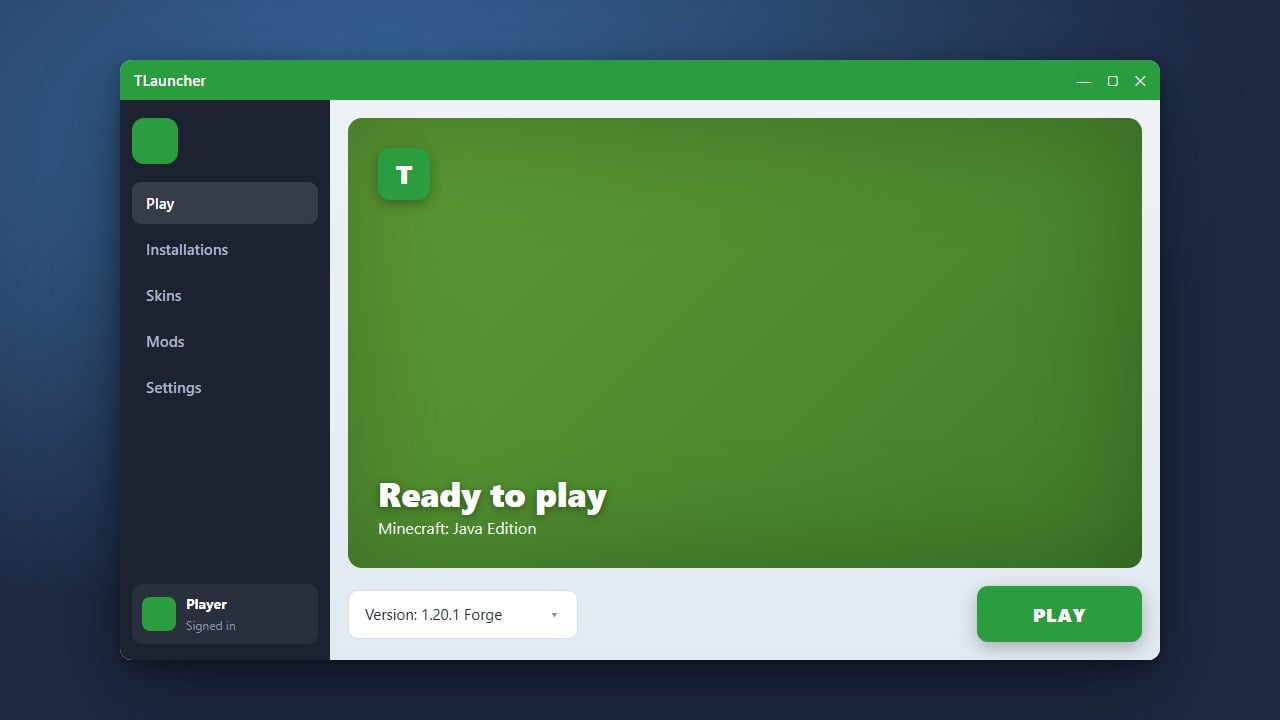
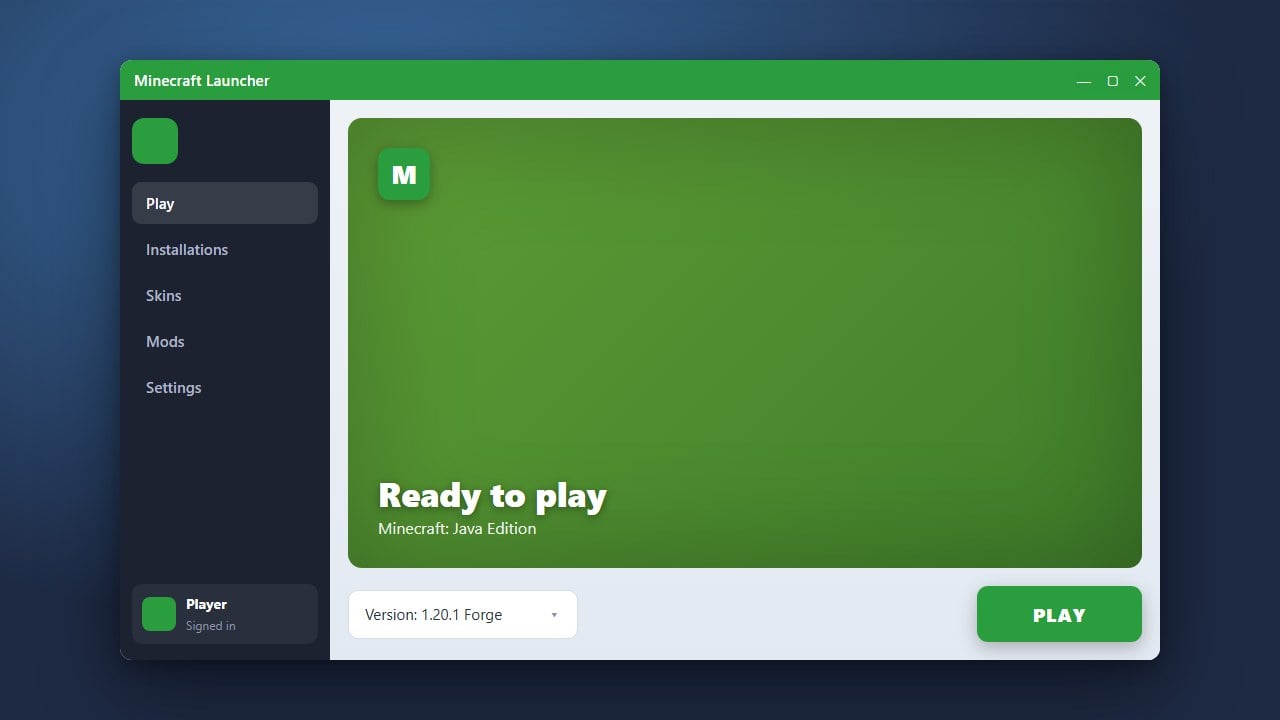
Launch the Feather Client application on your computer and log in with your Minecraft account. Navigate to the Mods or Profiles section depending on the version of the launcher you are using.
2. Navigate to the Mods Folder
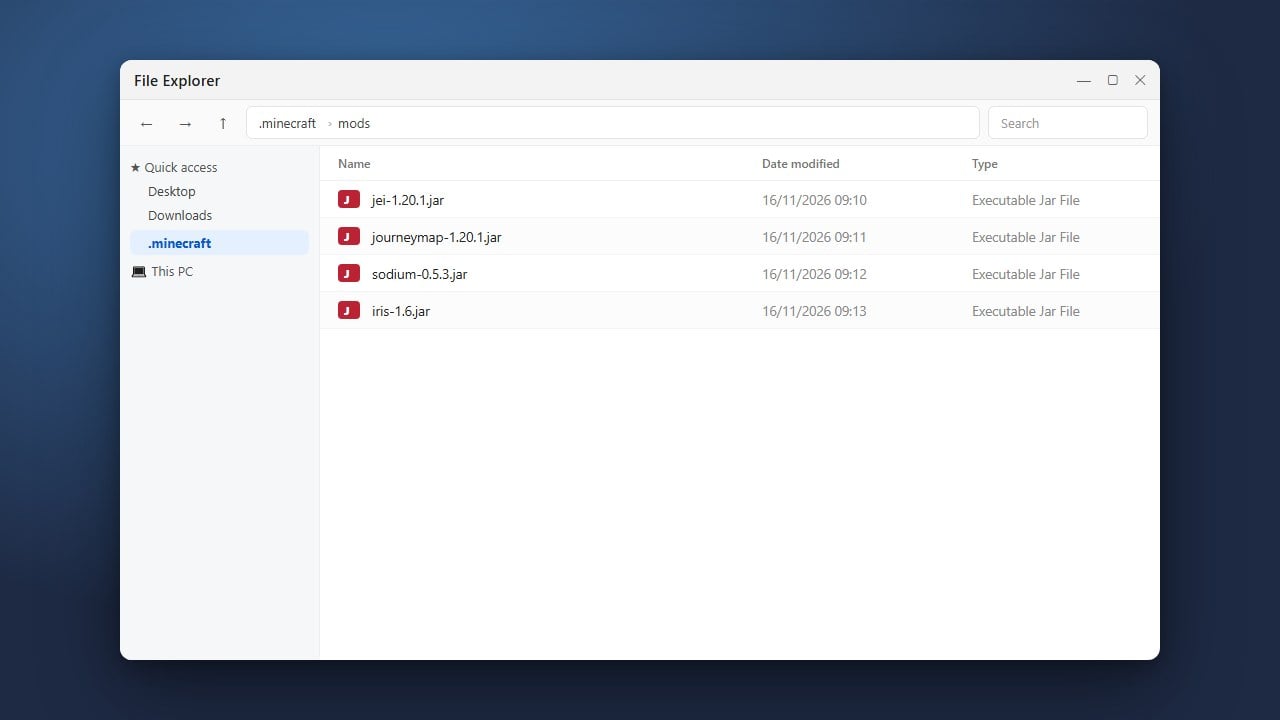
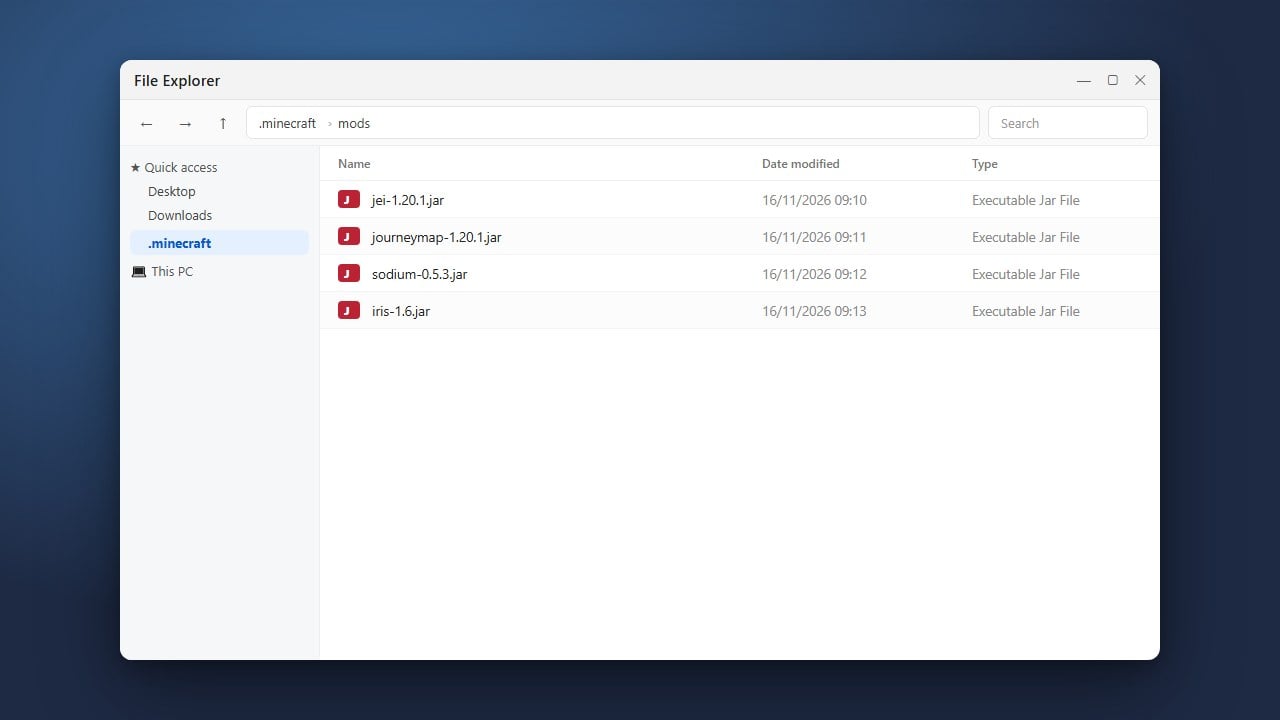
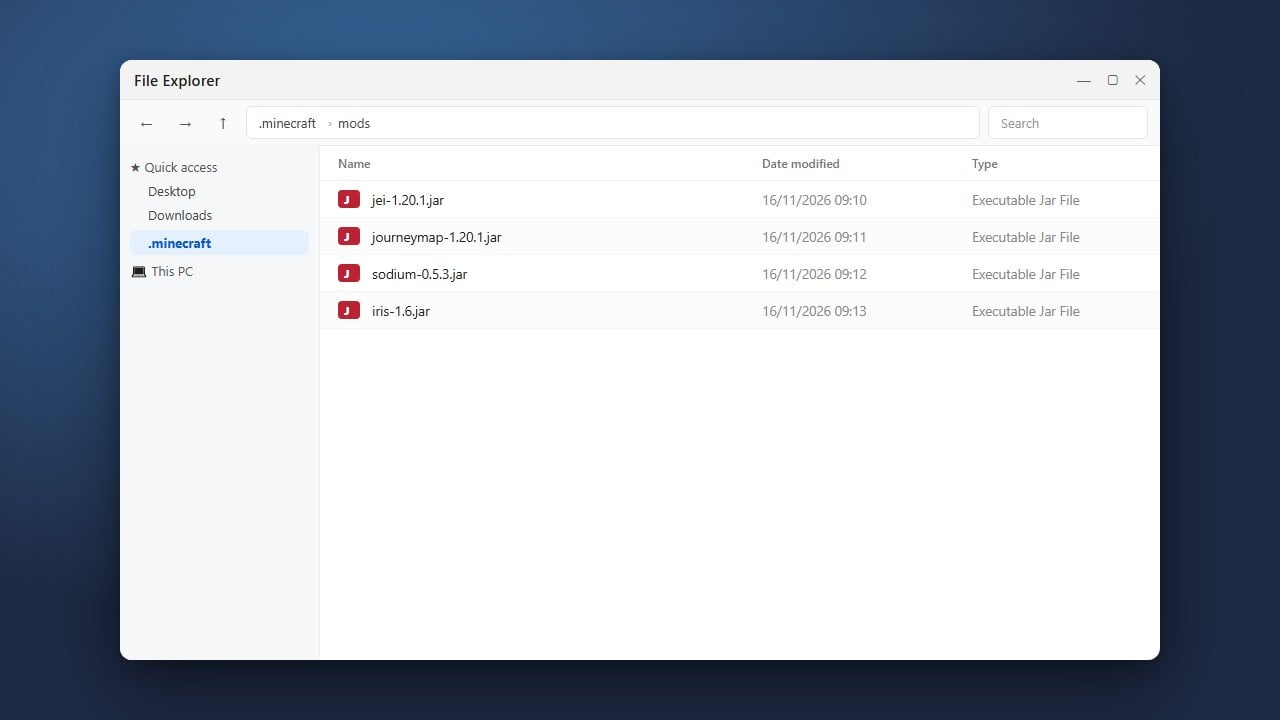
Inside Feather Client, locate the mods management screen where your active mods are listed. Alternatively, you can click on the folder icon to open the game directory where the mods folder is stored.
3. Download Your Desired Mods
Make sure you download .jar files that match your exact Minecraft version and mod loader (such as Fabric or Quilt) supported by Feather. Always download mods from trusted sources like Modrinth or CurseForge.
4. Drop the Mod Files into the Folder
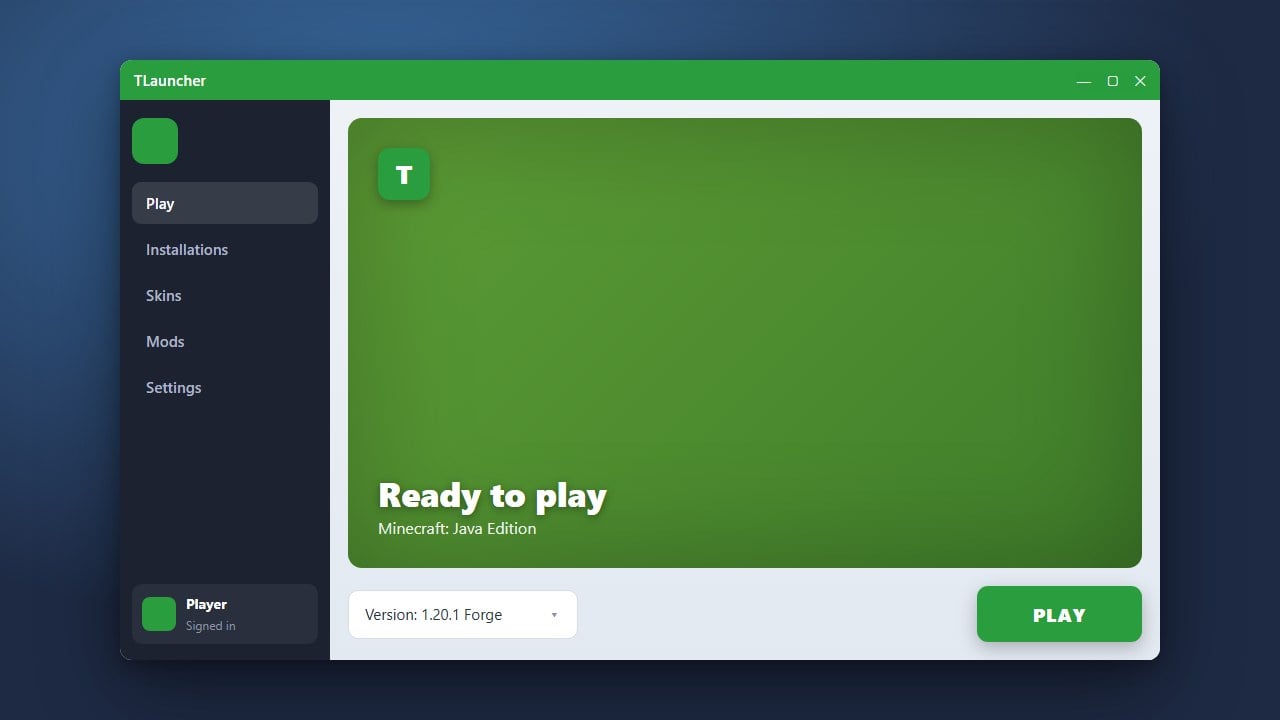
Drag and drop your downloaded mod .jar files directly into the Feather Client mods folder. Once placed inside, restart your game or profile through the launcher to load them successfully.
Frequently Asked Questions
Can I use Forge mods on Feather Client?
Feather Client primarily supports Fabric and its own internal mod ecosystem. Make sure your added mods are built for the appropriate mod loader version.
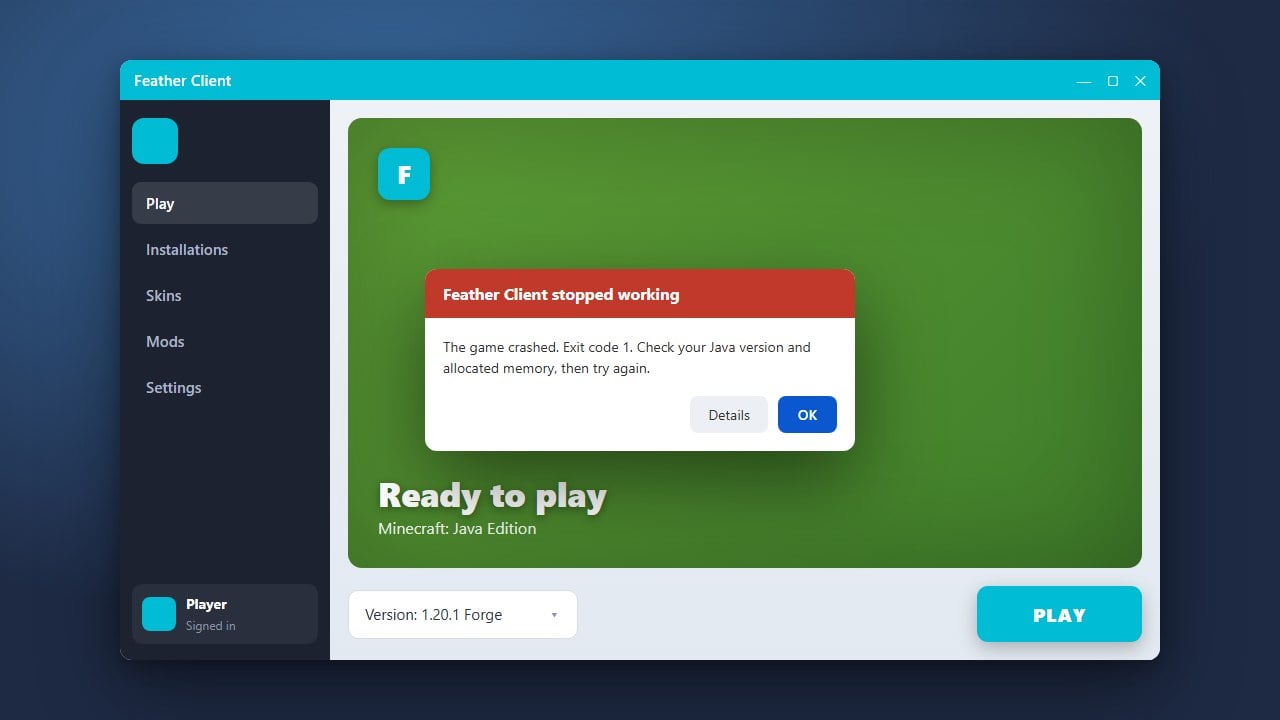
What should I do if a mod crashes Feather Client?
Remove the recently added .jar file from your mods folder and check the crash logs to identify if there is a version mismatch or a missing dependency.