Customizing your player character is one of the best ways to personalize your Minecraft adventures. If you use TLauncher to play Minecraft Java Edition, applying a custom skin works slightly differently than the standard Mojang launcher because it relies on TLauncher's own skin server. This guide walks you through registering an account, uploading your favorite character skin, and ensuring it shows up properly in your game.
Only players who also use TLauncher (or clients configured with TLauncher's skin system) will be able to see your skin in multiplayer sessions.
Want to complete your custom character look? You can also learn How to Install a Cape to wear alongside your new skin.
Download or Create a Minecraft Skin
First, find a skin you want to use. You can download one from popular community skin repositories or create your own using an online skin editor. Ensure the file is saved as a .png image with standard dimensions (typically 64x64 or 64x32 pixels). If you also play official editions, check out our guide on How to Install Skins (Java).
Register or Log In on the TLauncher Website
Open your web browser and go to the official TLauncher website. If you do not have an account yet, click Sign Up and create one using your email, a username, and a password. If you already have an account, simply log in to access your personal profile page.
Upload Your Skin to Your Profile
Once logged into your TLauncher account dashboard, navigate to your user profile. Click the Upload skin button and select the .png file you downloaded earlier. You can choose between the Classic (4-pixel arms) and Slim (3-pixel arms) skin models to match your image layout.
After uploading, your 3D avatar preview on the webpage will update to show your new look.
Enable Your TLauncher Account in the Launcher
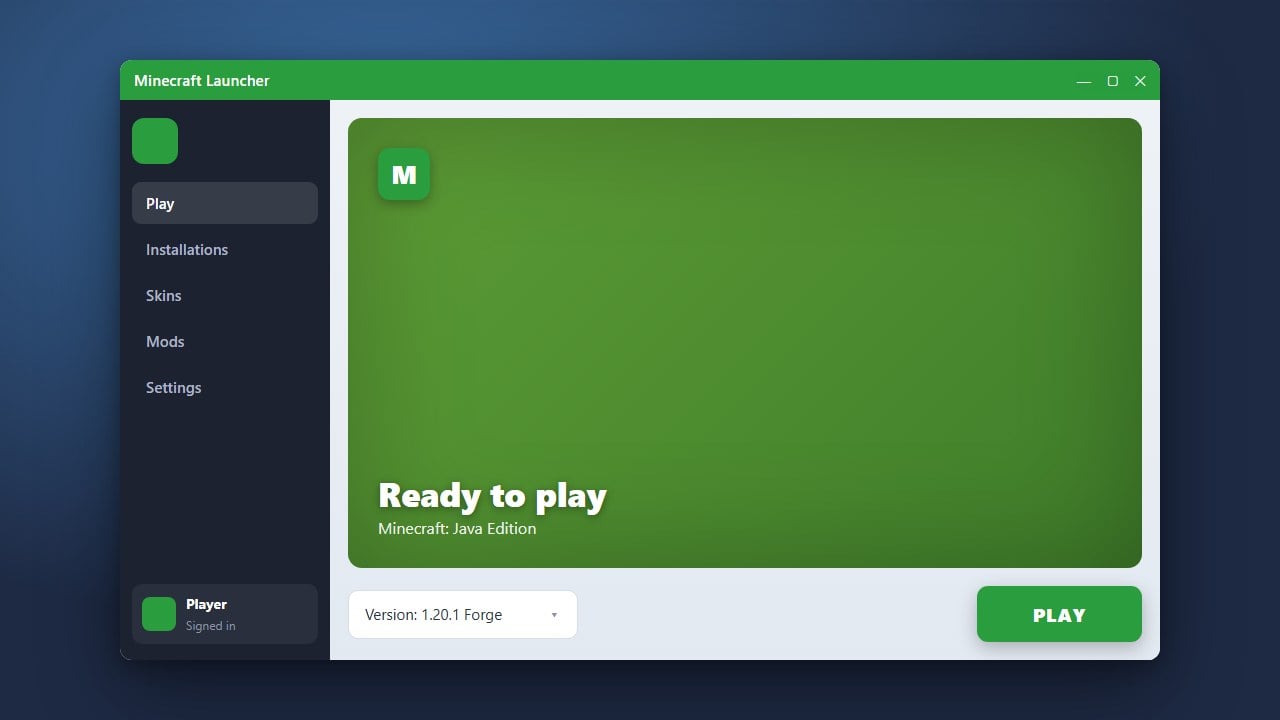
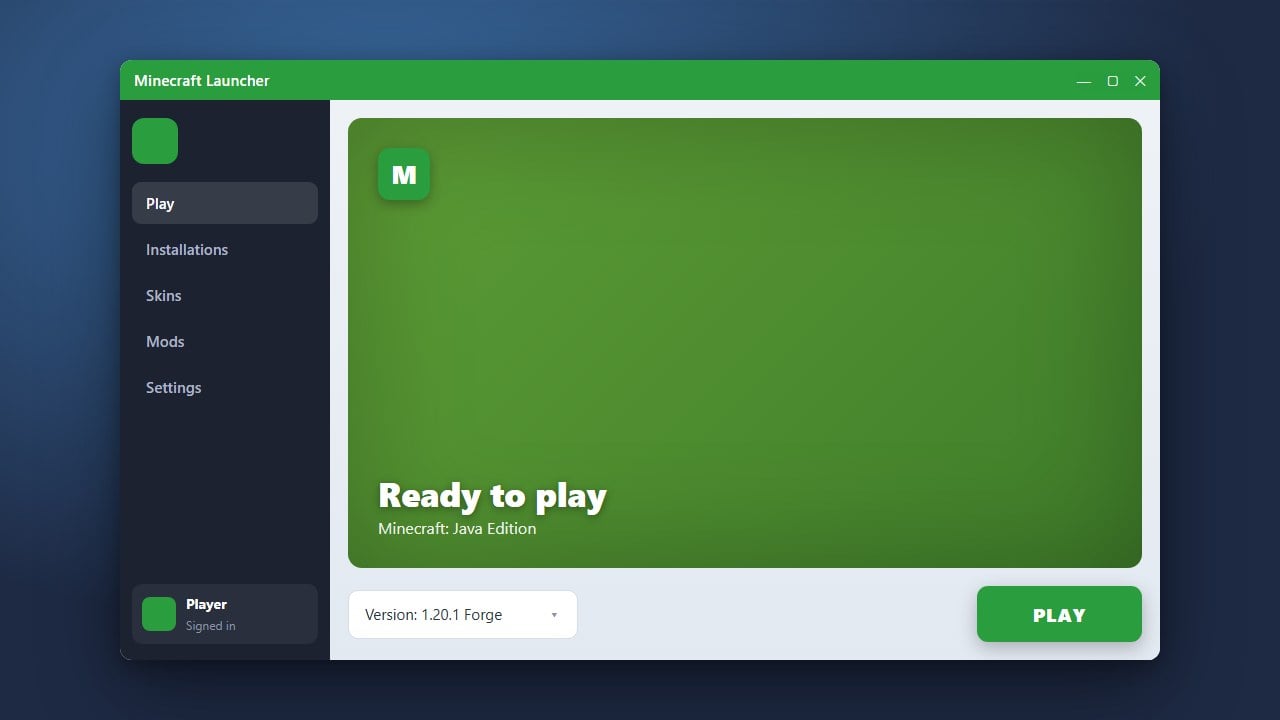
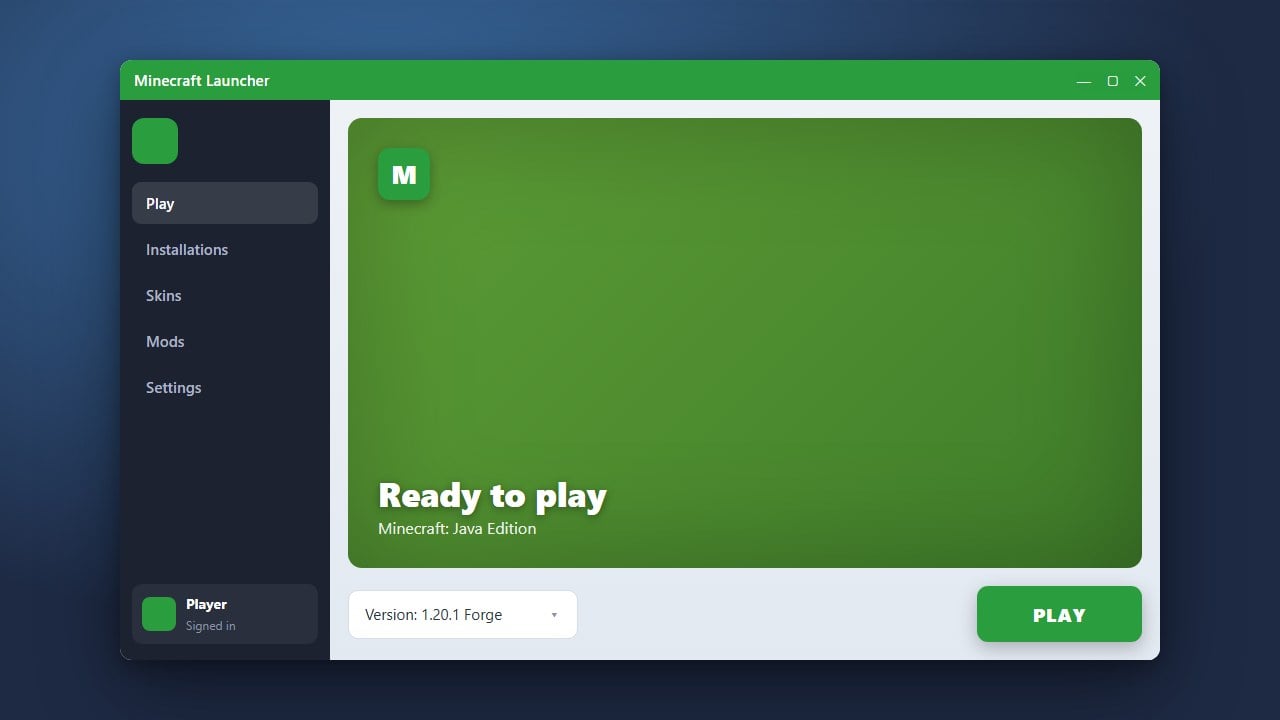
Launch the TLauncher desktop application on your PC. On the main launcher screen, look near the bottom left for the Accounts checkbox and make sure it is checked. Click the account dropdown menu, choose Configure accounts, and enter the exact login credentials (username or email and password) for the TLauncher account you just uploaded your skin to.
Select a Version with the TL Icon and Launch
In the game version dropdown menu, pick any version that has a small blue TL icon next to its name (for example, Release 1.21 (TL) or Forge 1.21 (TL)). This icon indicates that TLauncher's skin system is active for that build. Click Enter the game, join a world, and press F5 to toggle your perspective and admire your new skin!
Frequently Asked Questions
Why is my skin not showing up in the game?
Make sure you launched a Minecraft version displaying the blue TL icon in the launcher dropdown. Versions without the TL icon do not load TLauncher's custom skin system.
Can players on official Minecraft launchers see my TLauncher skin?
No. TLauncher uses its own independent skin servers rather than Mojang's official servers, meaning players using the standard launcher or Bedrock Edition will only see default skins unless you use an official Mojang account.
Can I use HD skins on TLauncher?
Yes, TLauncher supports HD skins (such as 128x128 resolution), but uploading HD skins usually requires an active TLauncher Premium subscription on their website.