Keeping your CurseForge application up to date ensures you have access to the latest Minecraft versions, security patches, and modding tools. This quick guide will walk you through checking for updates and applying them safely to your Java Edition client.
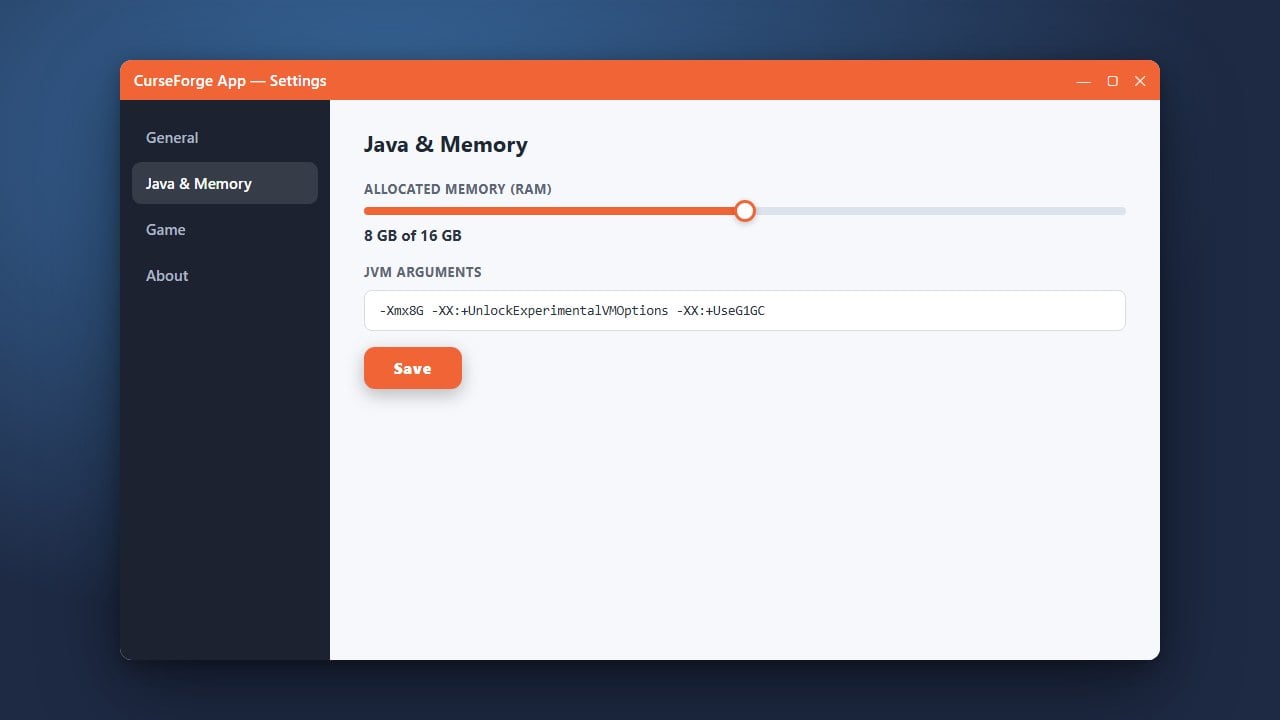
If you need to adjust your performance settings after updating, check out our guide on How to Allocate More RAM in CurseForge App.
Always remember that CurseForge requires a legitimate, legally purchased copy of Minecraft from minecraft.net to play through your Microsoft account.
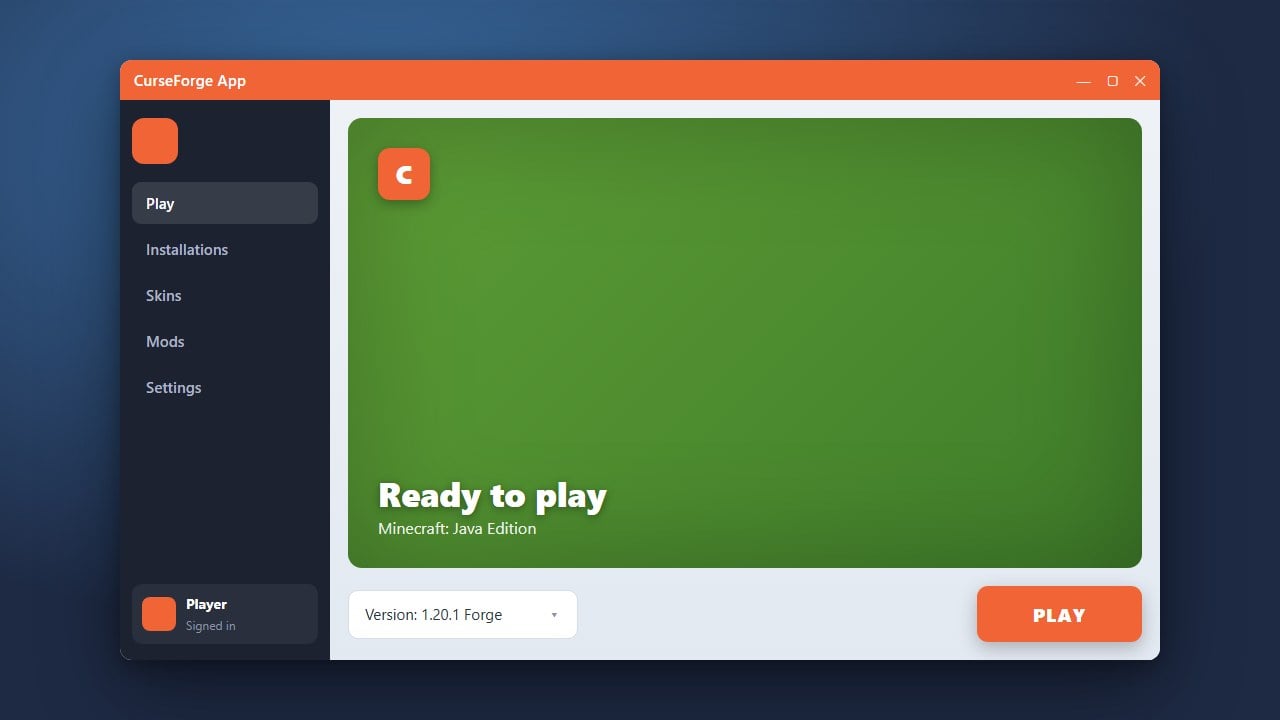
Open the CurseForge App
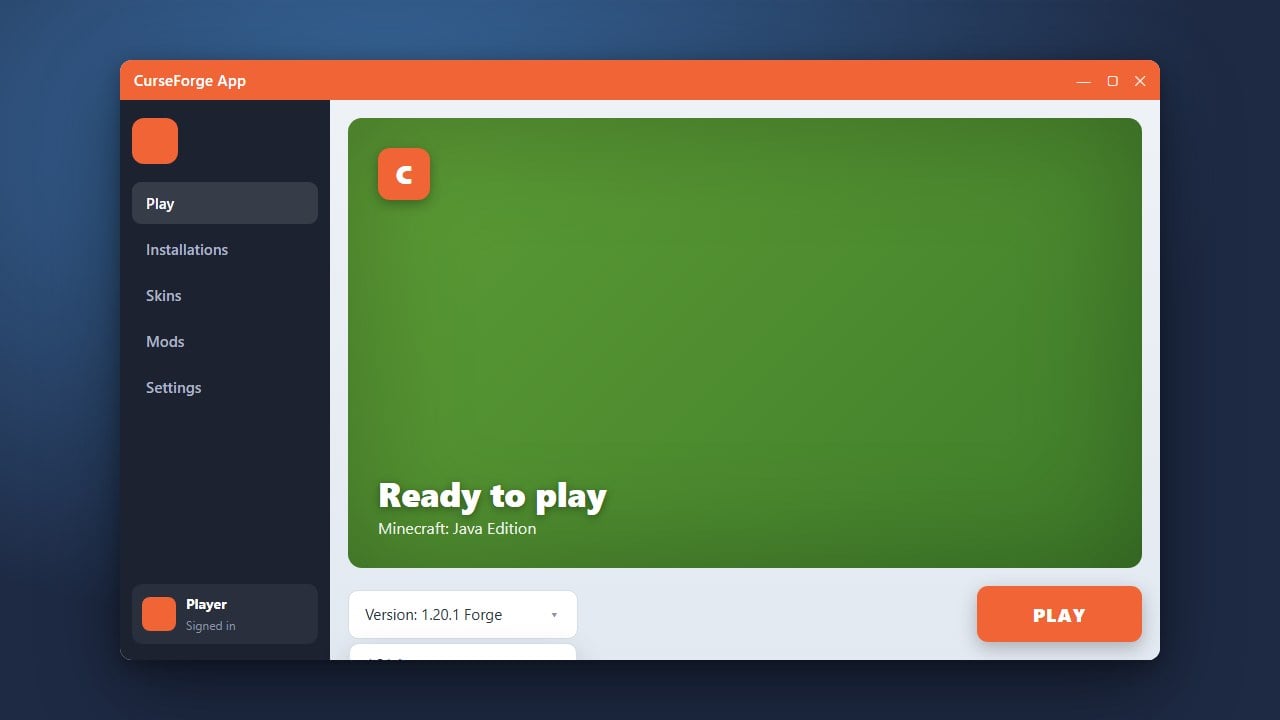
Start by launching the CurseForge application on your computer. Make sure you close any running Minecraft instances or modpacks before proceeding with the update process.
Access the Settings Menu
Look toward the bottom-left corner of the CurseForge window and click on the Gear icon to open the application Settings.
Check for Available Updates
Inside the settings menu, navigate to the General tab and scroll down until you see the App Version section. CurseForge automatically checks for updates upon startup, but you can manually verify if a newer version is ready.
Restart to Apply the Update
If a new update is detected, a prompt or button will appear allowing you to download and apply the update. Once the download finishes, restart the application to complete the installation process.
Frequently Asked Questions
Do I lose my installed mods when I update CurseForge?
No, updating the CurseForge application only updates the software itself. Your modpacks, worlds, and custom profiles will remain completely safe and untouched.
Can I update CurseForge automatically?
Yes, CurseForge handles application updates automatically in the background by default, but you can always force-check through the settings menu if needed.