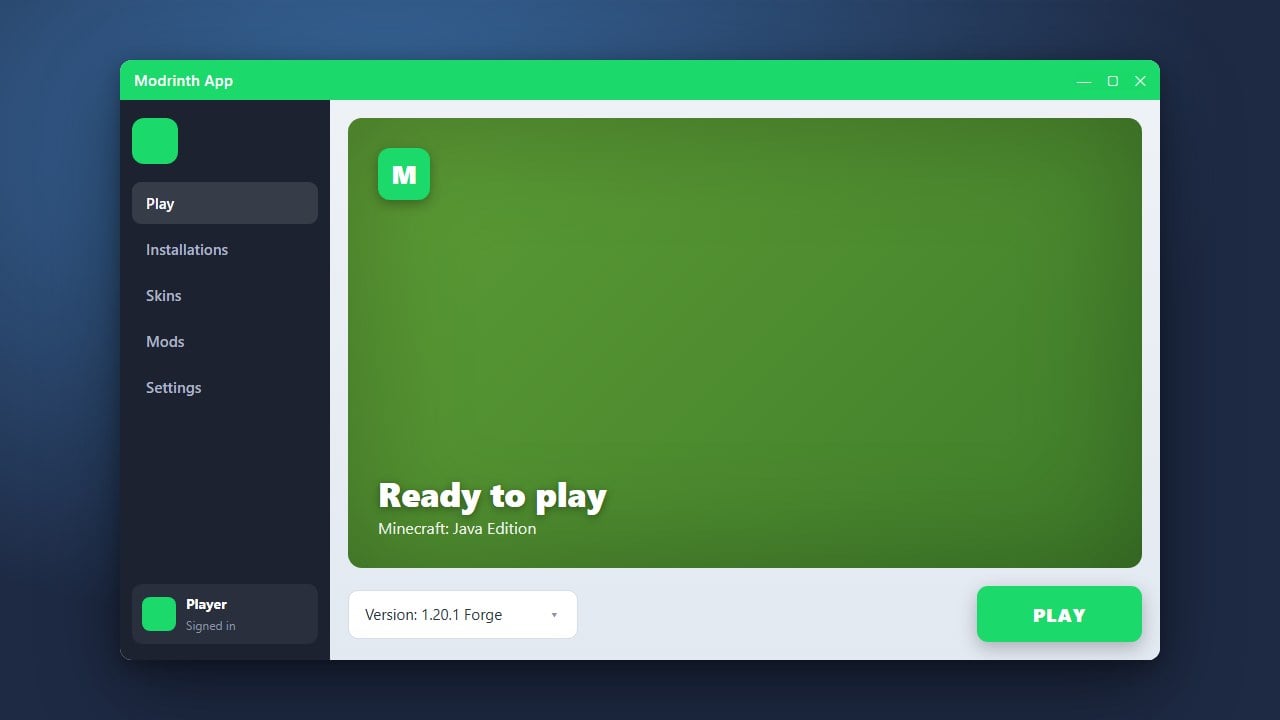
Installing shaders can completely transform your Minecraft Java Edition world with stunning lighting, shadows, and water reflections. If you use the Modrinth App, adding shaders to your game profile is quick and straightforward.
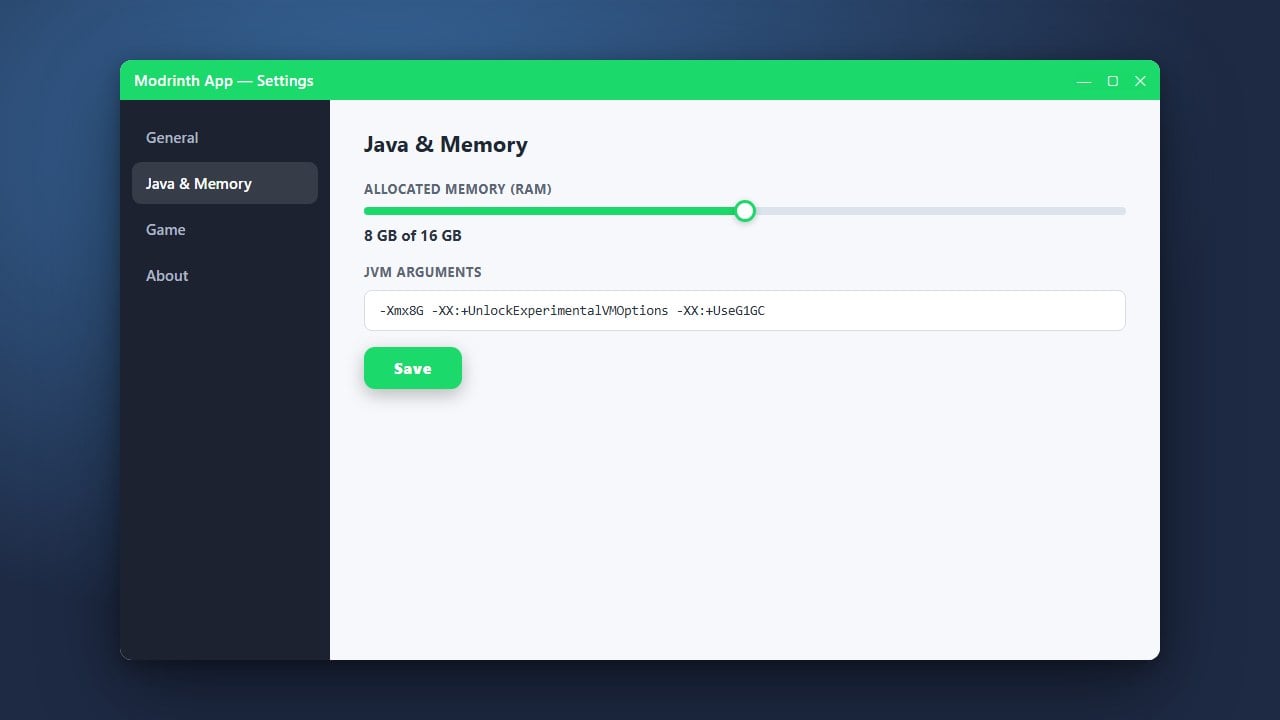
If your game runs slowly after enabling shaders, you may need to allocate more system memory. Check out our guide on How to Allocate More RAM in Modrinth App for better performance.
Make sure you always download the official Modrinth App from modrinth.com to protect your privacy and avoid malicious third-party launchers.
1. Open the Modrinth App and Select Your Profile
Launch the Modrinth App on your computer and log in with your official Minecraft account. Navigate to your Library tab and click on the specific profile or modpack where you want to add your shaders.
2. Install a Rendering Mod
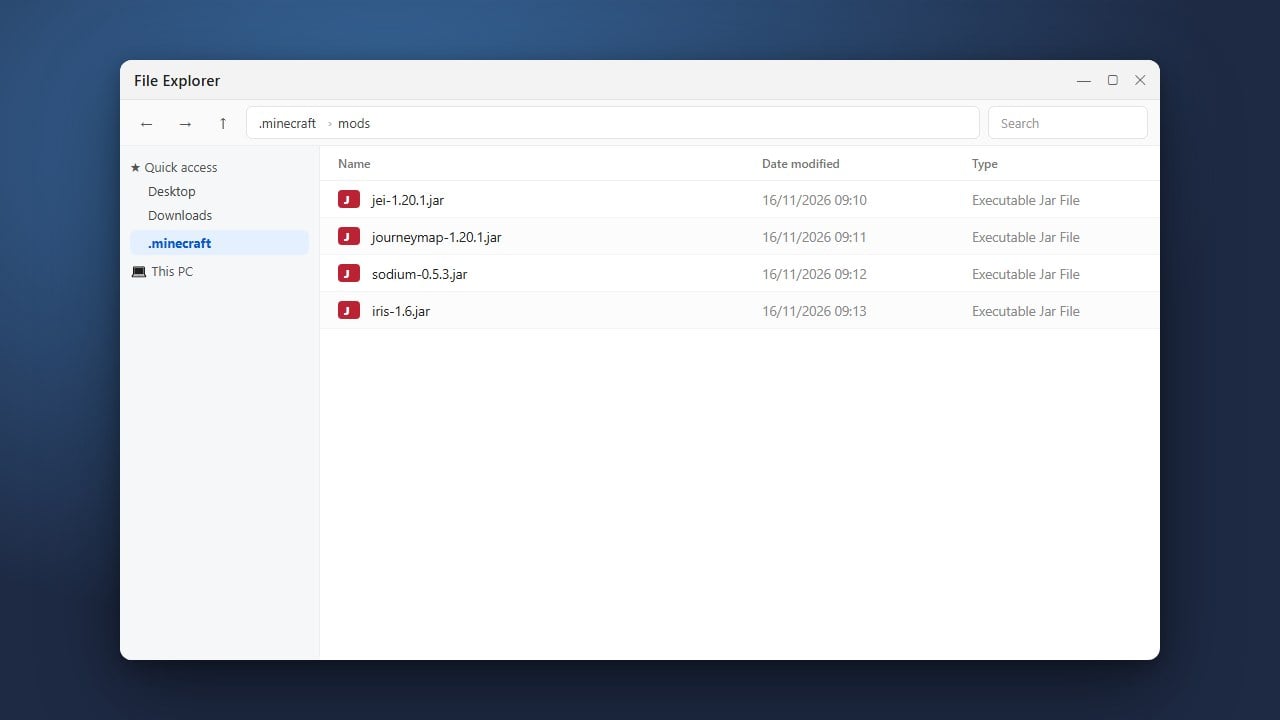
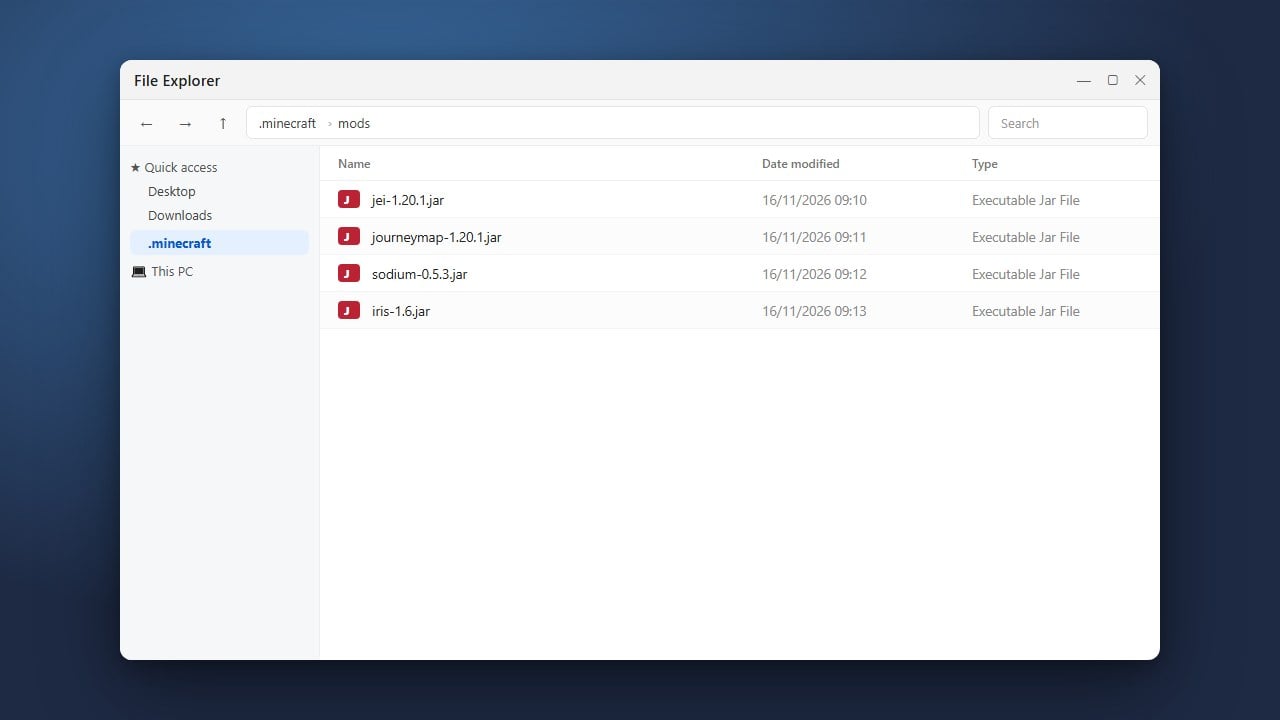
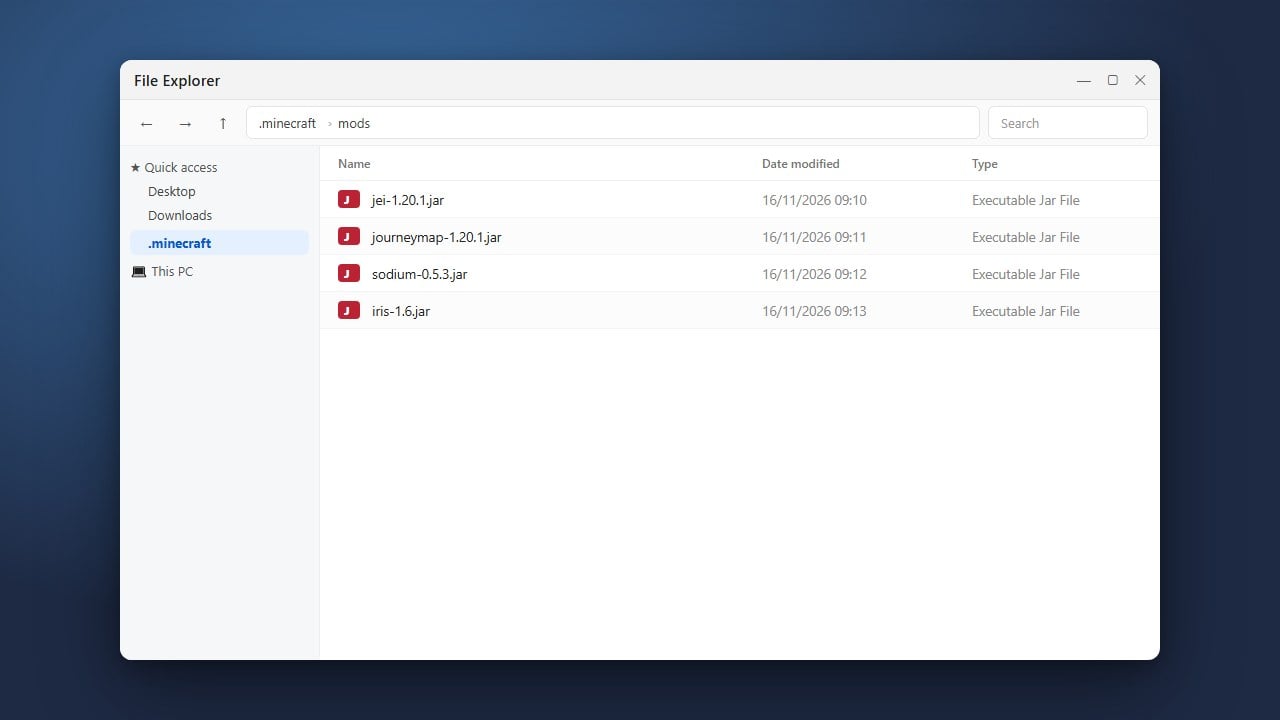
Minecraft requires a rendering mod like Iris Shaders to support shader packs. Click on the Add Content button within your profile settings, search for Iris, and install it into your profile.
3. Search for and Download Shader Packs
Stay within the Add Content section of your profile and switch the filter from mods to shaders. Browse through popular shader packs like Complementary or Bliss, then click Install on your favorite one.
4. Launch Minecraft and Enable Shaders
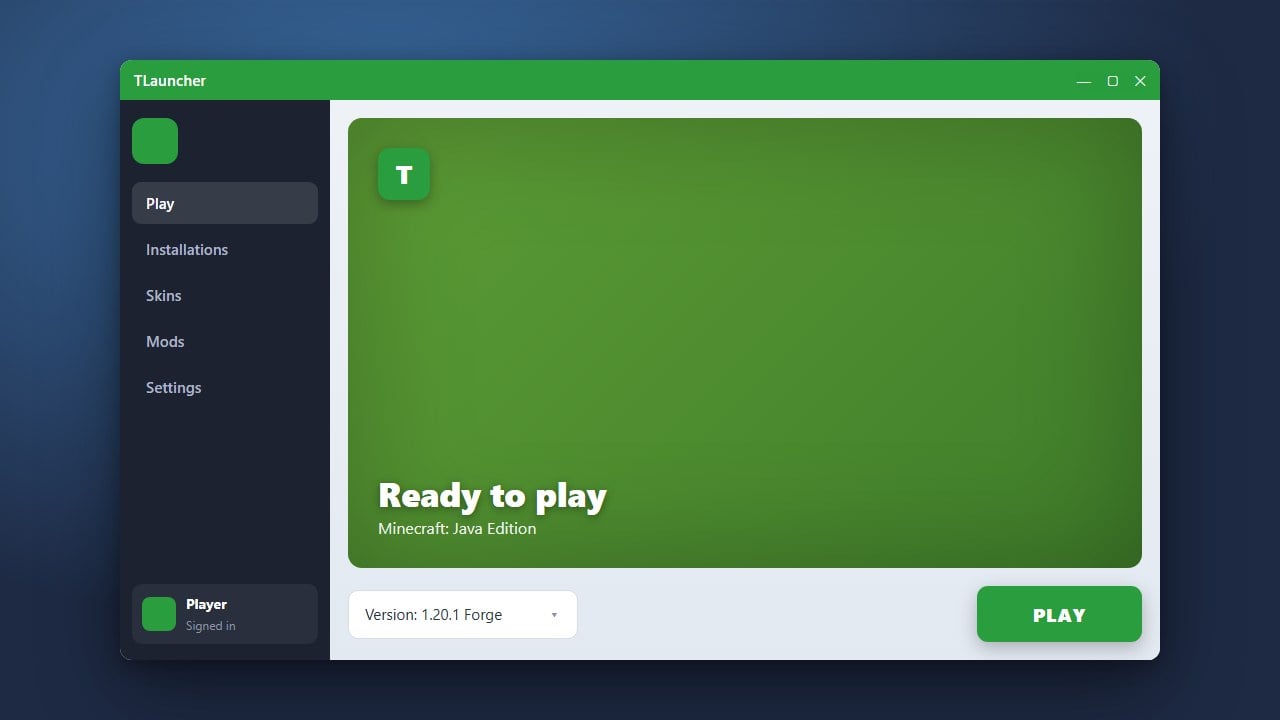
Click the Play button in the bottom right corner to start your game. Once you are in a world, press Esc, go to Options, open Video Settings, and select Shader Packs to activate your newly installed shader.
Frequently Asked Questions
Do I need Optifine to use shaders in Modrinth?
No, the Modrinth App recommends using Iris Shaders alongside Sodium, which offers much better modern performance and compatibility than Optifine.
Can I use Bedrock Edition shaders with the Modrinth App?
No, the Modrinth App is strictly for Minecraft Java Edition. Bedrock Edition manages shaders differently through its own in-game marketplace and resource pack settings.