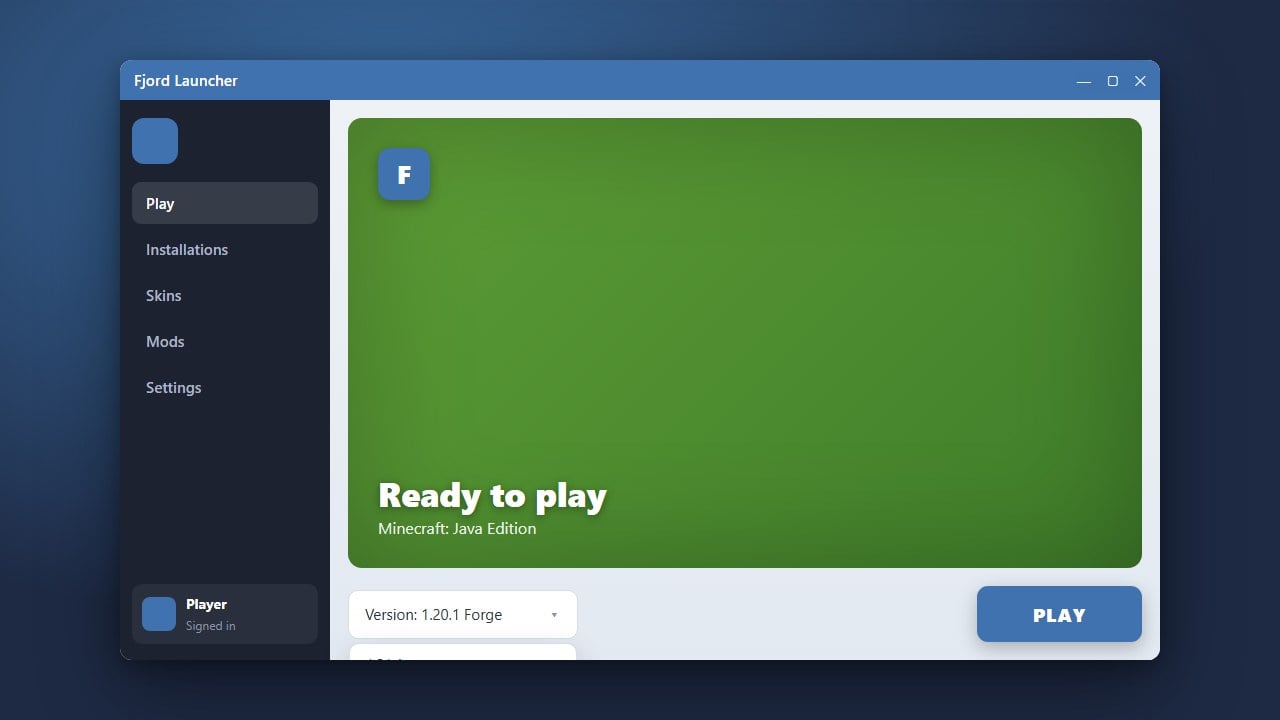
Changing your Minecraft version using Fjord Launcher is a straightforward process that lets you play on older or newer releases. Whether you want to join a specific server or test out new features, this guide will walk you through the steps required to switch versions successfully.
Always back up your world saves before switching to a different Minecraft version to prevent data corruption.
Open Fjord Launcher
Start by launching the Fjord Launcher application on your device. Ensure that your application is fully updated to the latest version before proceeding.
Navigate to Instances or Profiles
Go to the profiles or instances tab within the launcher interface where your current Minecraft Bedrock setups are managed.
Select Your Profile
Click on the specific profile or instance you want to modify to open its settings and configuration options.
Choose the Desired Version
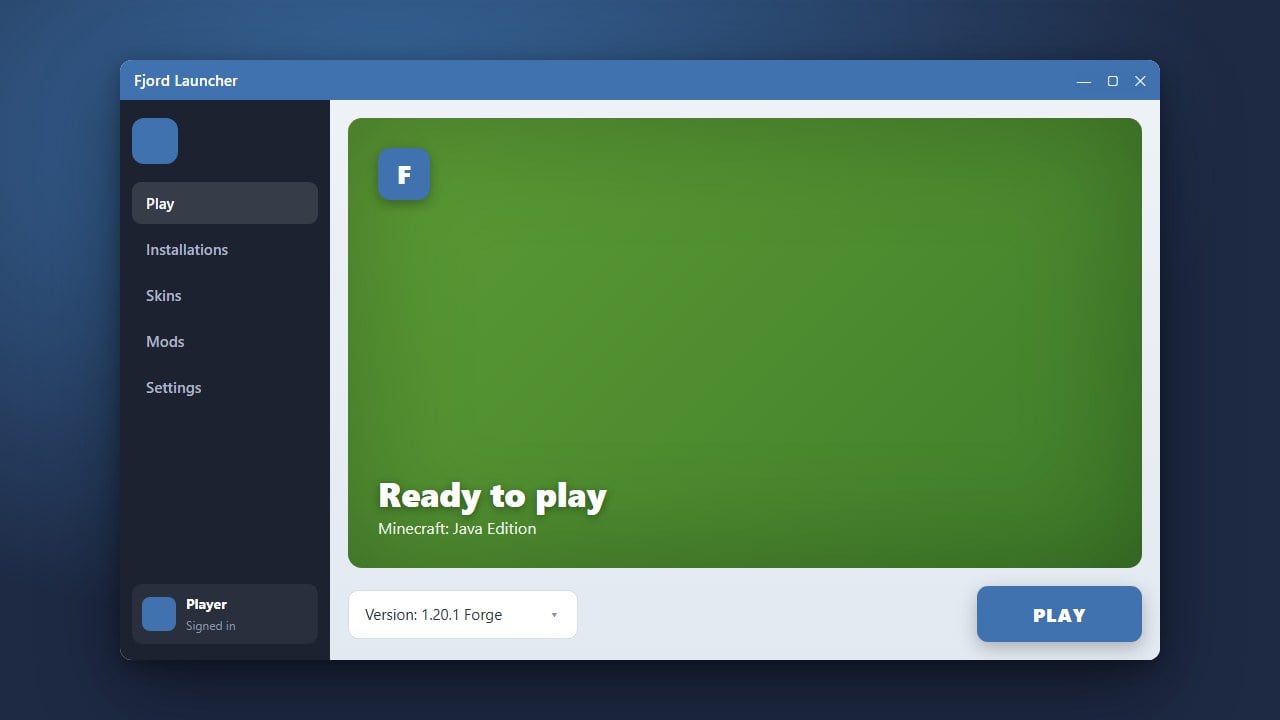
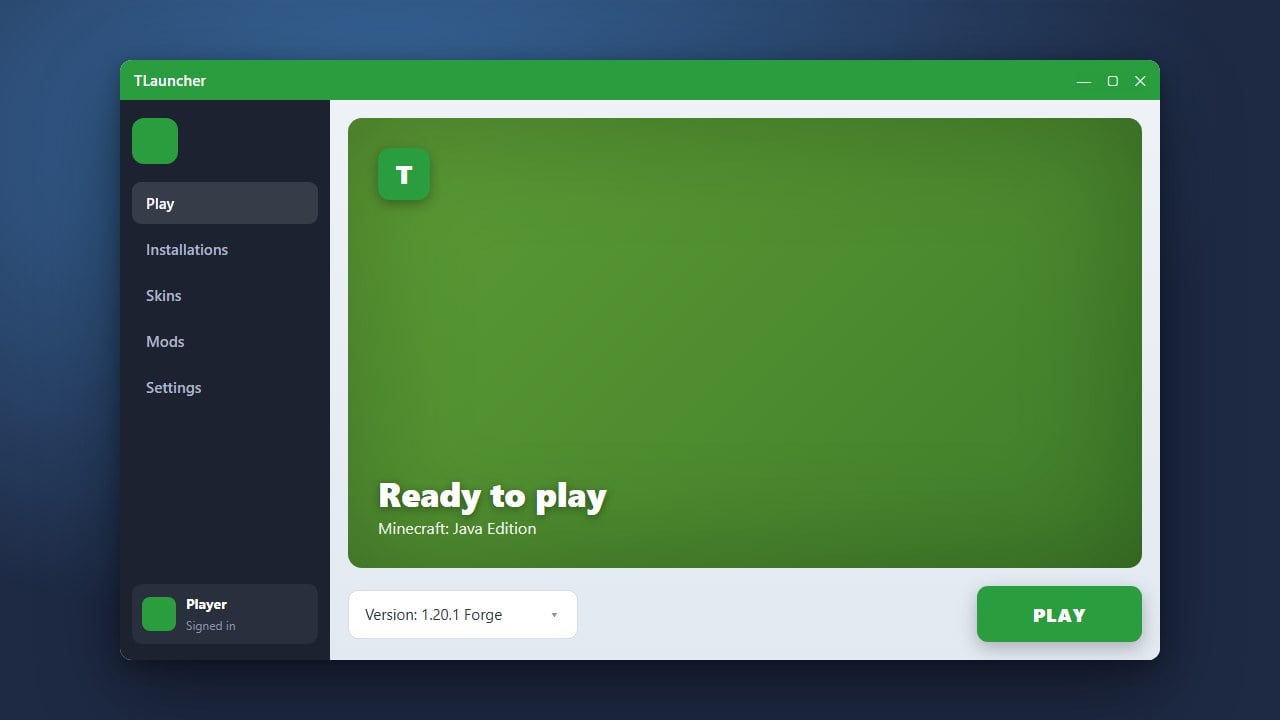
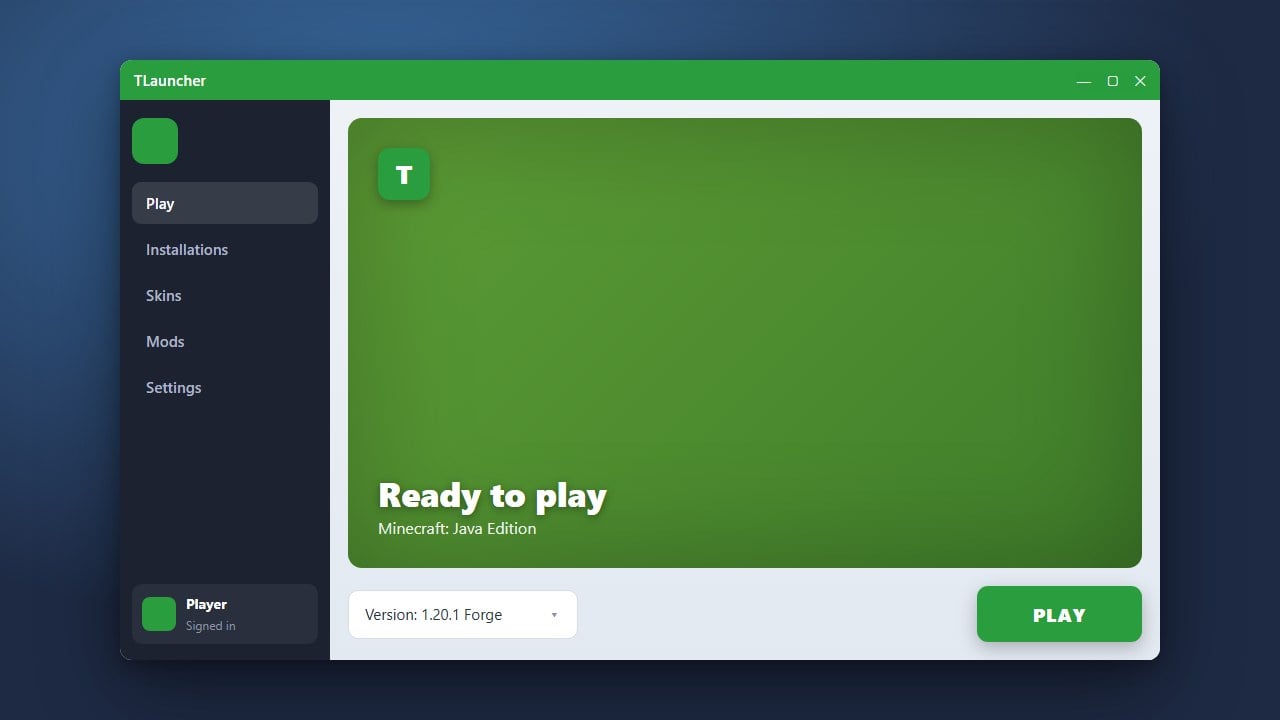
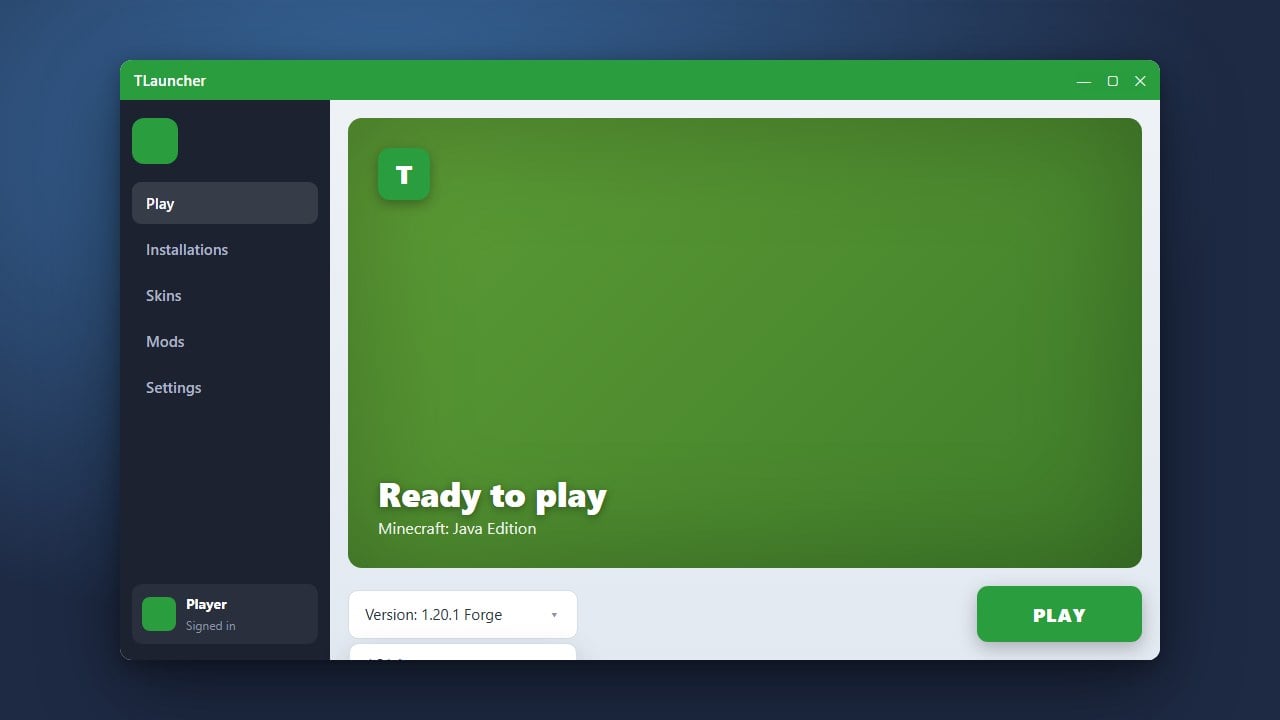
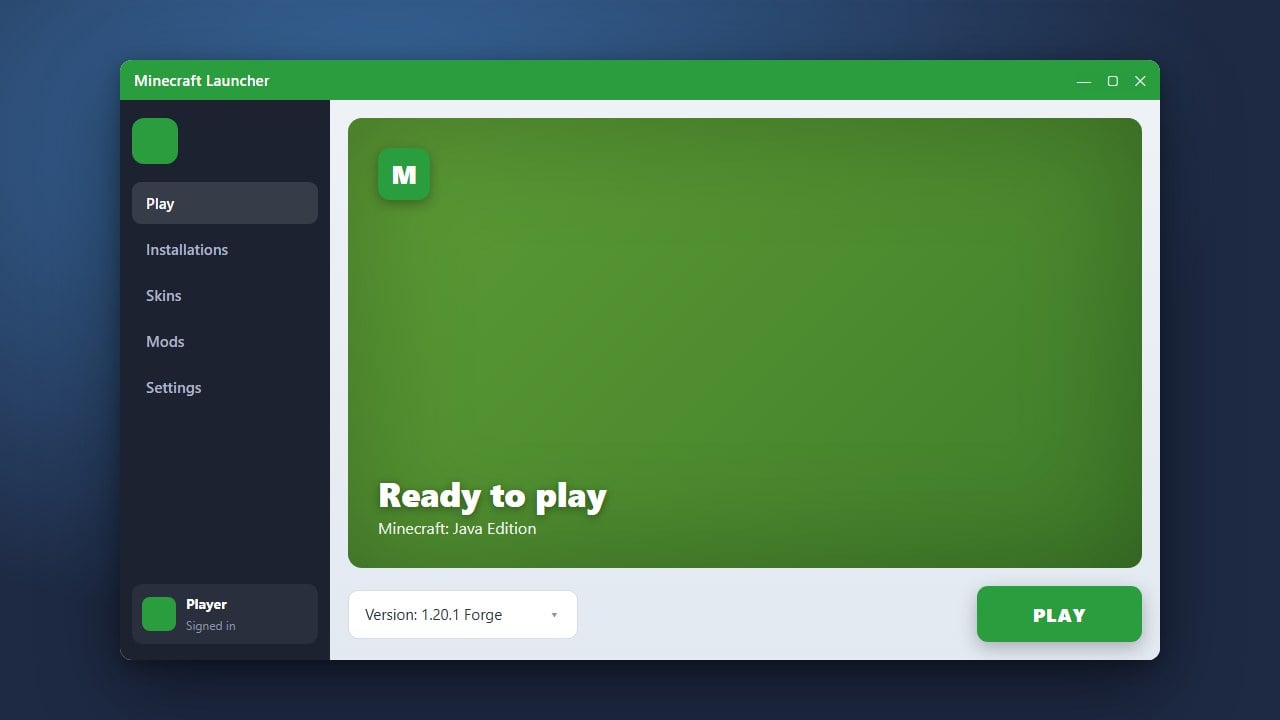
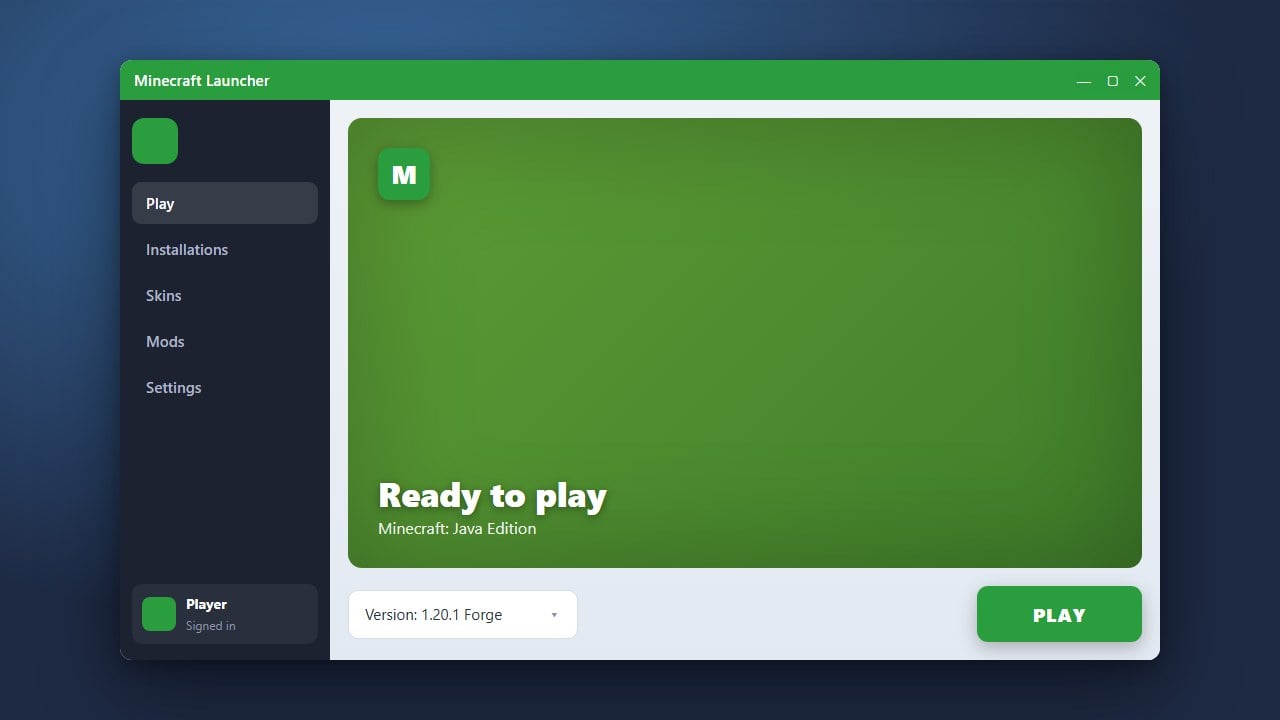
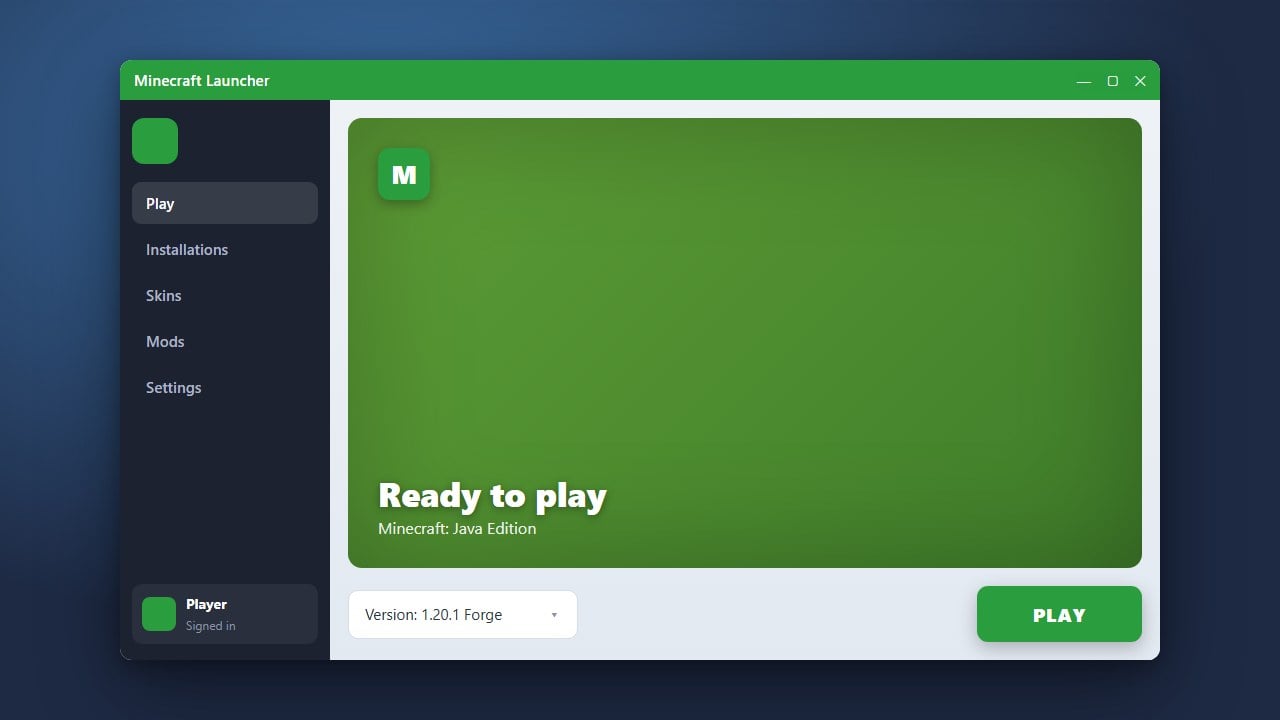
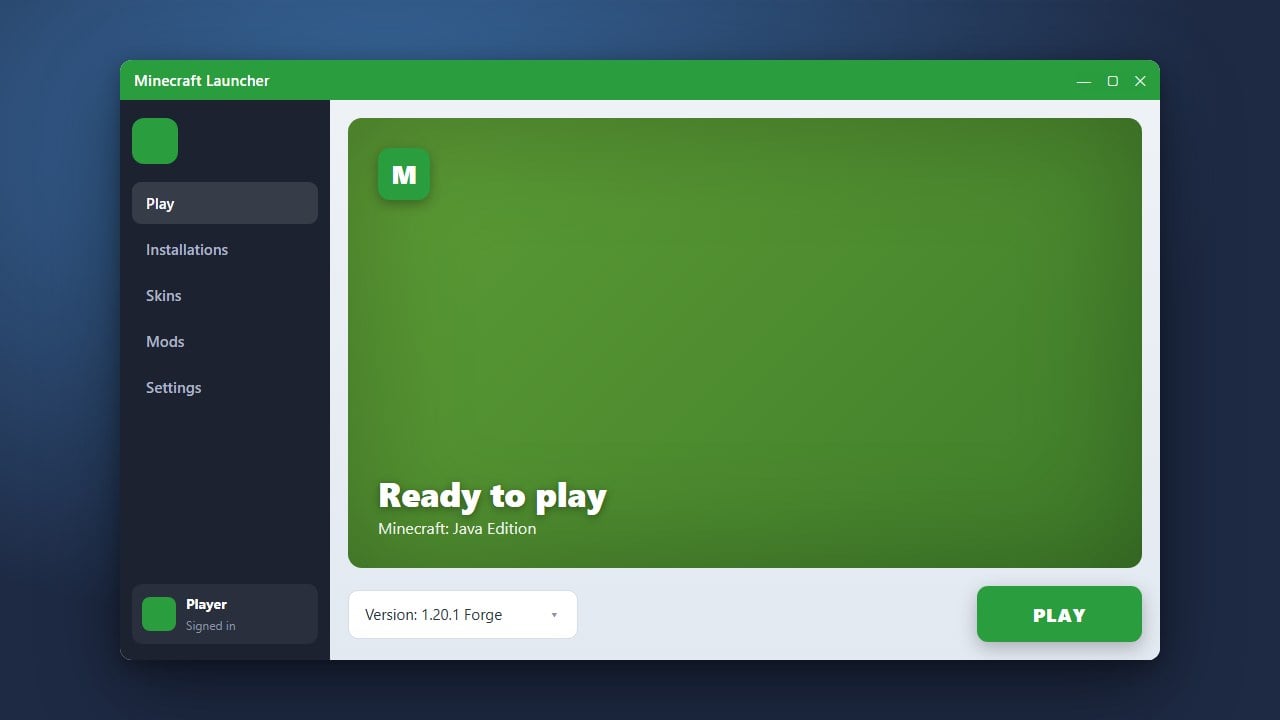
Locate the version dropdown menu within the profile settings. Select the exact Minecraft Bedrock version you wish to use from the available list.
Save and Launch
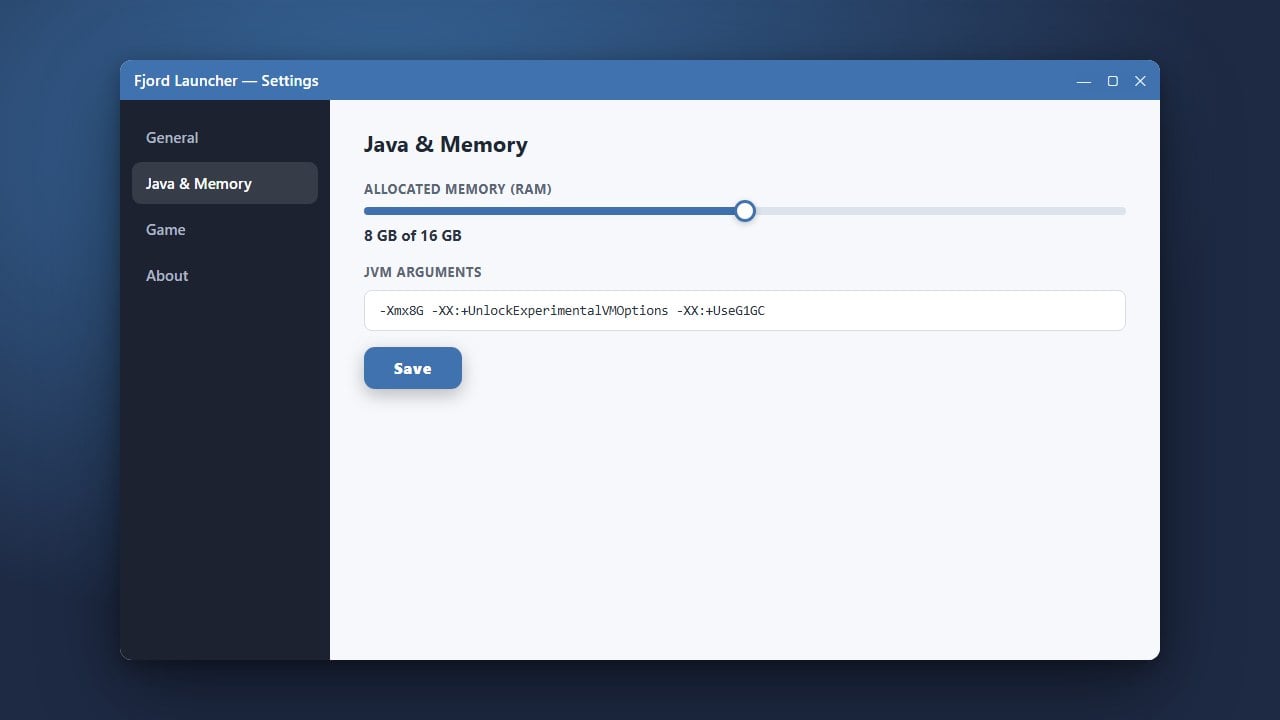
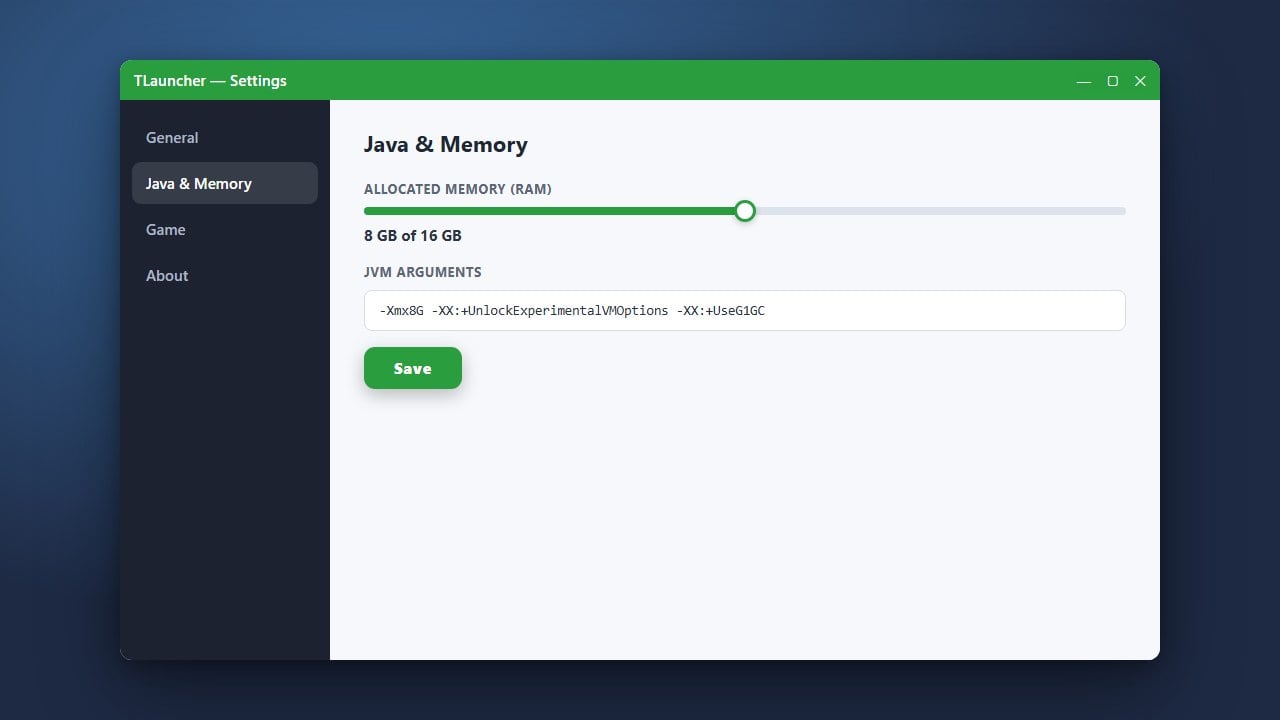
Save your changes and click the play button to download and start the newly selected version. Before you begin, you might also want to check out our guide on How to Allocate More RAM in Fjord Launcher to ensure smooth gameplay.
Frequently Asked Questions
Can I play older Bedrock versions in Fjord Launcher?
Yes, Fjord Launcher allows you to select from a wide range of available Minecraft Bedrock versions through the profile settings.
Do I need an internet connection to change versions?
An active internet connection is required the first time you download a new Minecraft version files through the launcher.