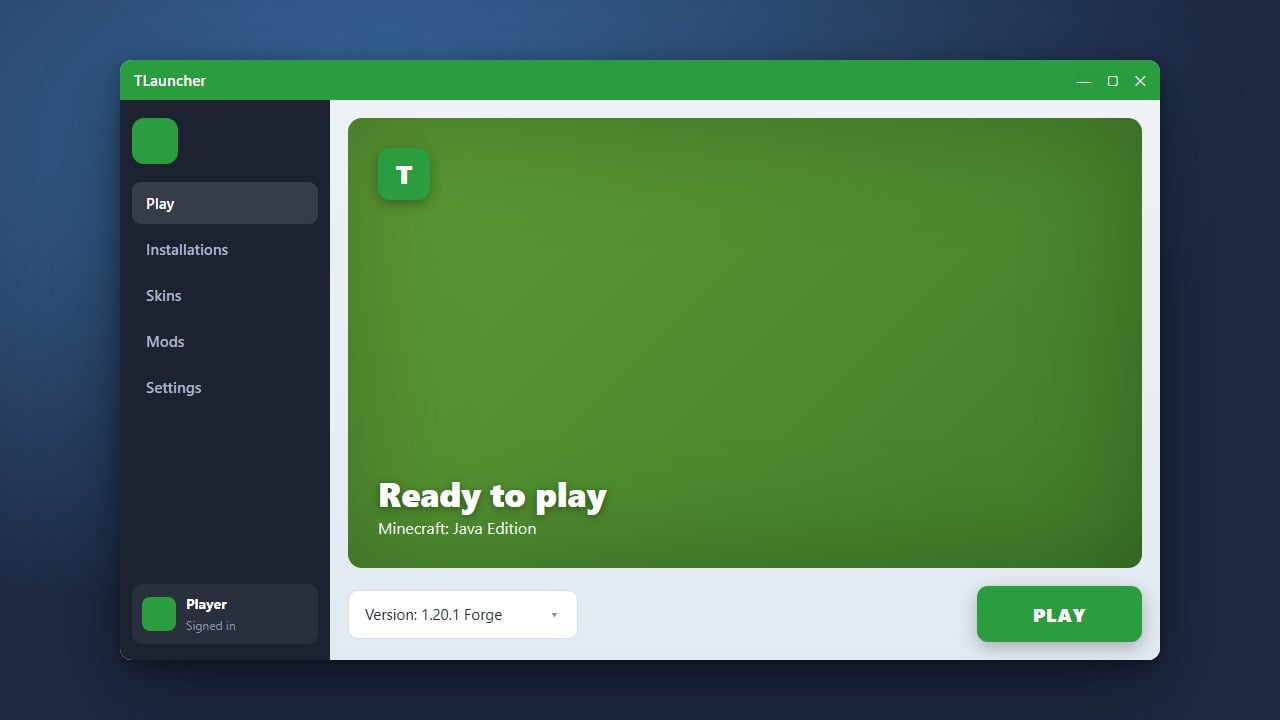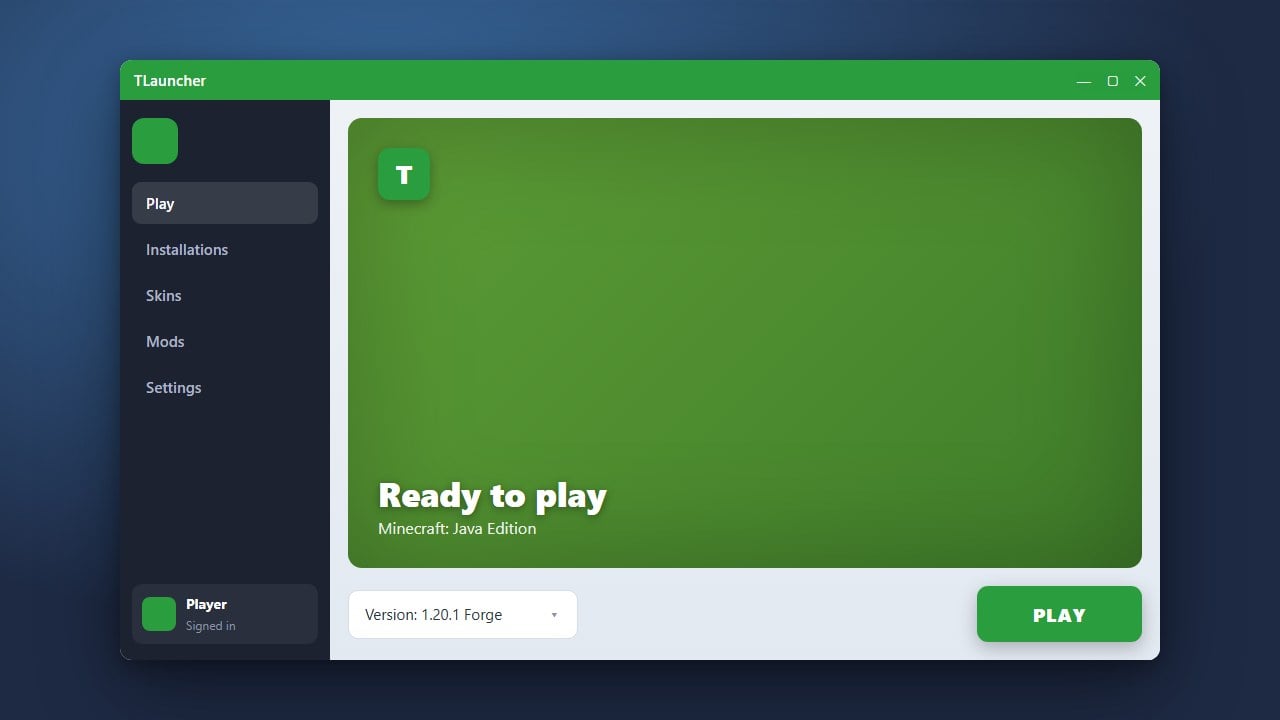
If you are looking to clean up your computer or switch to a more secure way of playing Minecraft Java Edition, uninstalling third-party clients is a great first step. While TLauncher has historically been used to play Minecraft without buying an account, it has raised significant privacy concerns regarding spyware, adware, and account security risks. We strongly recommend purchasing the official game from minecraft.net and using safe open-source alternatives like Prism Launcher or the official Minecraft Launcher. Follow this simple guide to thoroughly remove TLauncher from your system.
TLauncher has been widely flagged by security researchers and community members for bundling adware and potentially unwanted programs (PUPs). Running a full system scan with Windows Defender or Malwarebytes after uninstalling is strongly advised.
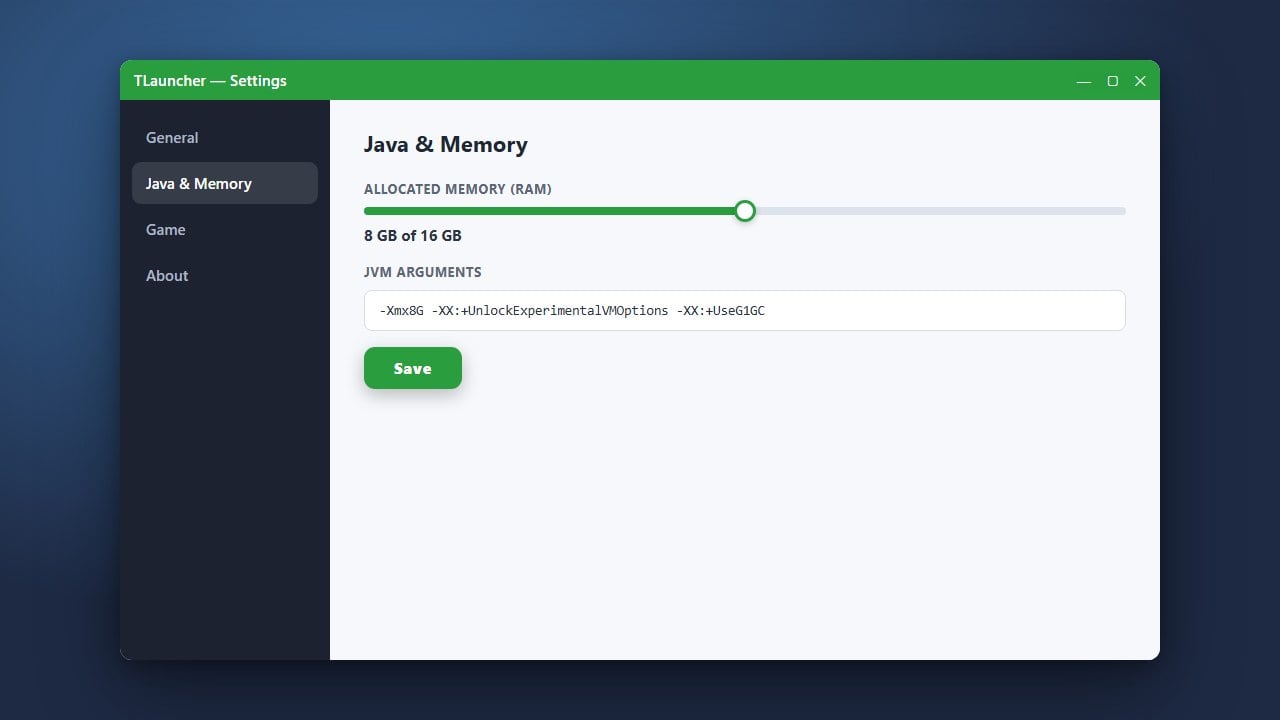
If you want to keep playing Minecraft safely after removing TLauncher, consider learning how to allocate more RAM in Prism Launcher to optimize performance on your fresh, secure setup.
1. Close TLauncher Completely
Before starting the uninstallation process, make sure that TLauncher and any related Java processes are fully closed. Check your Windows system tray in the bottom right corner of your taskbar, right-click the TLauncher icon if it is running, and choose Quit or Exit.
You can also press Ctrl + Shift + Esc to open the Task Manager, look for any background processes related to TLauncher or Java, right-click them, and select End Task to ensure files are not locked in place.
2. Open Windows Installed Apps
Click the Windows Start button, type Installed apps (or Add or remove programs on older Windows versions), and open the system settings menu. This will display a comprehensive list of all software currently installed on your computer.
Scroll through the list or use the search bar at the top to locate TLauncher.
3. Run the TLauncher Uninstaller
Click the three dots next to the TLauncher listing and select Uninstall, then confirm your choice when the prompt appears. Follow the instructions on the setup wizard to complete the standard removal process.
Keep in mind that standard uninstallers often leave behind cache files, configurations, and game directories, so you will need to clean those up manually in the next steps.
4. Delete Leftover TLauncher Folders
Press Windows Key + R on your keyboard to open the Run dialog box. Type %appdata% into the field and press Enter to open your Roaming folder in File Explorer.
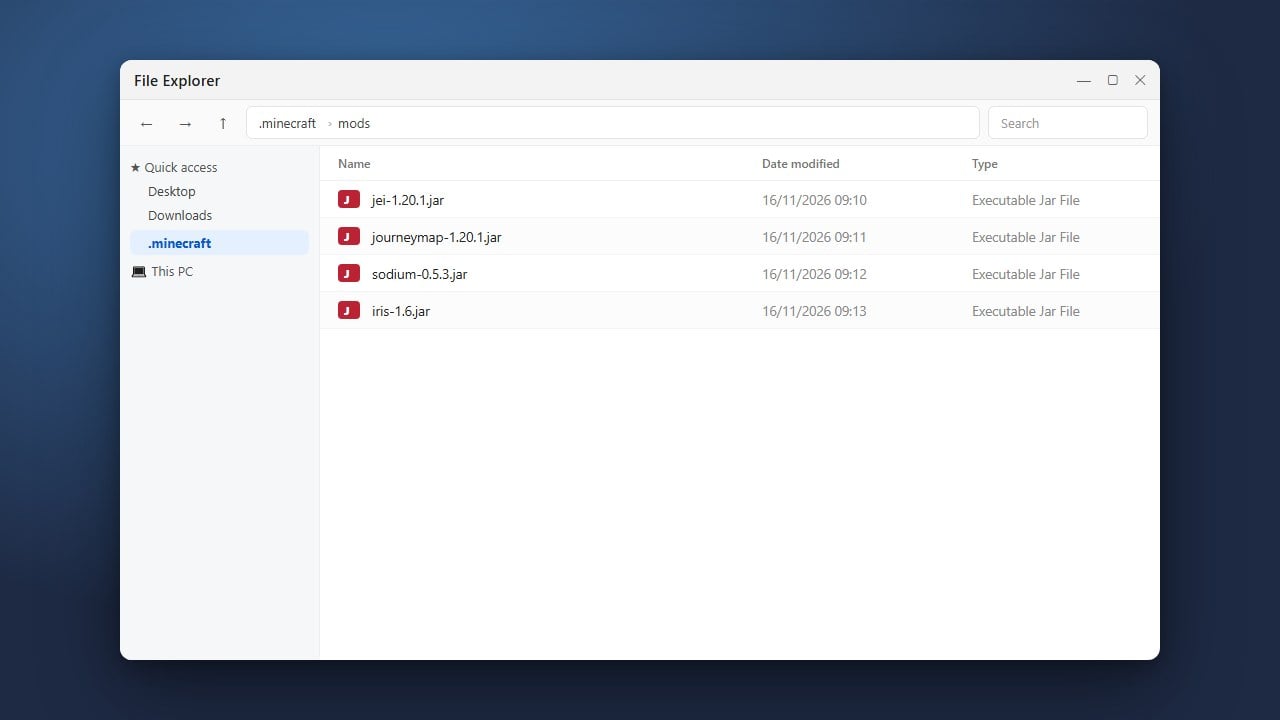
Look for folders named .tlauncher, TlauncherProfiles, or similar directories created by the app, and permanently delete them. You should also check your .minecraft folder and remove any modified versions or assets associated with the client.
5. Clean the Local AppData Directory
Press Windows Key + R again, but this time type %localappdata% and press Enter. This will open the Local AppData directory where many applications store temporary files and caches.
Scan the list for any lingering TLauncher folders or installer caches and delete them. Empty your Windows Recycle Bin afterward to completely wipe all uninstalled data from your hard drive.
Frequently Asked Questions
Will uninstalling TLauncher delete my Minecraft worlds?
Standard uninstallation usually leaves your .minecraft saves folder intact, but it is always safer to back up your saves folder located inside %appdata%\.minecraft to your desktop before deleting any application files.
Is TLauncher safe to use?
Security analysts have noted privacy concerns, unauthorized data collection, and intrusive bundling practices associated with unofficial versions of TLauncher. For maximum security and access to official updates, always use the legitimate launcher from minecraft.net.