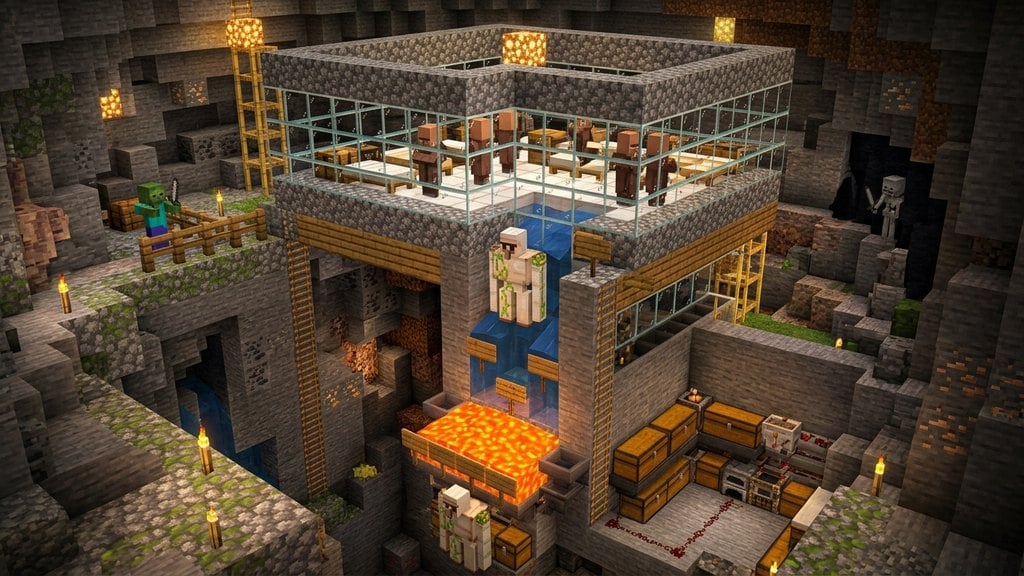
Iron is one of the most critical resources in Minecraft, used for everything from armor and tools to hoppers and minecart rails. While you can spend hours underground learning how to find iron through mining, building an automated iron farm produces an endless supply of iron ingots and poppies while you go about your adventures. This guide covers how to set up an easy, compact farm designed to work seamlessly in modern Minecraft updates.
Choose a Clear Location Away from Existing Villages
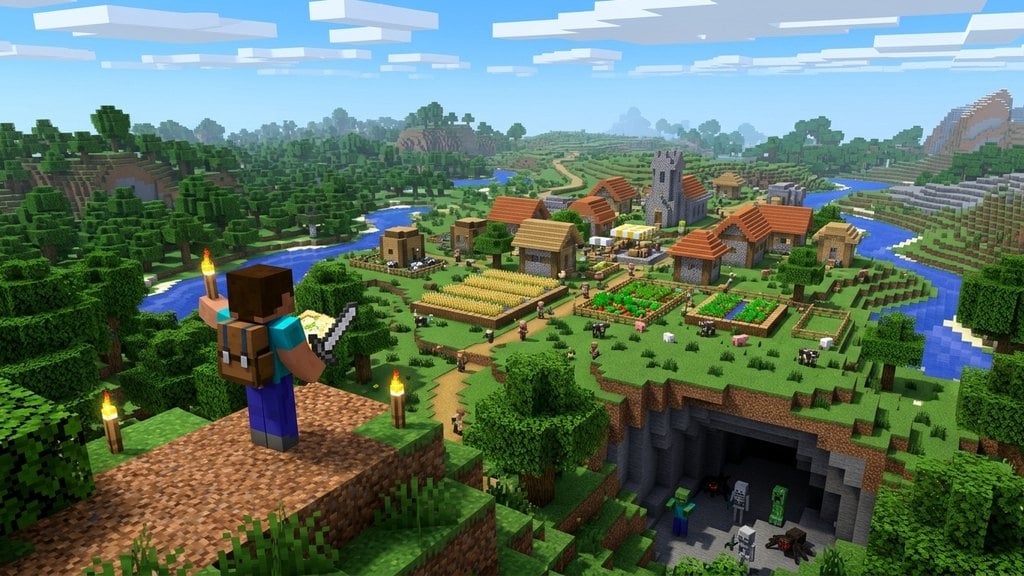
Select an open area at least 100 blocks away from any natural villages, bell blocks, or stray beds. If you need to locate a settlement to gather resources, follow our guide on how to find villages first. Elevating your farm at least 10 to 12 blocks off the ground is recommended so Iron Golems cannot spawn on the surrounding terrain.
Construct the Villager Holding Pod
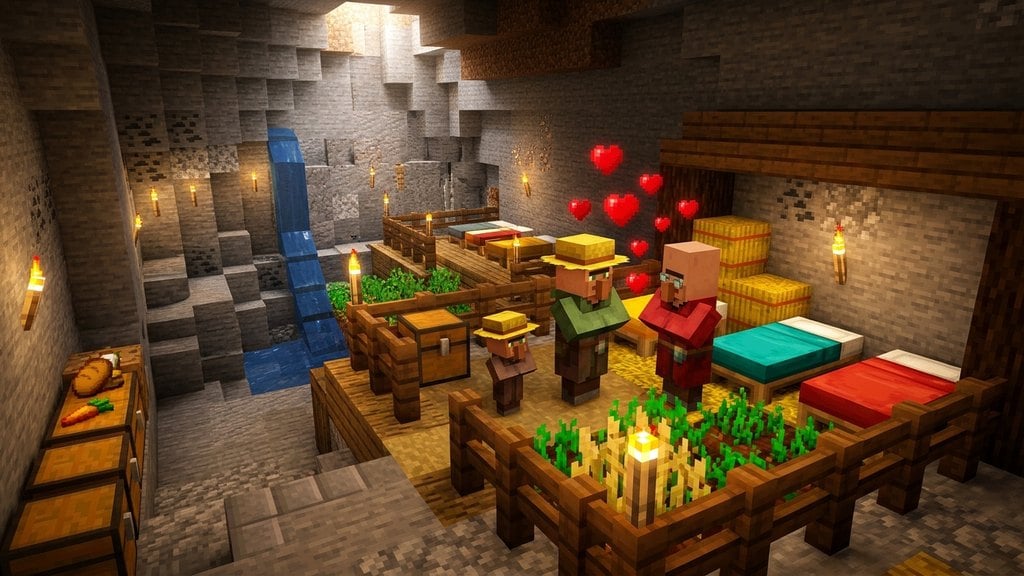
Build a secure chamber for your villagers suspended in the air. For Java Edition, place three beds foot-to-foot inside a small enclosure with walls made of solid blocks or glass so they can sleep and stand comfortably. For Bedrock Edition, your farm requires at least 20 beds and 10 to 20 workstations (such as fletching tables) in a slightly larger room, as Bedrock requires a functional village center rather than panic mechanics.
Add the Villagers and Trigger Mechanic
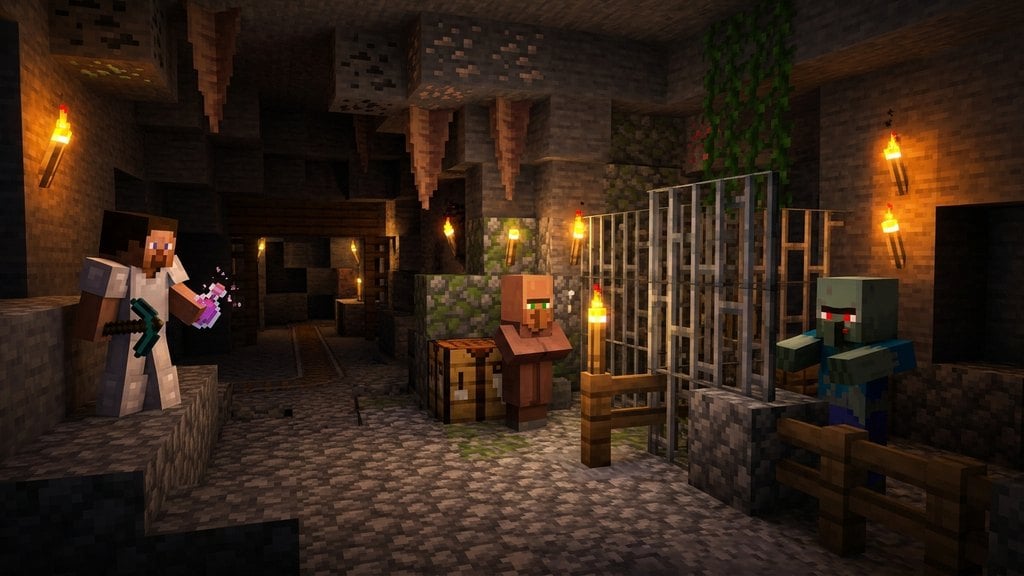
Transport your villagers into the pod using minecarts or water streams; you can learn how to breed villagers to quickly populate your farm. In Java Edition, trap a zombie in a boat or cauldron directly facing the villagers with line of sight (breaking a block or using trapdoors) so the villagers repeatedly panic and summon golems. In Bedrock Edition, do not use a zombie; simply ensure at least 75% of your 10 to 20 villagers are linked to their workstations and beds.
Build the Elevated Spawning Platform
Directly above or adjacent to the villager pod, build a flat spawning platform enclosed by a wall two blocks high. A platform size of 8x8 or 9x9 solid blocks works well. Ensure any nearby roofs or surfaces outside the platform are covered with bottom slabs, glass, or buttons so Iron Golems are forced to spawn exclusively inside this designated arena.
Set Up the Water Flow and Kill Chamber
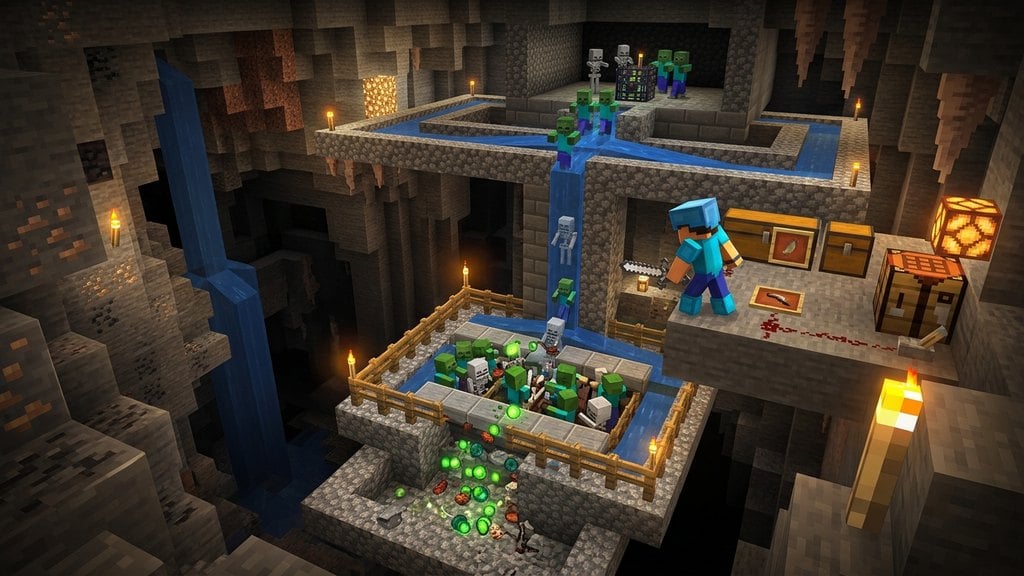
Place water source blocks along one edge or corners of the platform so the current pushes newly spawned golems toward an open drop chute. At the collection end, place signs on the wall to hold a layer of lava hovering two blocks off the floor. Because Iron Golems are three blocks tall, their heads will burn in the lava while items drop safely below without burning up.
Install Hoppers and Storage
Underneath the lava blade, place a row of hoppers connected directly into a large chest. Place campfire blocks or water streams above the hoppers if you want to speed up collection or protect the hoppers from stray drops. As Iron Golems burn, their dropped iron ingots and poppies will automatically filter through the hoppers straight into your storage chests.
Frequently Asked Questions
Why are no Iron Golems spawning in Java Edition?
Villagers in Java Edition must be able to sleep for a split second every 20 minutes to reset their panic cycle. Ensure the zombie does not have unbroken, permanent eye contact—use a trapdoor or bobbing water stream under the zombie so line of sight breaks briefly at night.
Why does my Bedrock farm stop producing iron?
In Bedrock Edition, Iron Golems will not spawn if villagers cannot access their linked workstations during work hours or if fewer than 75% of them have worked in the last game day. Ensure all villagers are safely linked to their specific job blocks and beds.
Can Iron Golems spawn on slabs or glass?
No. Iron Golems require full, opaque solid blocks to spawn. Using glass, leaves, or lower half-slabs around the exterior of your farm is the best way to prevent golems from escaping.