Creating a custom Minecraft skin is one of the best ways to stand out in multiplayer servers and showcase your personal style. Whether you want to recreate a favorite character or design something completely original, crafting your own skin only takes a free editor and a few minutes of creativity.
Remember to hide outer body parts in your editor so you can paint the undersides of the chin, arms, and legs. Leaving those areas unpainted can cause missing texture spots during running and jumping animations.
Bedrock Edition allows custom PNG skin uploads on Windows, iOS, and Android, but console versions (PlayStation, Xbox, and Nintendo Switch) cannot import local image files due to console platform restrictions.
Pick a Skin Editor
Start by opening a free browser-based Minecraft skin editor such as The Skindex, Miners Need Cool Shoes, or Blockbench. These editors render a 3D model of the player in real time, making it easy to paint individual pixels without having to decipher flat texture layout maps manually.
Select Your Arm Model
Before drawing, choose between the Classic (4-pixel) model or the Slim (3-pixel) model. Classic uses the traditional Steve proportions, while Slim matches Alex's narrower arm dimensions. Choose whichever arm width matches your intended character silhouette.
Paint the Base and Overlay Layers
Use the editor's pencil, eraser, and color palette tools to color the base body layer first, covering the head, torso, arms, and legs. Next, toggle on the outer overlay layer to add 3D depth with accessories like jackets, hair strands, goggles, or belts. Much like designing a painting, adding subtle color variations and shading will make your character stand out.
Download the Skin File
Once you finish decorating all angles of your character, click the editor's download button. Your custom skin will save to your computer or mobile device as a standard .png image file (usually 64x64 pixels). Keep this file readily accessible in your downloads folder.
Apply the Skin in Java Edition
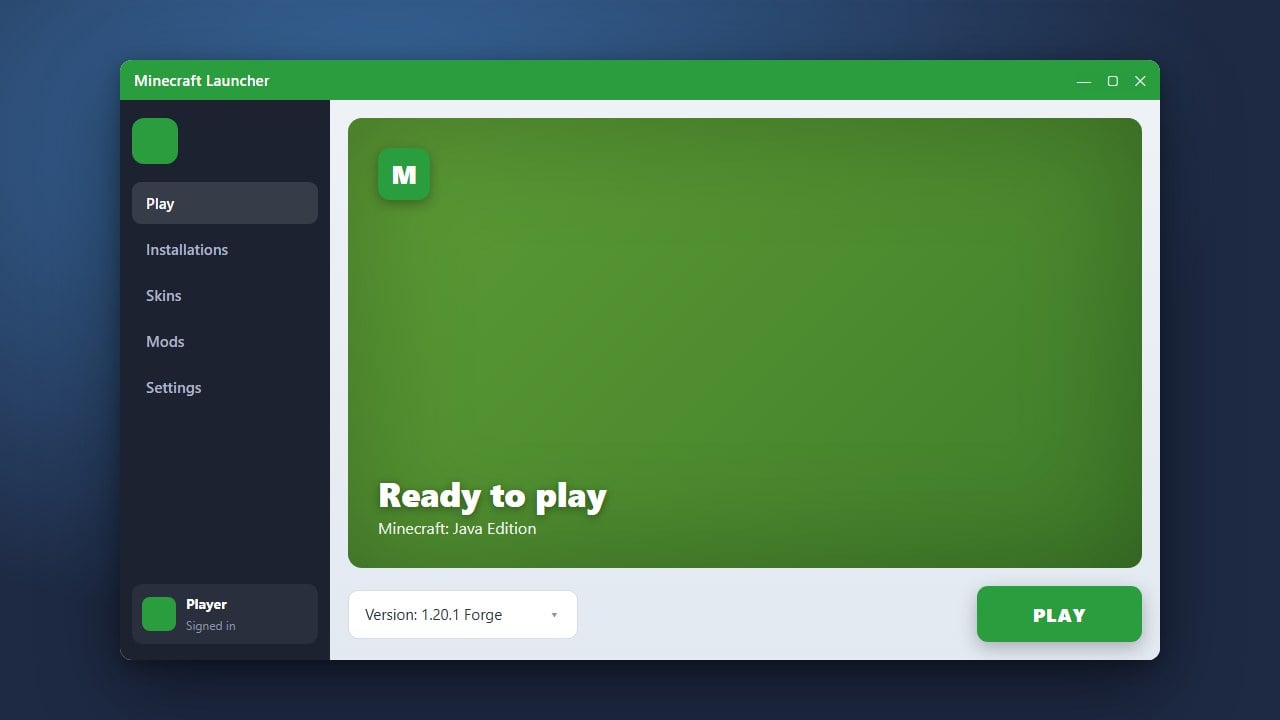
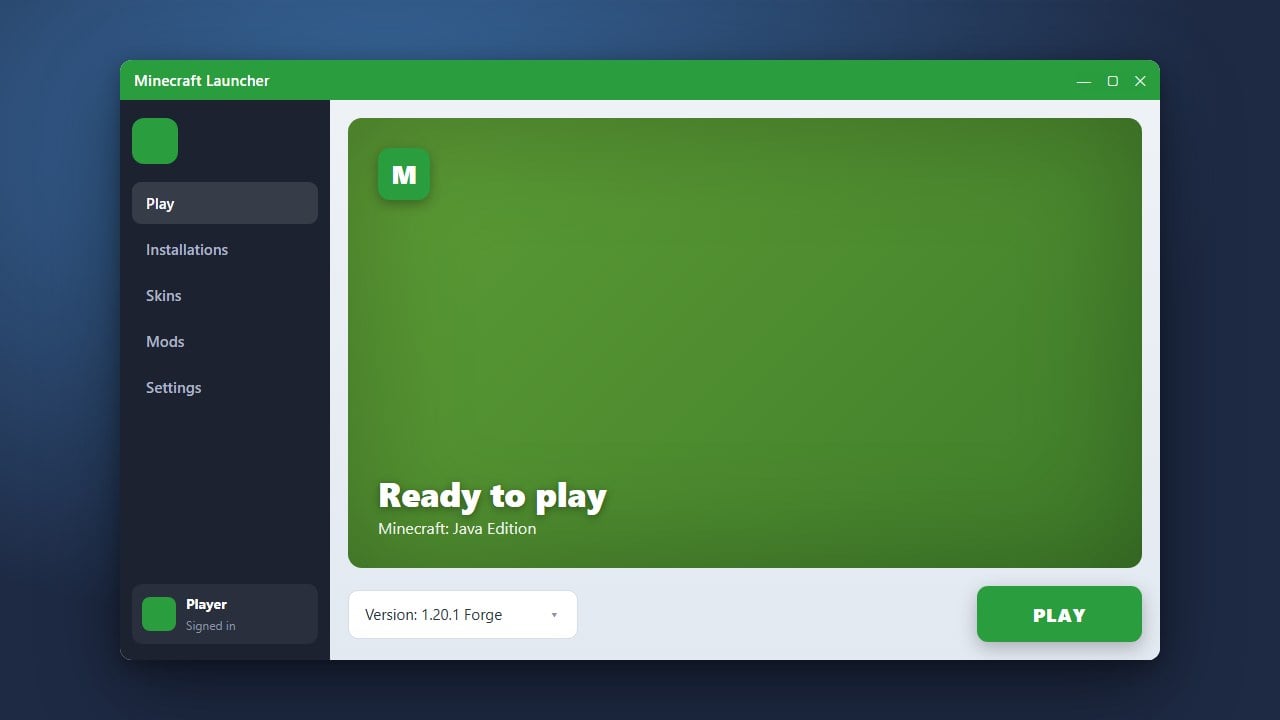
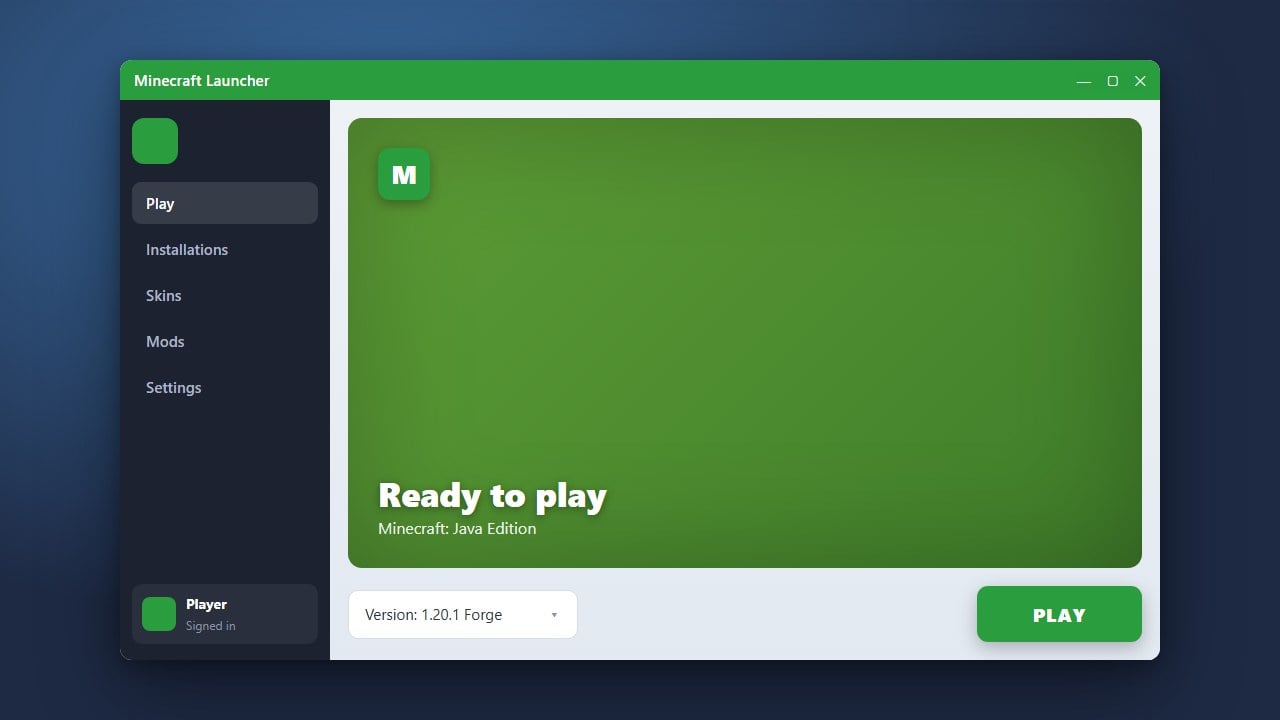
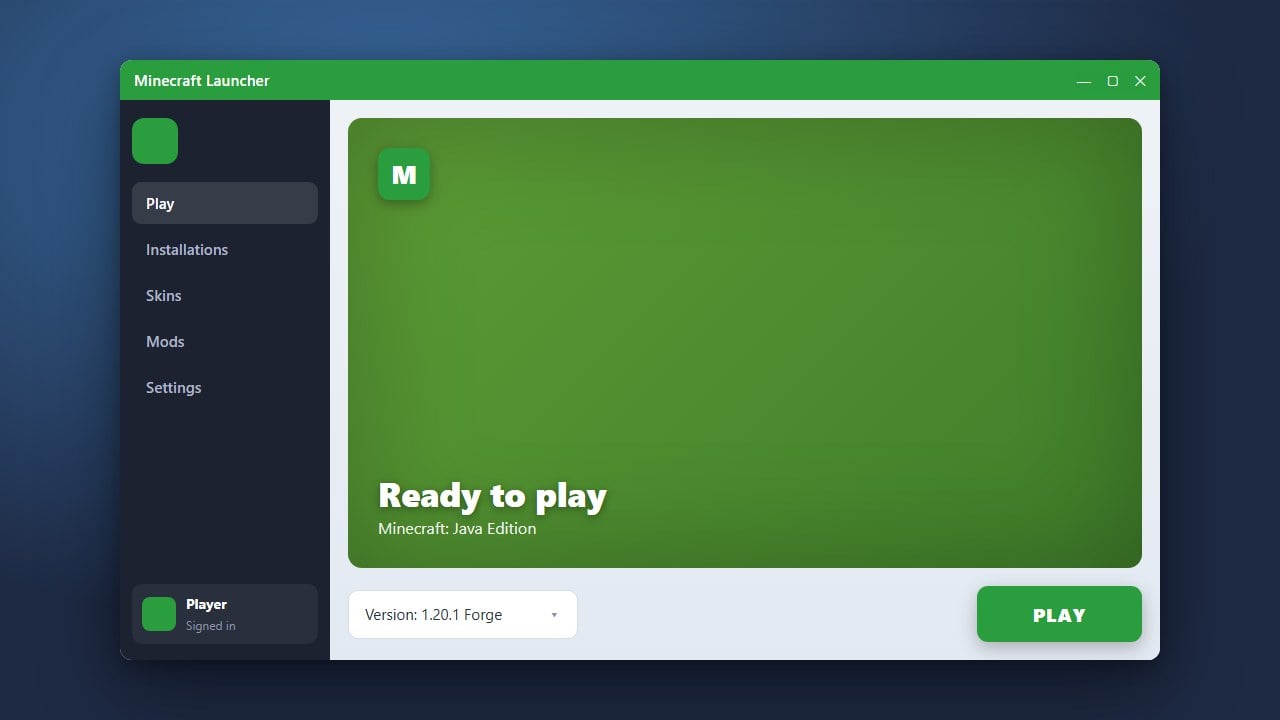
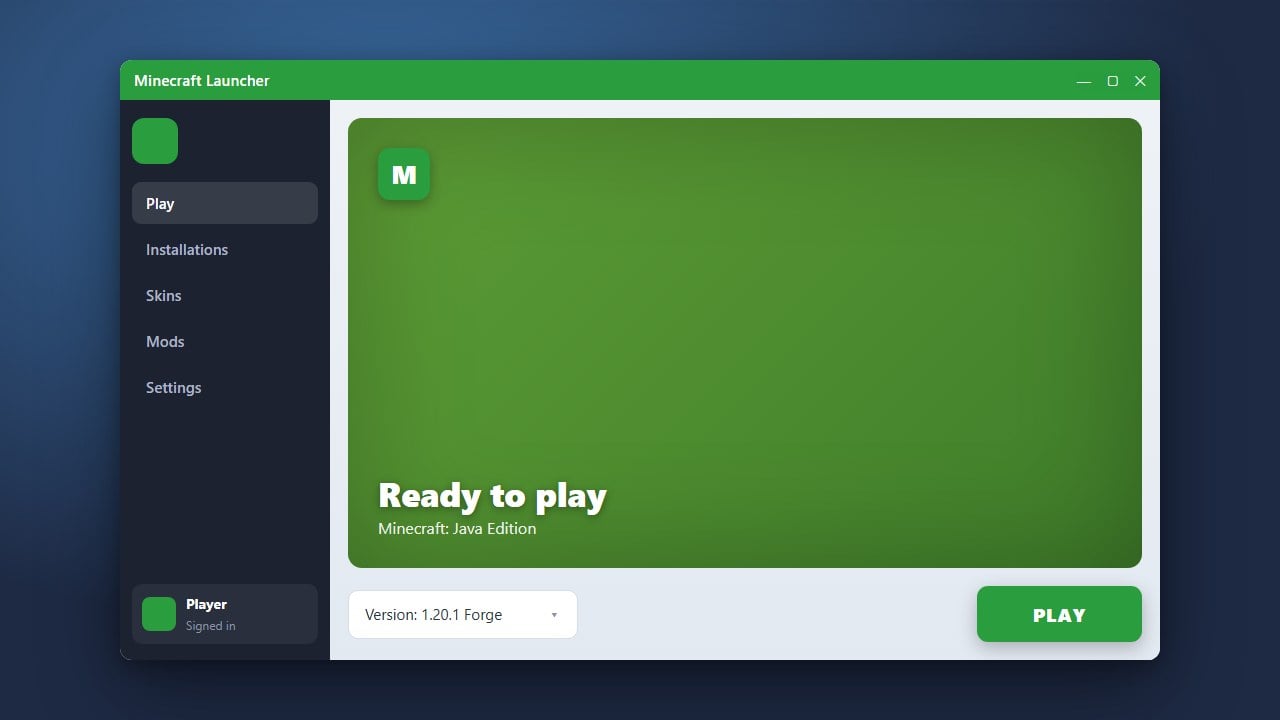
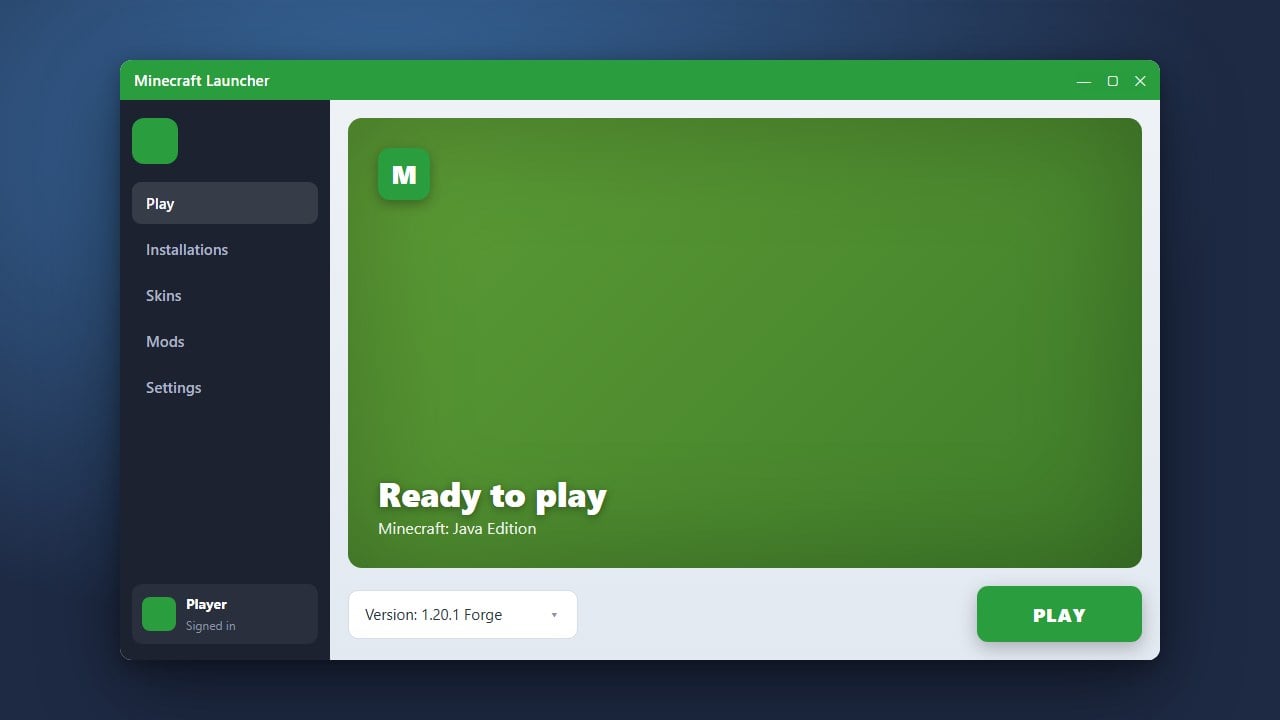
Open the official Minecraft Launcher and select Minecraft: Java Edition. Click the Skins tab at the top, select New Skin, pick your model type (Wide or Slim), click Browse, and choose your saved PNG file. Click Save & Use to equip it to your profile.
Apply the Skin in Bedrock Edition
Launch Minecraft Bedrock Edition and select the Dressing Room button from the main menu. Click Change Classic Skin, select the blank grey character silhouette under Owned Skins, and tap Choose New Skin. Locate your downloaded PNG file in your device storage and choose your preferred arm width to equip it.
Frequently Asked Questions
What image resolution should a custom Minecraft skin have?
Standard Minecraft skins must be 64x64 pixels in PNG format. Bedrock Edition also supports high-definition 128x128 pixel skins, though standard 64x64 files work flawlessly across both Java and Bedrock editions.
Can I make parts of my skin invisible?
Transparent pixels only render correctly on the outer overlay layer (jackets, hats, and sleeves). If you leave pixels transparent on the inner base layer, vanilla Java Edition will automatically render them as solid black.